Category: Via Ferrata
-
Four Thousand Meters of Cycle Climbing in the Franco-Swiss Jura
Reading Time: 3 minutesMt Tendre via Rolle For a year or more I had been tempted to cycle up to the Mont Tendre and on Saturday I got the opportunity to try that ride with Tête de Course, a Nyon cycling community and café/restaurant. The route went from Nyon to Rolle, and then from Rolle…
-
Of Cycling and Via Ferrata
Reading Time: 3 minutesLast night a bike ride was cancelled for this morning due to the risk of rain. As a result I got to sleep in rather than get up to ride at dawn. In the process I got to rest. It also confirms that the seasons are changing. It’s because seasons change in…
-
The Need to Play with 360 Video
Reading Time: 1 minuteA few years ago I signed a contract to generate 360 content but the contract ended after just a month because the company restructured or something similar. I then bought a 360 camera and played with it to film interesting angles. I keep forgetting that I have this fantastic camera. It’s fantastic…
-
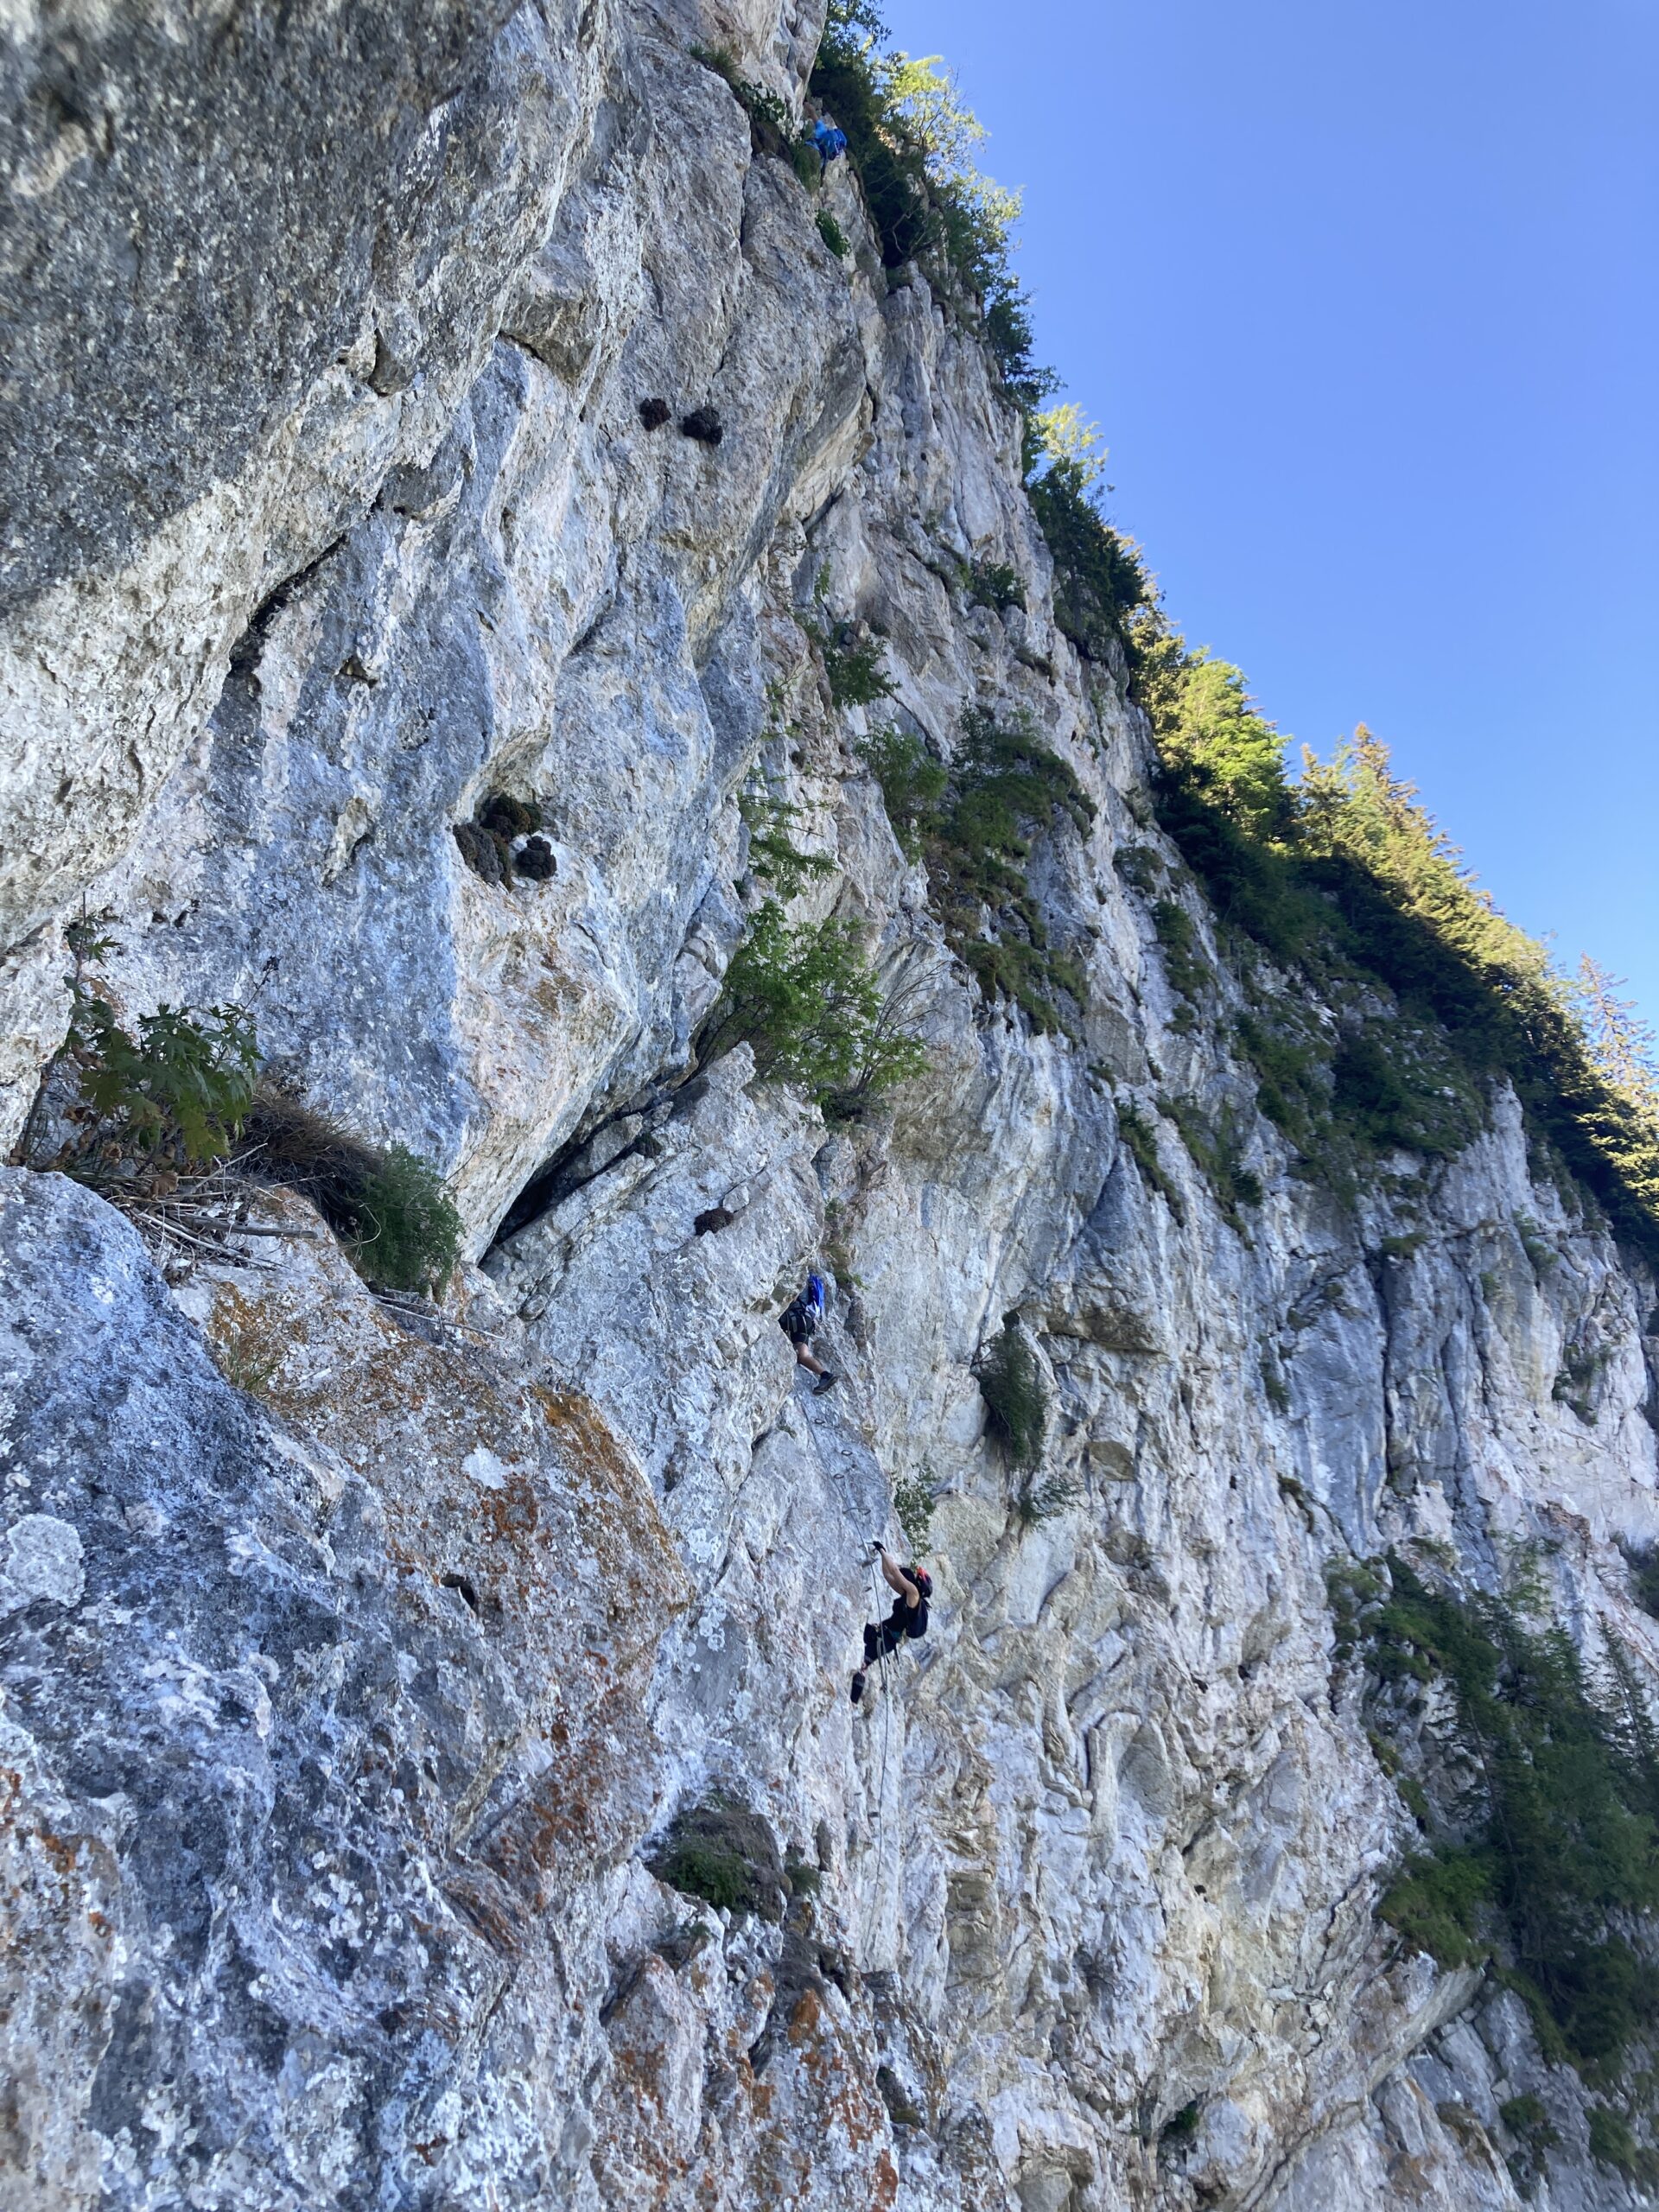
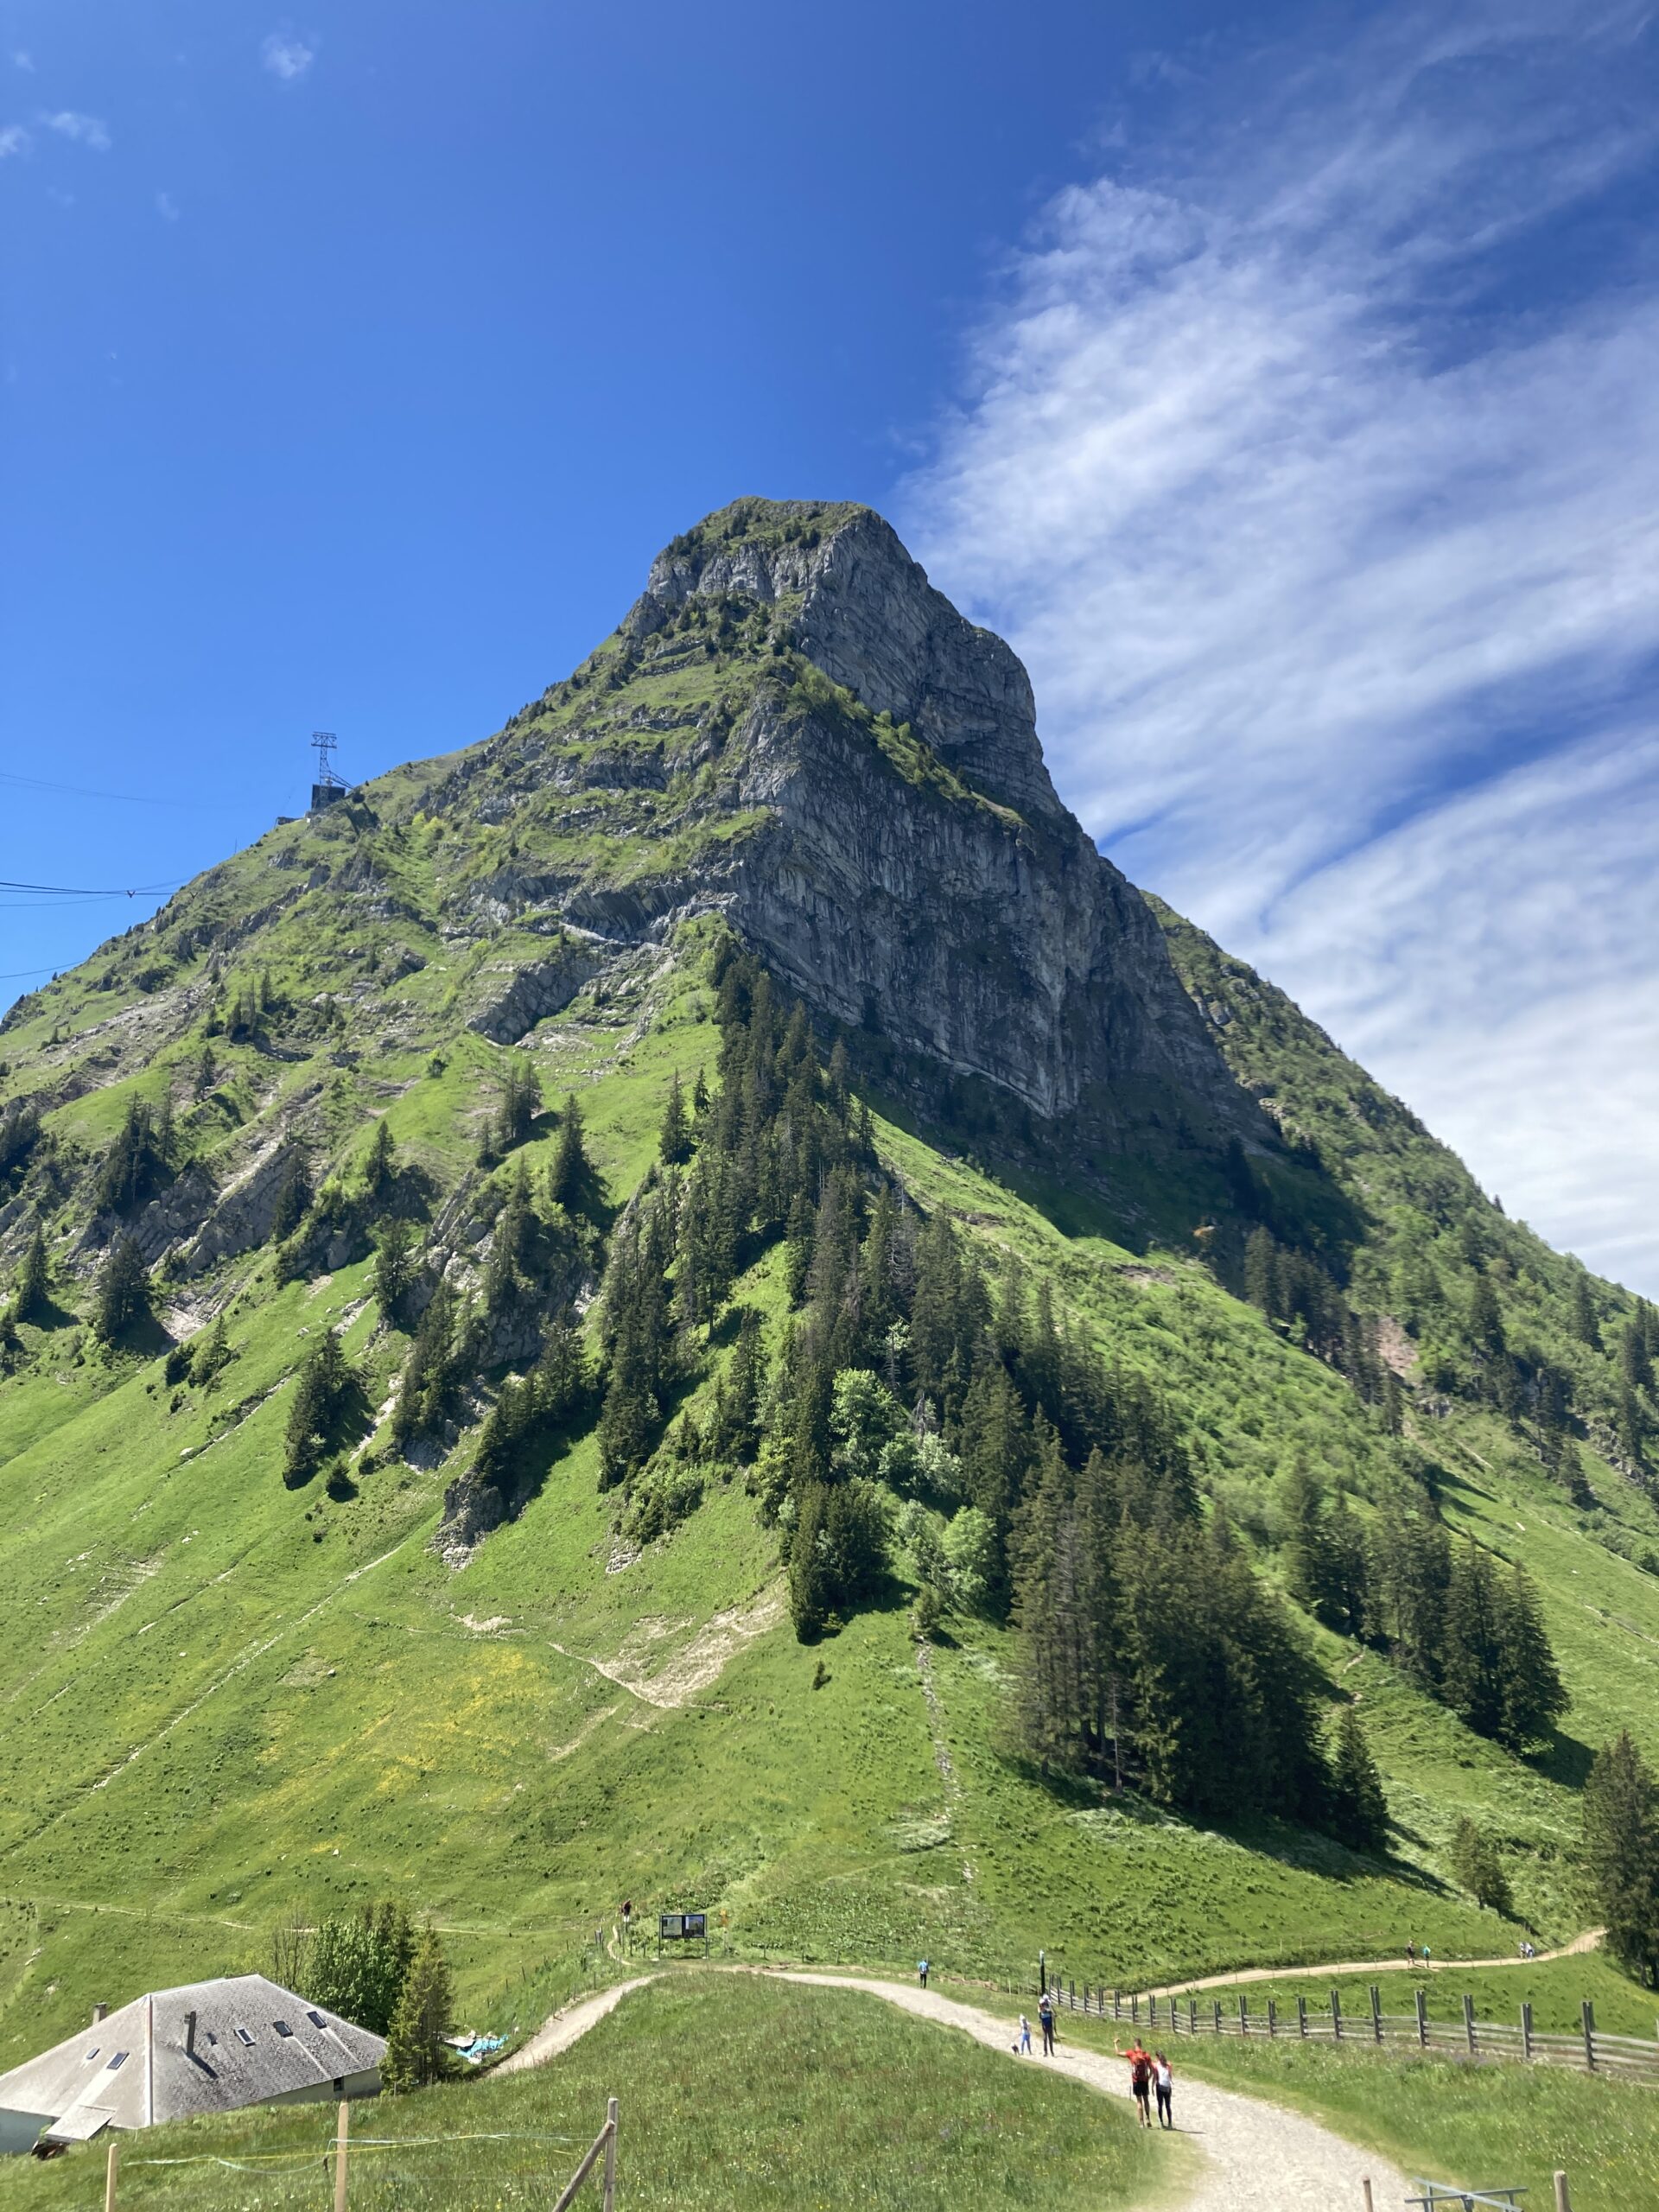
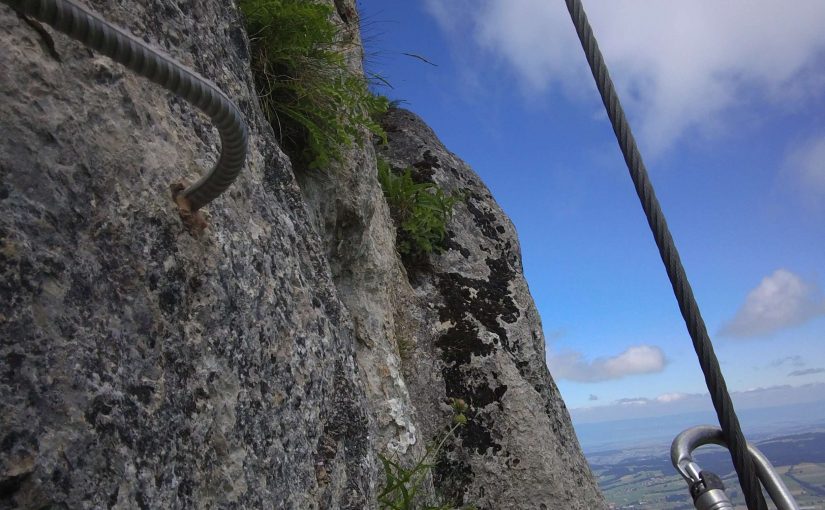
The Charmey Via Ferrata and Personal Limits
Reading Time: 3 minutesThere was a time when I would have gone to Charmey and climbed the Square Vide II route without hesitation. This is a K6 route that starts with an overhang, before continuing over several more overhangs. I tried the first part and decided not to continue. I climbed back down before getting…
-
The Desire Not To Do Something
Reading Time: 3 minutesMore often than not I speak about the desire to do something, rather than the desire not to. Before showeing this morning I was looking at hiking ideas, to find some that would appeal to me and I did. Some friends/people I know want to do the Daubenhorn Via Ferrata on Saturday…
-
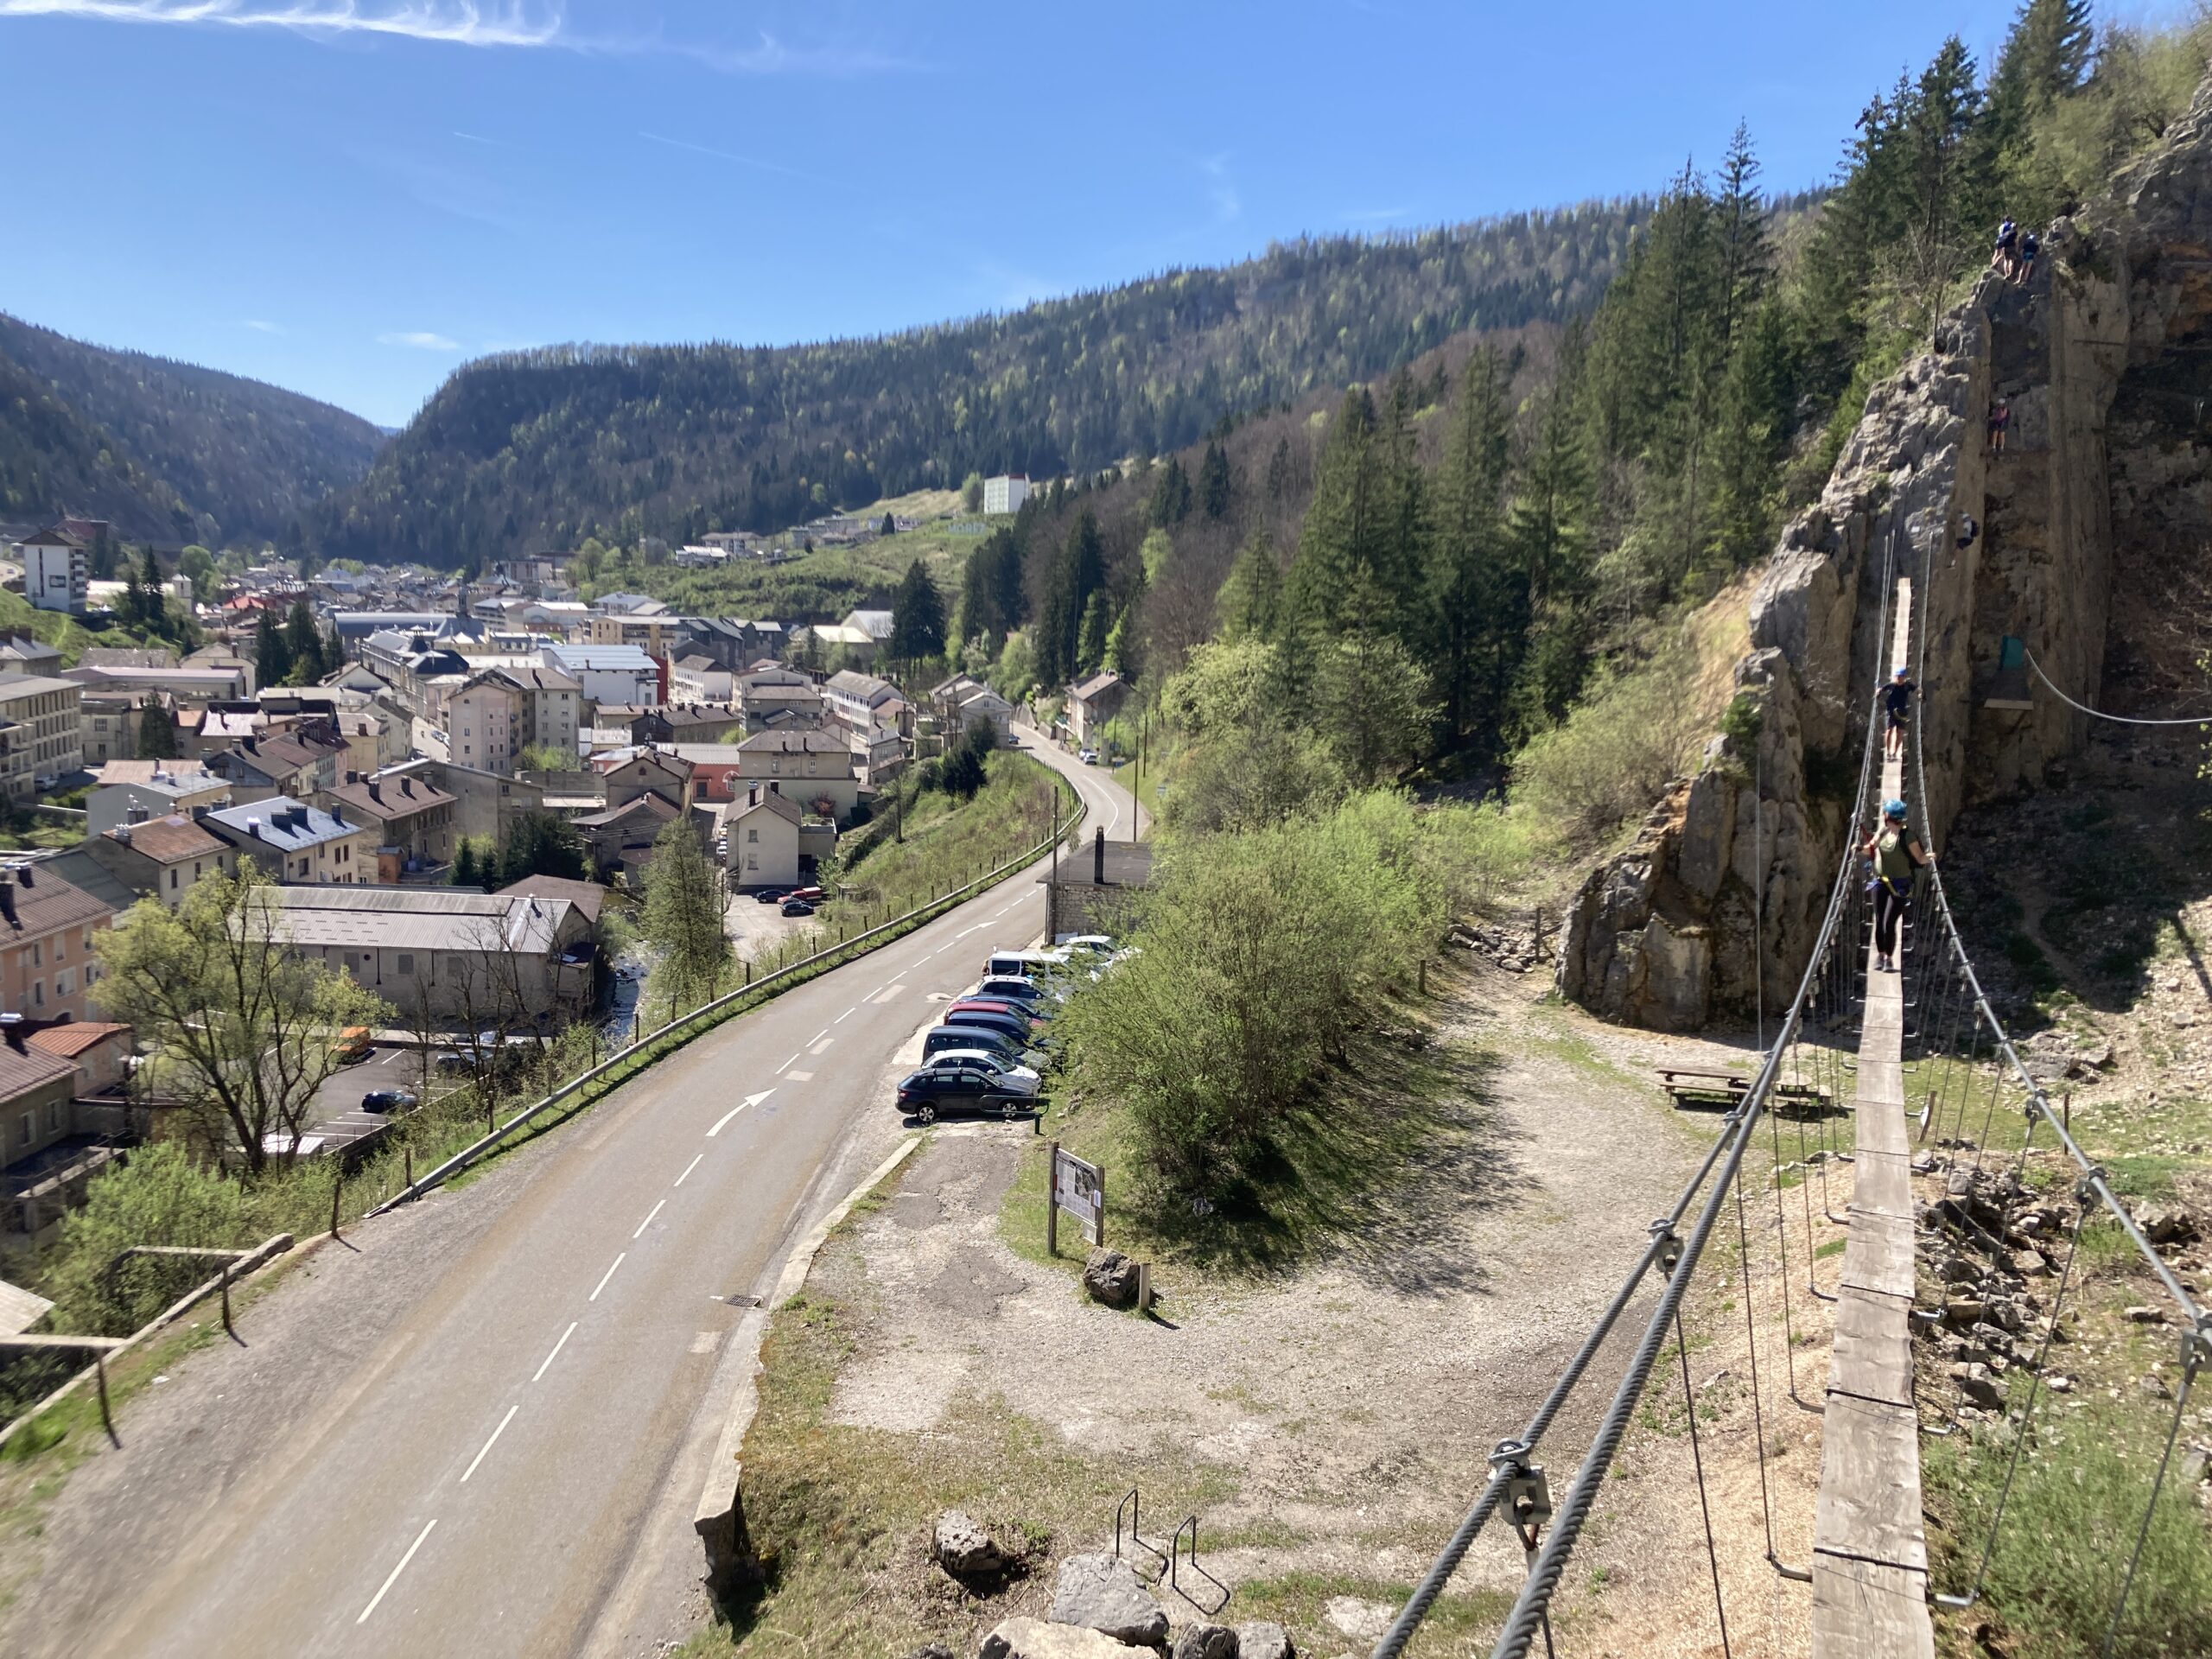
The Roche Au Dade Via Ferrata
Reading Time: 3 minutesTwo days ago I was agonising about whether to go for a via ferrata(VF) or a hike. Eventually I decided that I would go for the hike, because hiking was an 18 minute drive away. I went for a walk/run and then I found that I had a burning desire to do…
-
Day 54 Of Self-Isolation in Switzerland – The Via Ferrata Season Resumes on Monday
Reading Time: 2 minutesThe Via Ferrata Season resumes on Monday with La Via Farinetta reopening. This news came via the Via Farinetta Saillon official page, as seen with the Facebook embed below. Bonne nouvelle! La Via sera ouverte à partir ce lundi 11 mai ?? Néanmoins nous vous rendons attentifs sur les instructions des autorités.…
-
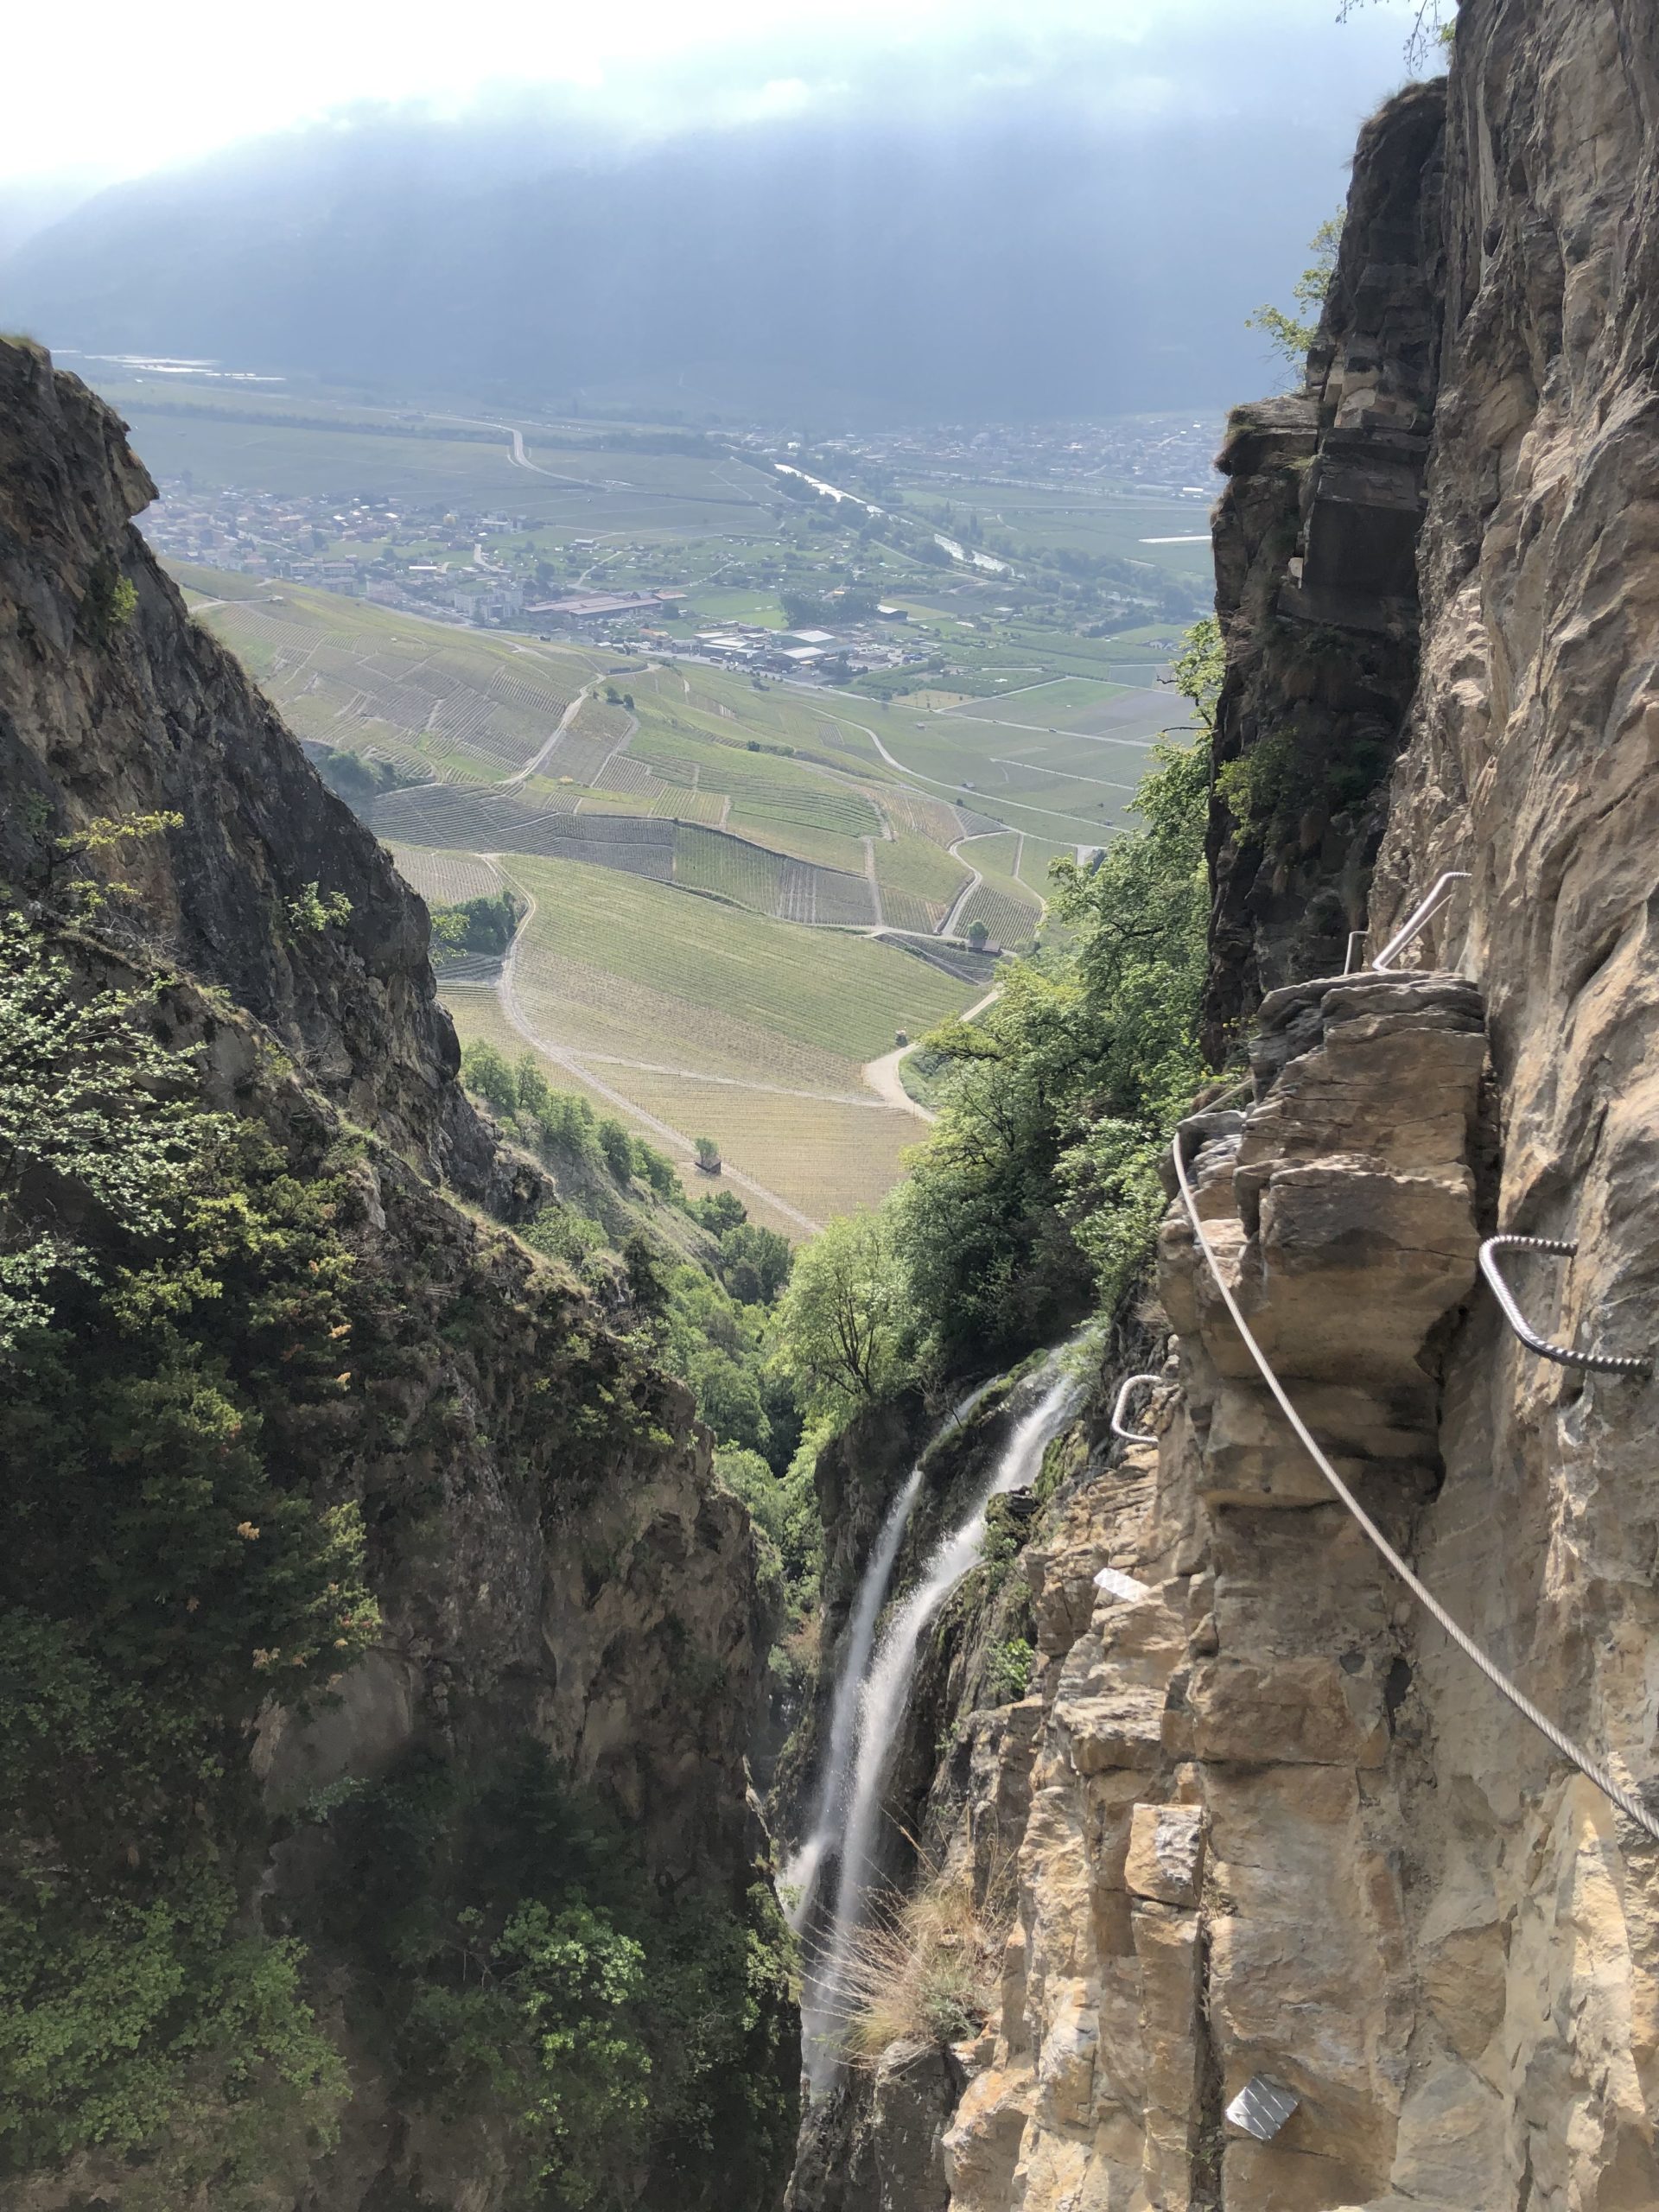
La Via Ferrata Farinet
Reading Time: 2 minutesFor a week or two in April the weather was nice but since then the weather has been bad. We had new snow, high winds and rain. Yesterday rain was announced yet again for parts of Switzerland but luckily only clouds were announced for Saillon where the Via Farinetta is. I expected…
-
Via Ferrata Jacques Revaclier
Reading Time: 2 minutesThe Via Ferrata Jacques Revaclier is located on the Salève a short drive from Vitam Parc and within easy driving distance of Geneva and Nyon. The Via Ferrata requires scrambling over a few metres of rock to get to the start. This via Ferrata has two parkings. The first of these is…
-
The Klettersteig Rider 3.0
Reading Time: < 1 minuteThe Klettersteig Rider 3.0 is a dual system via ferrata kit. It has a carabiner like standard via ferrata kits have and a “rider” system. The “rider” system fixes to the via ferrata cable and progresses with you. As you get to a part where you need to switch you move…