Category: reviews
-
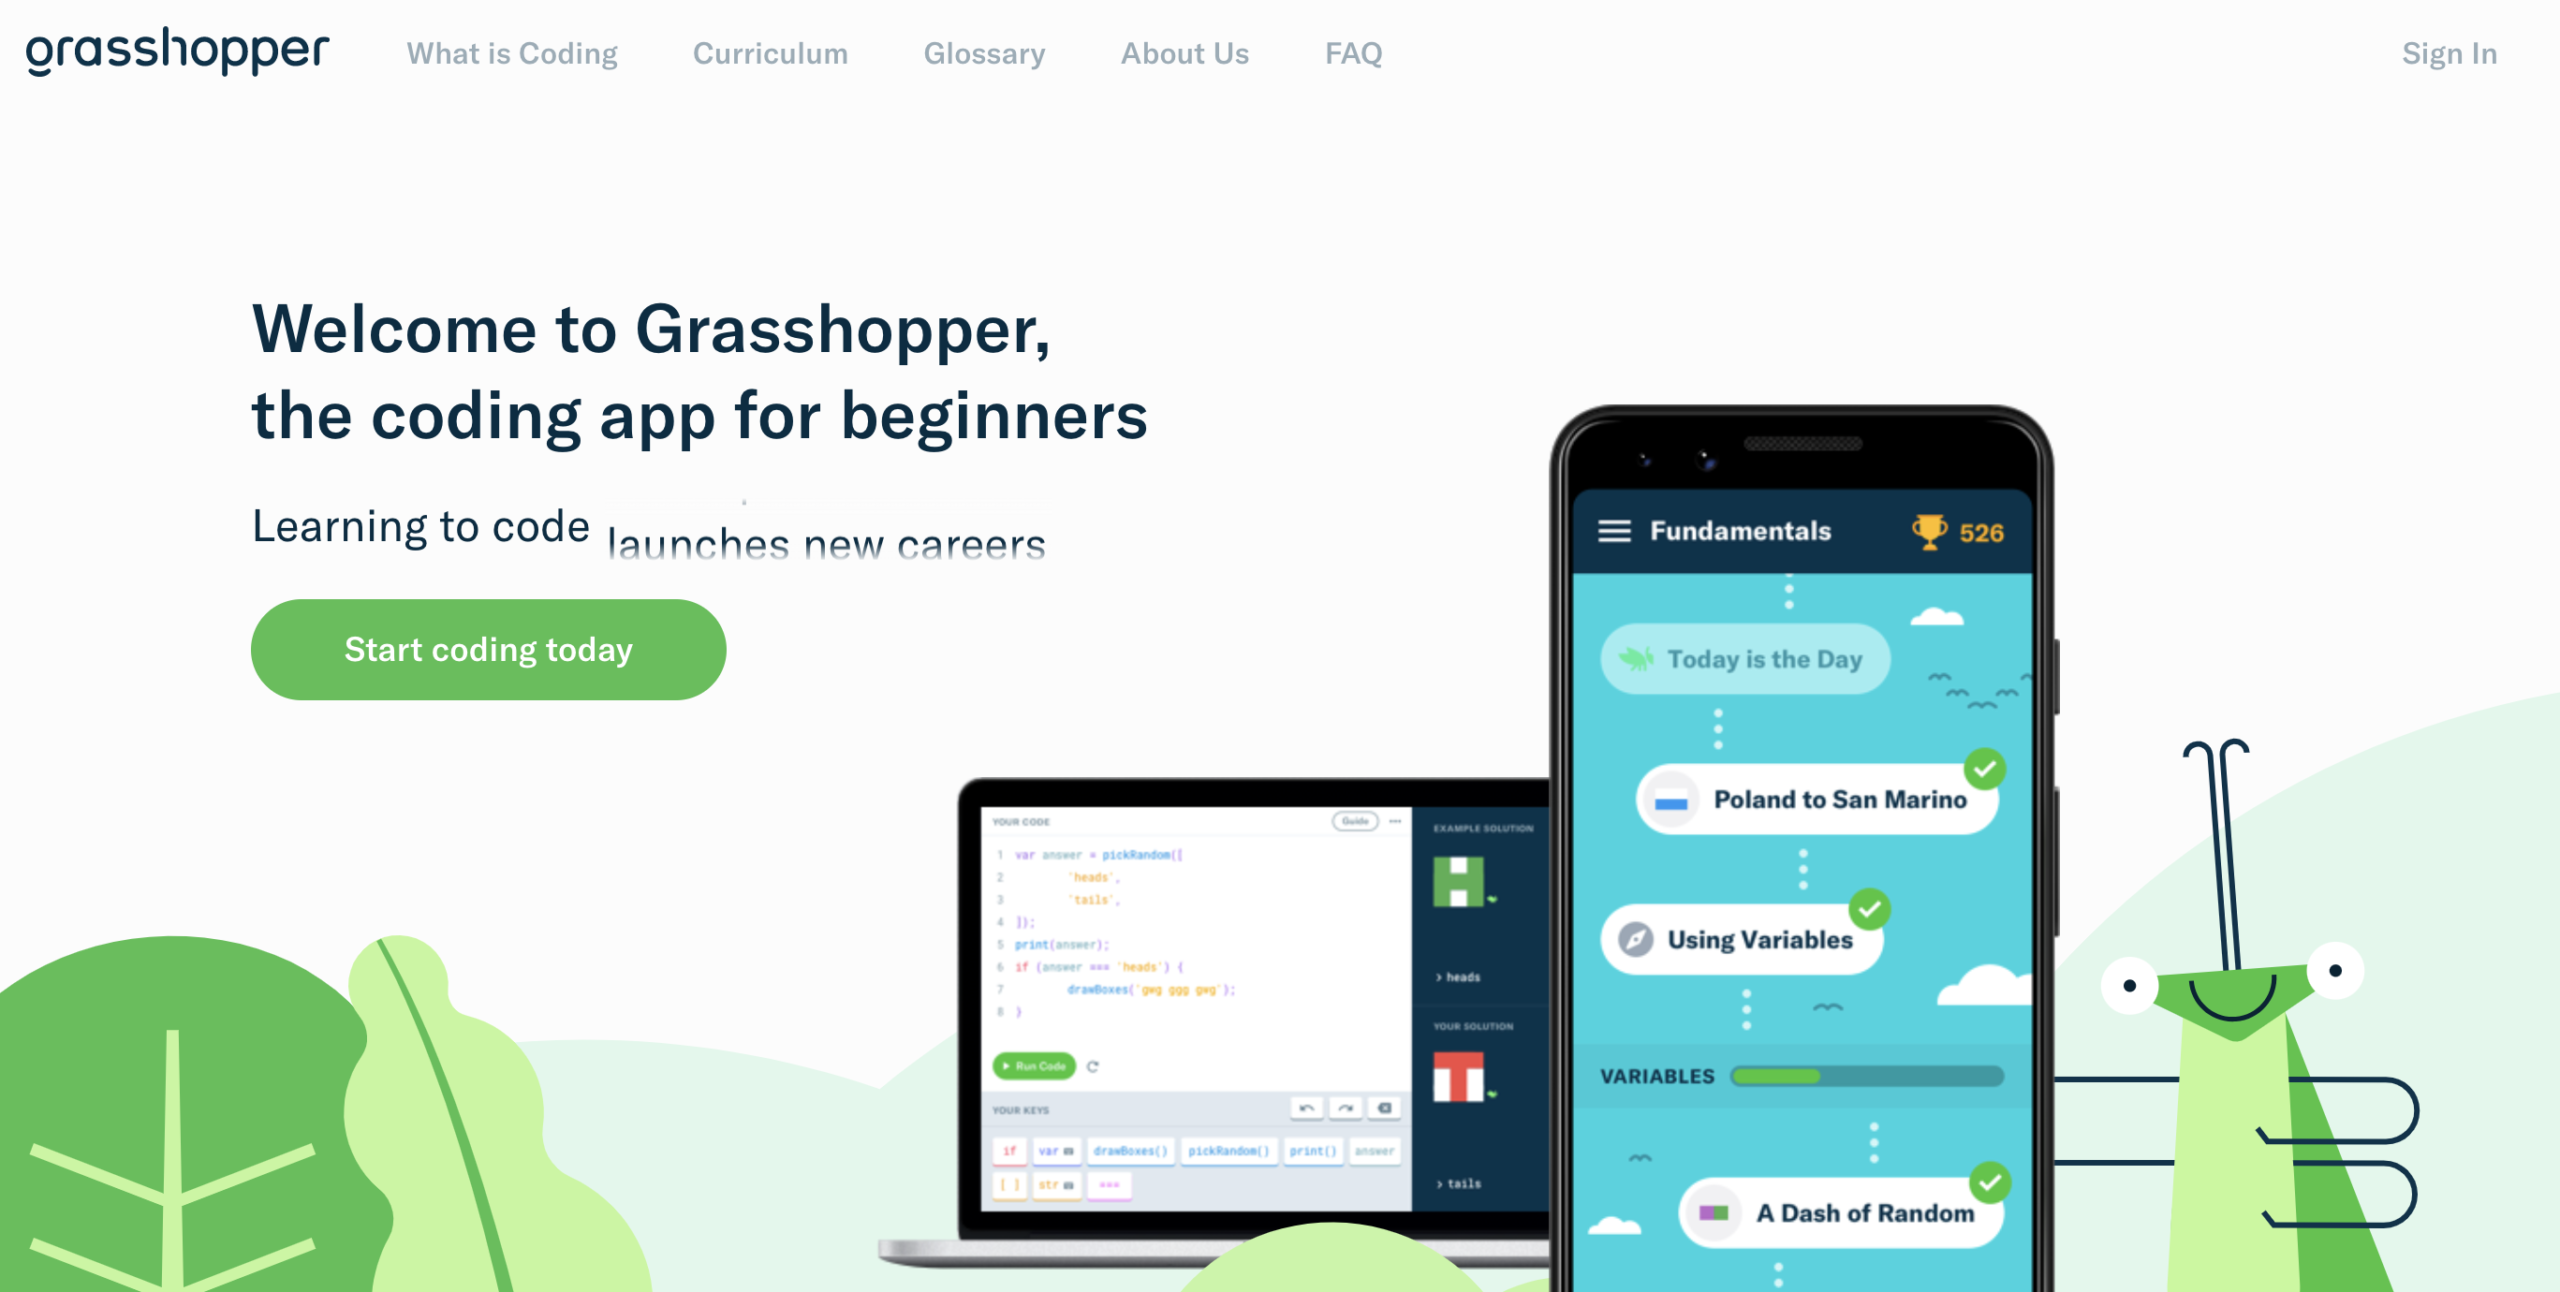
Playing With Grasshopper
Reading Time: < 1 minuteGrasshopper is a Google app to teach adults and children about Javascript. It provides people with short, easy to understand modules to get a grasshopper to do things. The curriculum is divided into seven modules. These are: Fundamentals Fundamentals II Intro to Interviewing Array Methods Animations Animations II Using a Code…
-
Playing with a Roomba
Reading Time: 2 minutesWhile I was cat sitting I spent time playing with a Roomba. Most people set the roomba, and let it clean. I don’t. I watch it and I observe how it works, how it goes from place to place and how it navigates, and gets trapped, and procrastinates in one corner or…
-
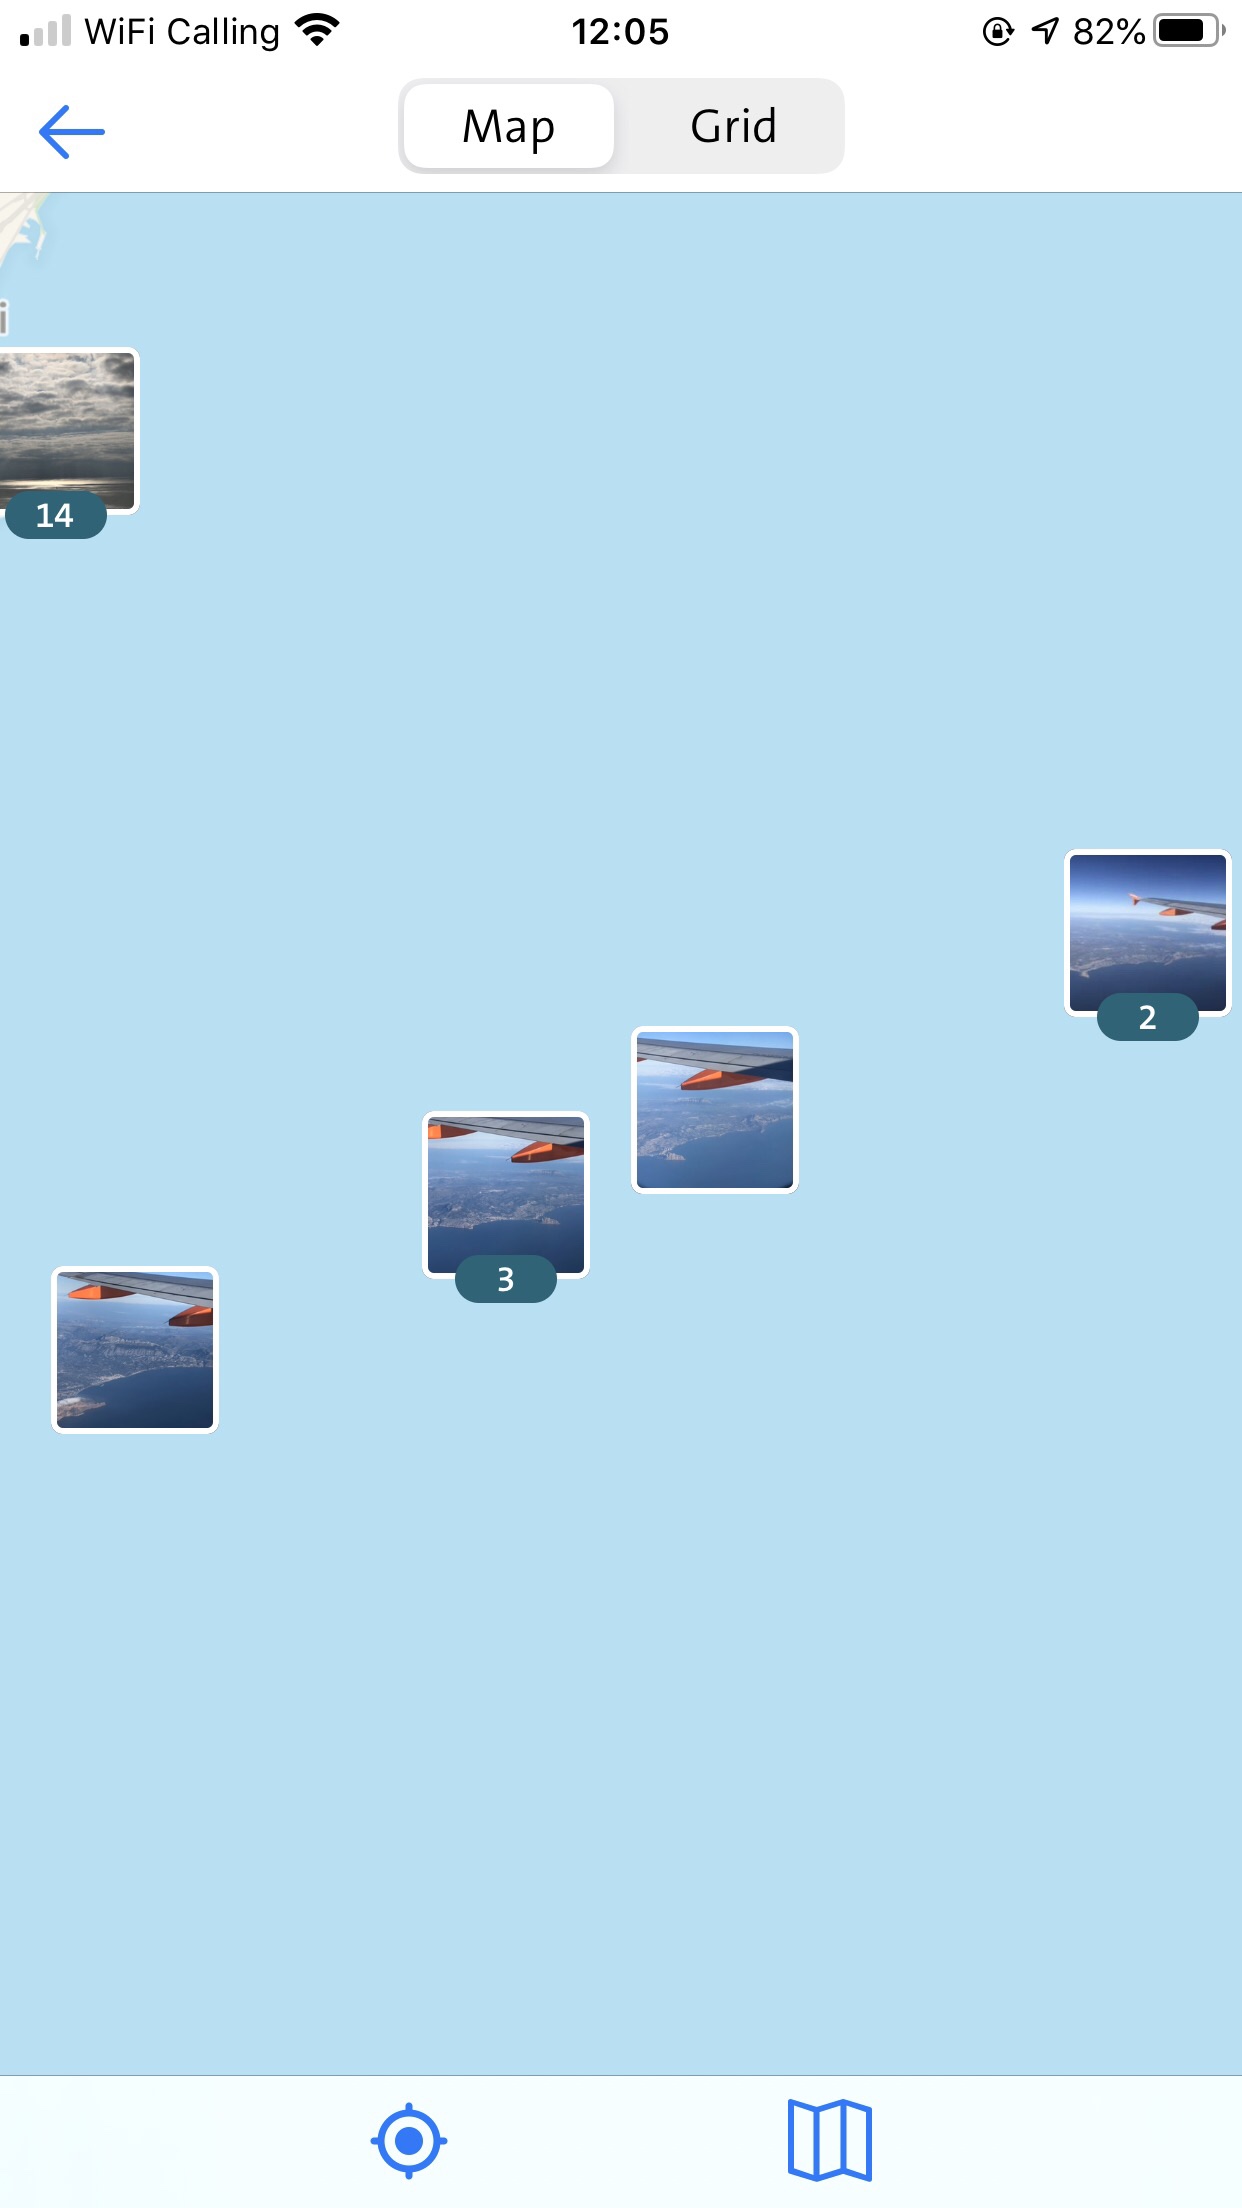
Infomaniak K Drive, Swisscom Mycloud, Apple Icloud and Google Drive
Reading Time: 5 minutesOver the last two days, I have been playing with Infomaniak K Drive, Swisscom MyCloud, Apple iCloud and Google Drive. I settled for Swisscom Mycloud because backing up pictures is free with my current contract and it’s cheaper than two terabytes with Apple iCloud. It’s free. Infomaniak K drive is interesting because…
-
13 Minutes to the Moon
Reading Time: < 1 minute13 Minutes to the Moon is an interesting podcast dedicated to the Lunar Landings. This podcast, along with audiobooks, is interesting because they allow us not just to read the dialogues that took place but to hear what the controllers and astronauts heard. At one point in Episode two, you hear…
-
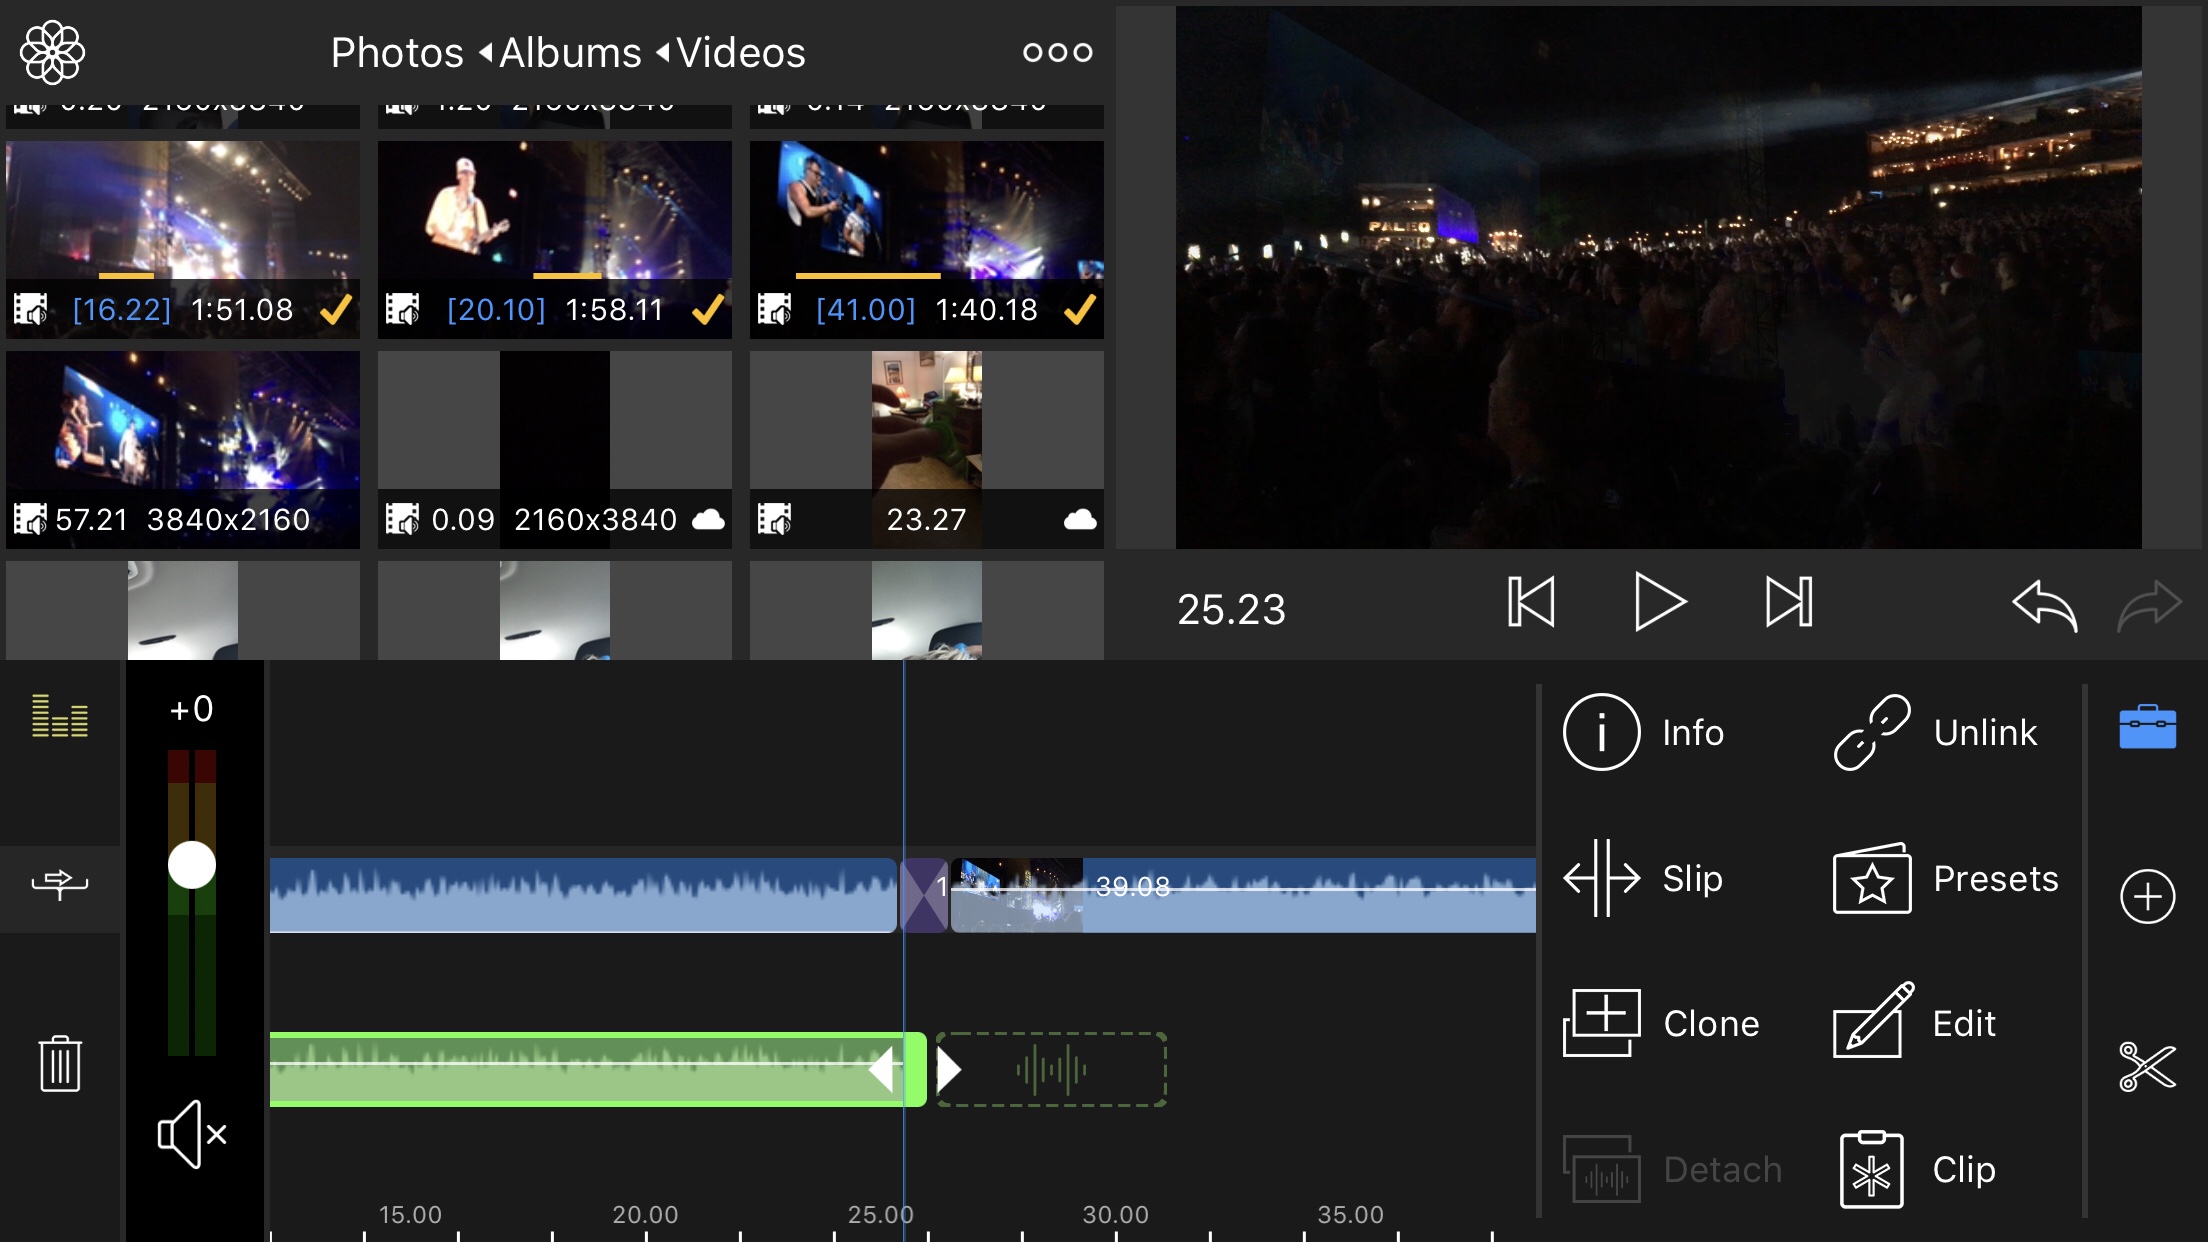
The best edit suite is the one you have with you.
Reading Time: 2 minutesYou remember the old saying. The best camera is the one that you have with you. Today the same can be said about “edit suites” that you carry in your trousers or jacket pocket. I’m speaking of edit suites that work with your iphone or ipad. Lumafusion is one such example. It…
-
A theoretical Seven Minute Workout a day
Reading Time: 2 minutesSeven Minute Workout for 36 days For about six weeks I have been trying to do at least one seven-minute workout every single day. I eventually fell out of the habit for a few days because I had to fight a little virus. I’m feeling better again. Time to see if I…
-

The Suunto Spartan Wrist HR
Reading Time: 2 minutesSuunto Spartan Wrist HR My latest Suunto device is the Suunto Spartan Wrist Hr. This is a practical device that finally includes two features that I really wanted to see in a suunto device. The first of these is the Wrist heart rate monitor function and the second is a step counter that…
-
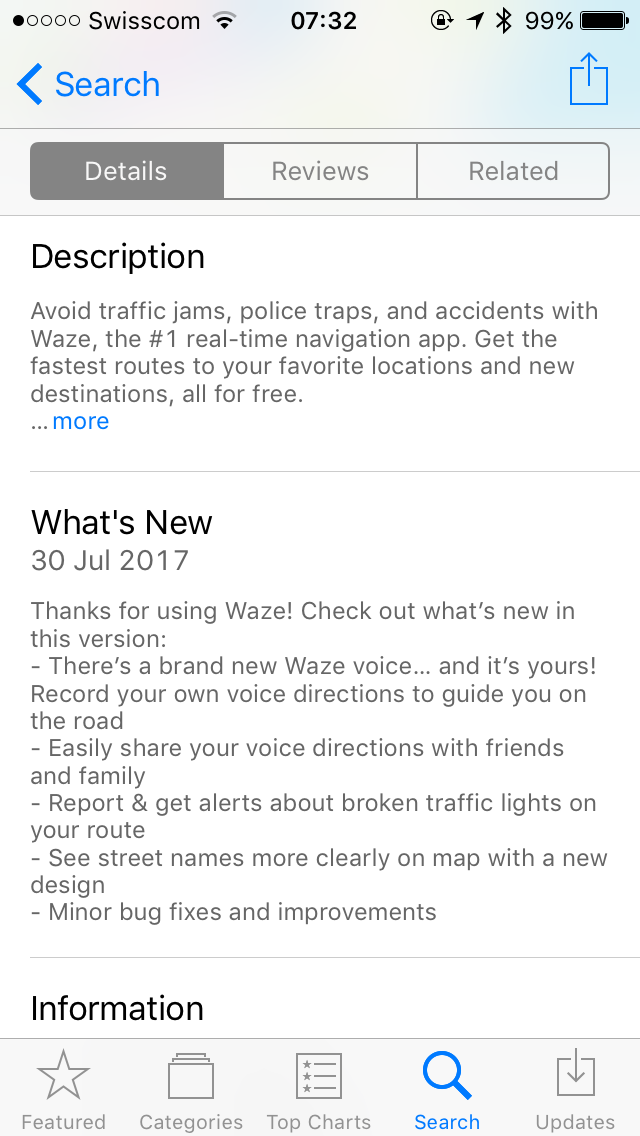
Your own Waze driving directions
Reading Time: 2 minutesYour own Waze driving directions You can now record your own Waze driving directions. Instead of using pre-determined voices you can record a number of pre-determined phrases and use them for when you are driving. Recording and using your recording is easy. Setting it up In the settings menu go to voice…
-

My first Wehike Hike
Reading Time: 3 minutesWehike is a website dedicated to find people with whom to hike. People can contribute hikes to wehike and then they or other people can organise events based on the hike information. This includes a GPX file and images. At the moment this site is in beta so they are looking for…