Tag: webcam
-
The Subtle Art of Trial and Error
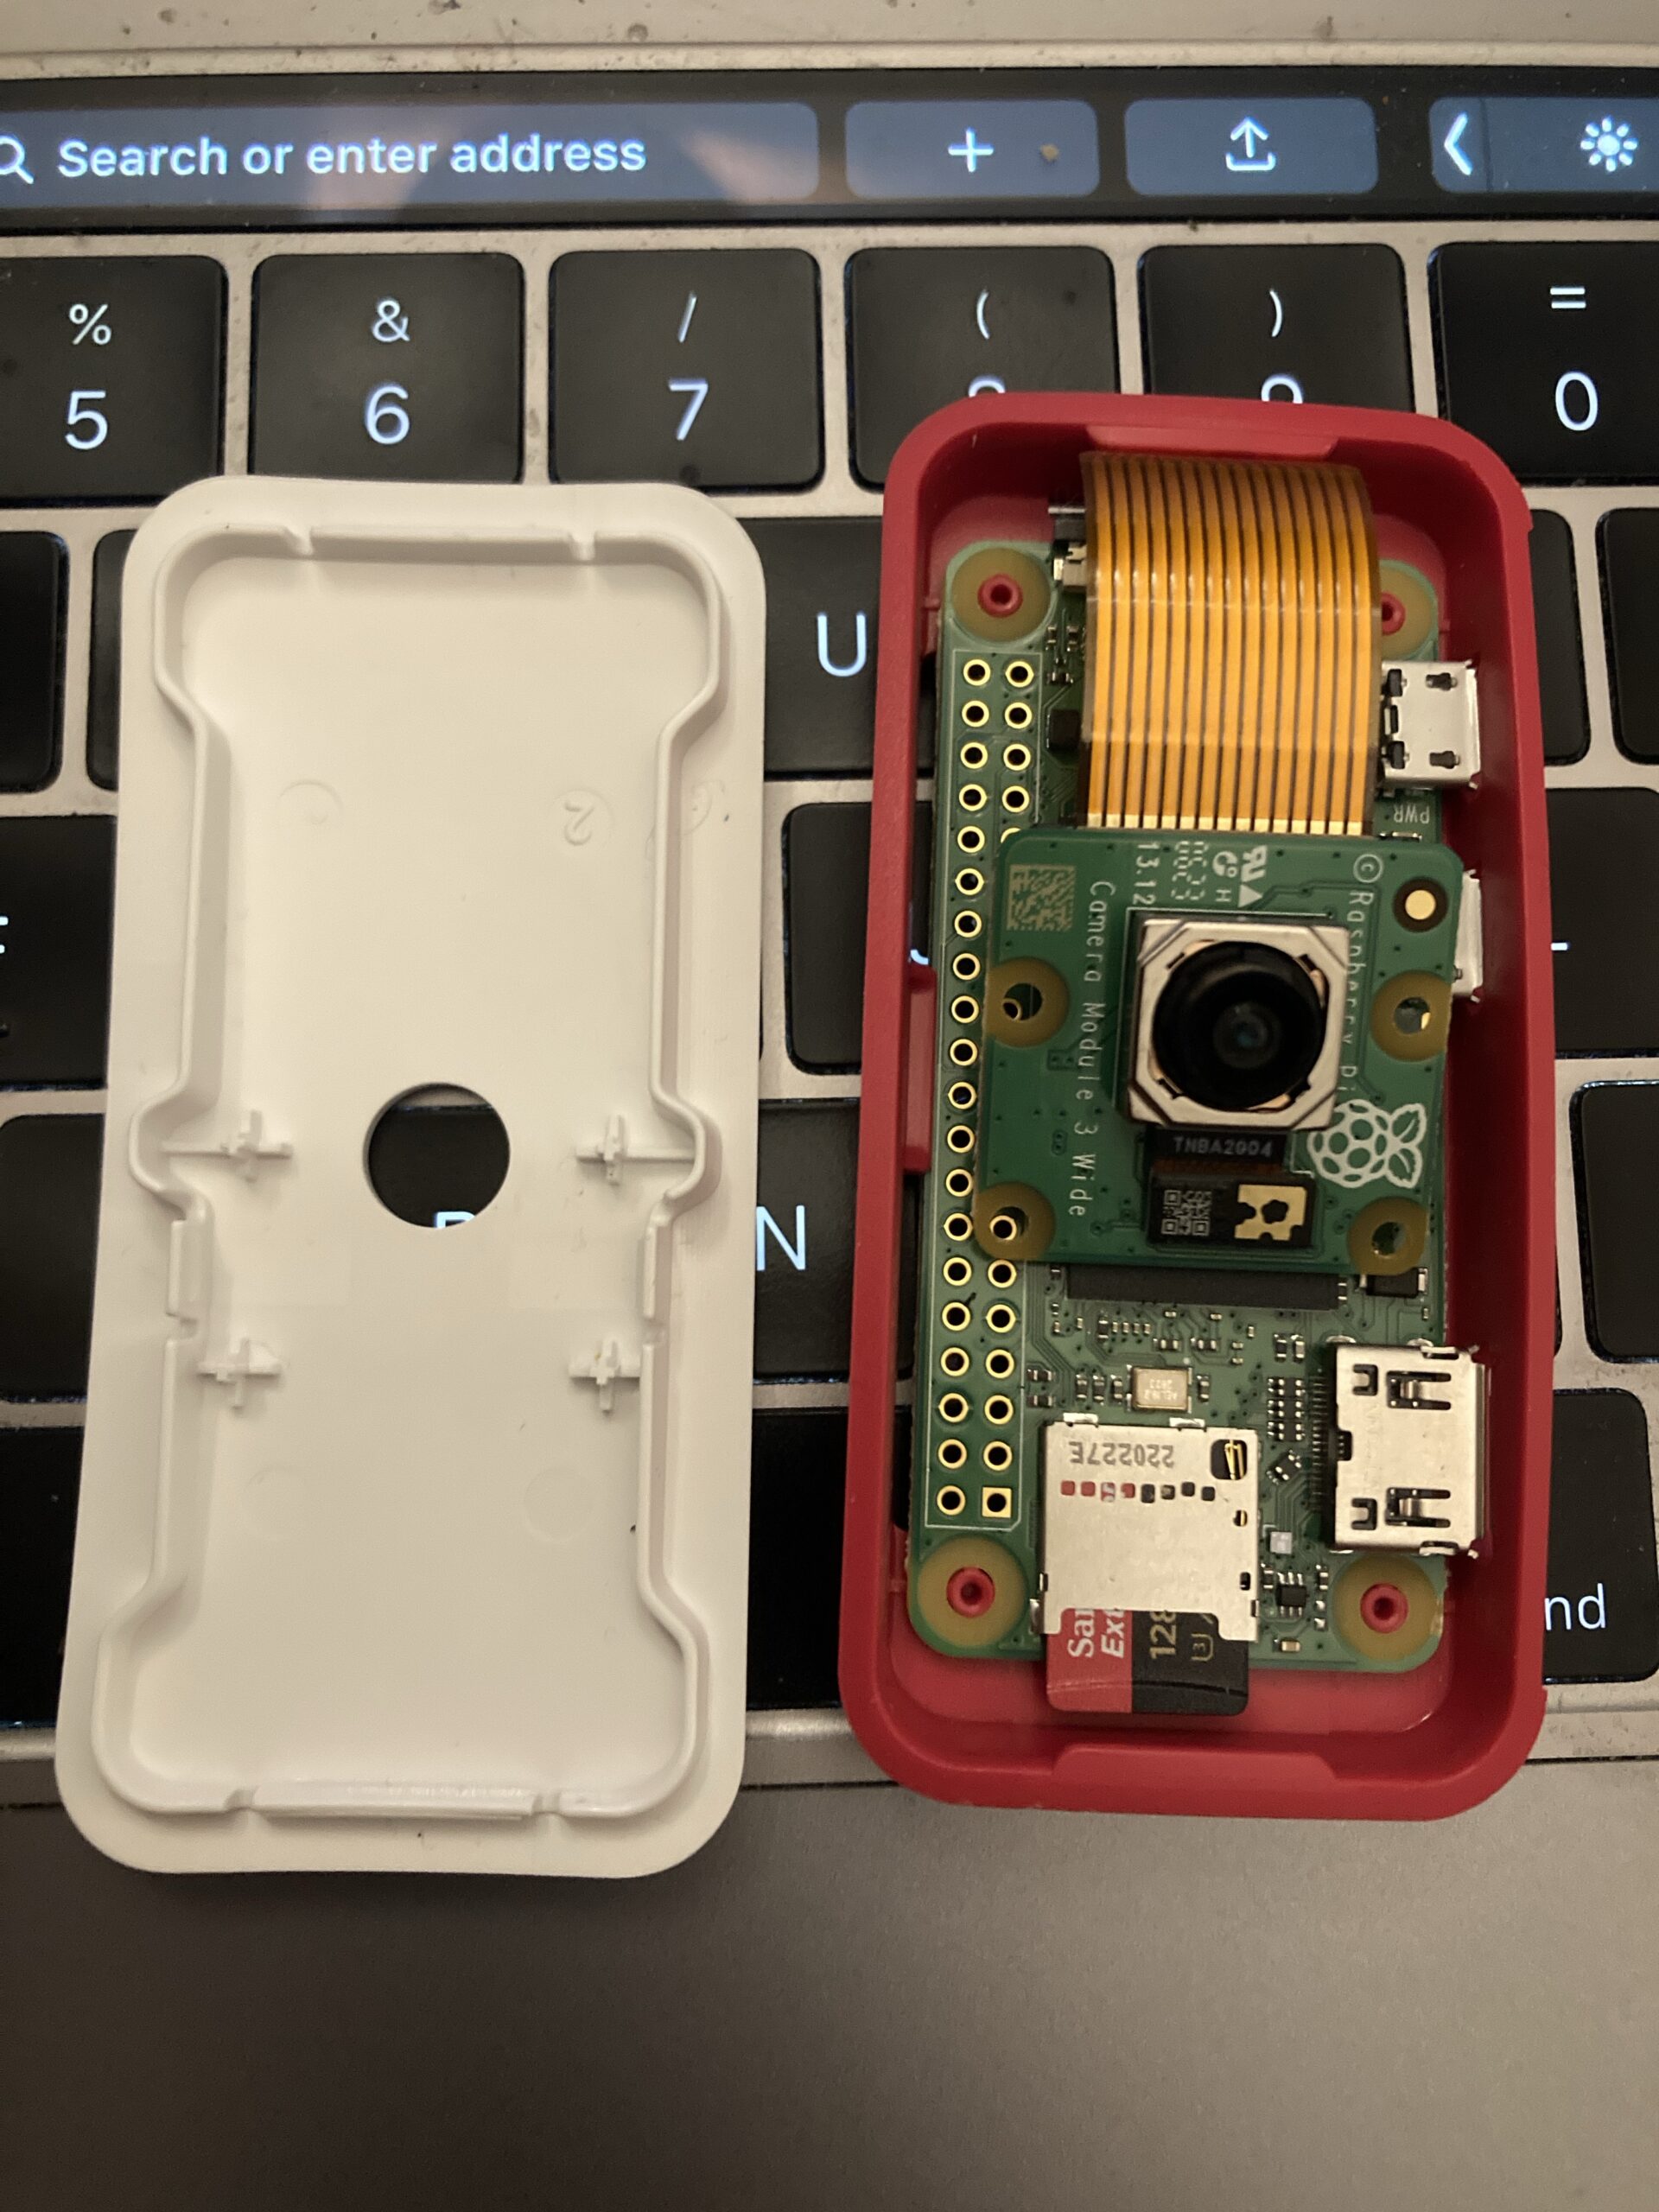
Reading Time: 4 minutesFor 40 CHF you can buy a Tapo or Xiaomi webcam and it is almost ready to be used as a webcam. You take it out of the box, plug it in, add an SD card, download the app, pair it with the phone and let the phone connect it to wifi…
-
The Francofous yahoo Live wall
Reading Time: < 1 minuteThe Francofous are a good group of people and last night we spent a few hours playing with Yahoo Live and skype. Skype provided the audio whilst yahoo live provided the video platform. Yahoo live is limited in the way we can watch and follow video so I created a simple…