Tag: learning
-

Experimenting With Eleventy
Reading Time: 3 minutesOne nice thing about switching from WordPress to Eleventy is that I start with a blank slate. By this I don’t mean that I start with nothing, because Eleventy does a lot. What I mean by this is that I can use APIs and other tools with greater ease than if I…
-

On the Euphoria of Setting Up Activitypub With Gemini – Irony
Reading Time: 3 minutesI have spent many hours, and got Gemini to hallucinate multiple times, through multiple chats, attempting to get my Eleventy blogging experiment to talk with Activitypub and the Fediverse with limited help.Setting p a webfinger was easy, but getting follows to be accepted, and for posts to show up has been a…
-

The Importance of Trying AI
Reading Time: 3 minutesFrom what I see the aim of AI companies is not to provide human beings with great tools to speed up work flows, to automate menial tasks, and to enhance our daily work lives. It is to replace us. For this reason I don’t like that there is so much hype about…
-

The Inclusivity of Empathy in Group Activities
Reading Time: 4 minutesI love to hike fast. I also love to walk fast. When I am hiking I love to hike my own hike, and then wait for people at regular intervals, so that they may catch up, rest a little, and then continue. When cycling with some groups I will be left alone…
-

Swisscom MyAI as tutor
Reading Time: 2 minutesYesterday I asked MyAI by Swisscom, which is still in Beta, if it could help me write a JavaScript app to generate passwords and it did, with ease. It provided me with the javascript code I needed so I could cut and paste it, and then use node to run it straight…
-
The Growing Desire to Self-Host
Reading Time: < 1 minuteAs WordPress grows and as my comfort with Hugo increases I question whether to move my blog from Infomaniak to being self-hosted on a Pi. I know that the Pi is not powerful but my site doesn’t get much traffic so I don’t think that it will be overwhelmed with traffic.…
-
The End of my Exposed Host Experiment
Reading Time: 2 minutesFor months I have been hosting Immich, Photoprism and AudioBookShelf and the experiment has been a success. It has been stable and reliable so far and I did not detect anyone accessing my server without permission. I had these services as Exposed Host via the Swisscom router DMZ setting. it was easy…
-

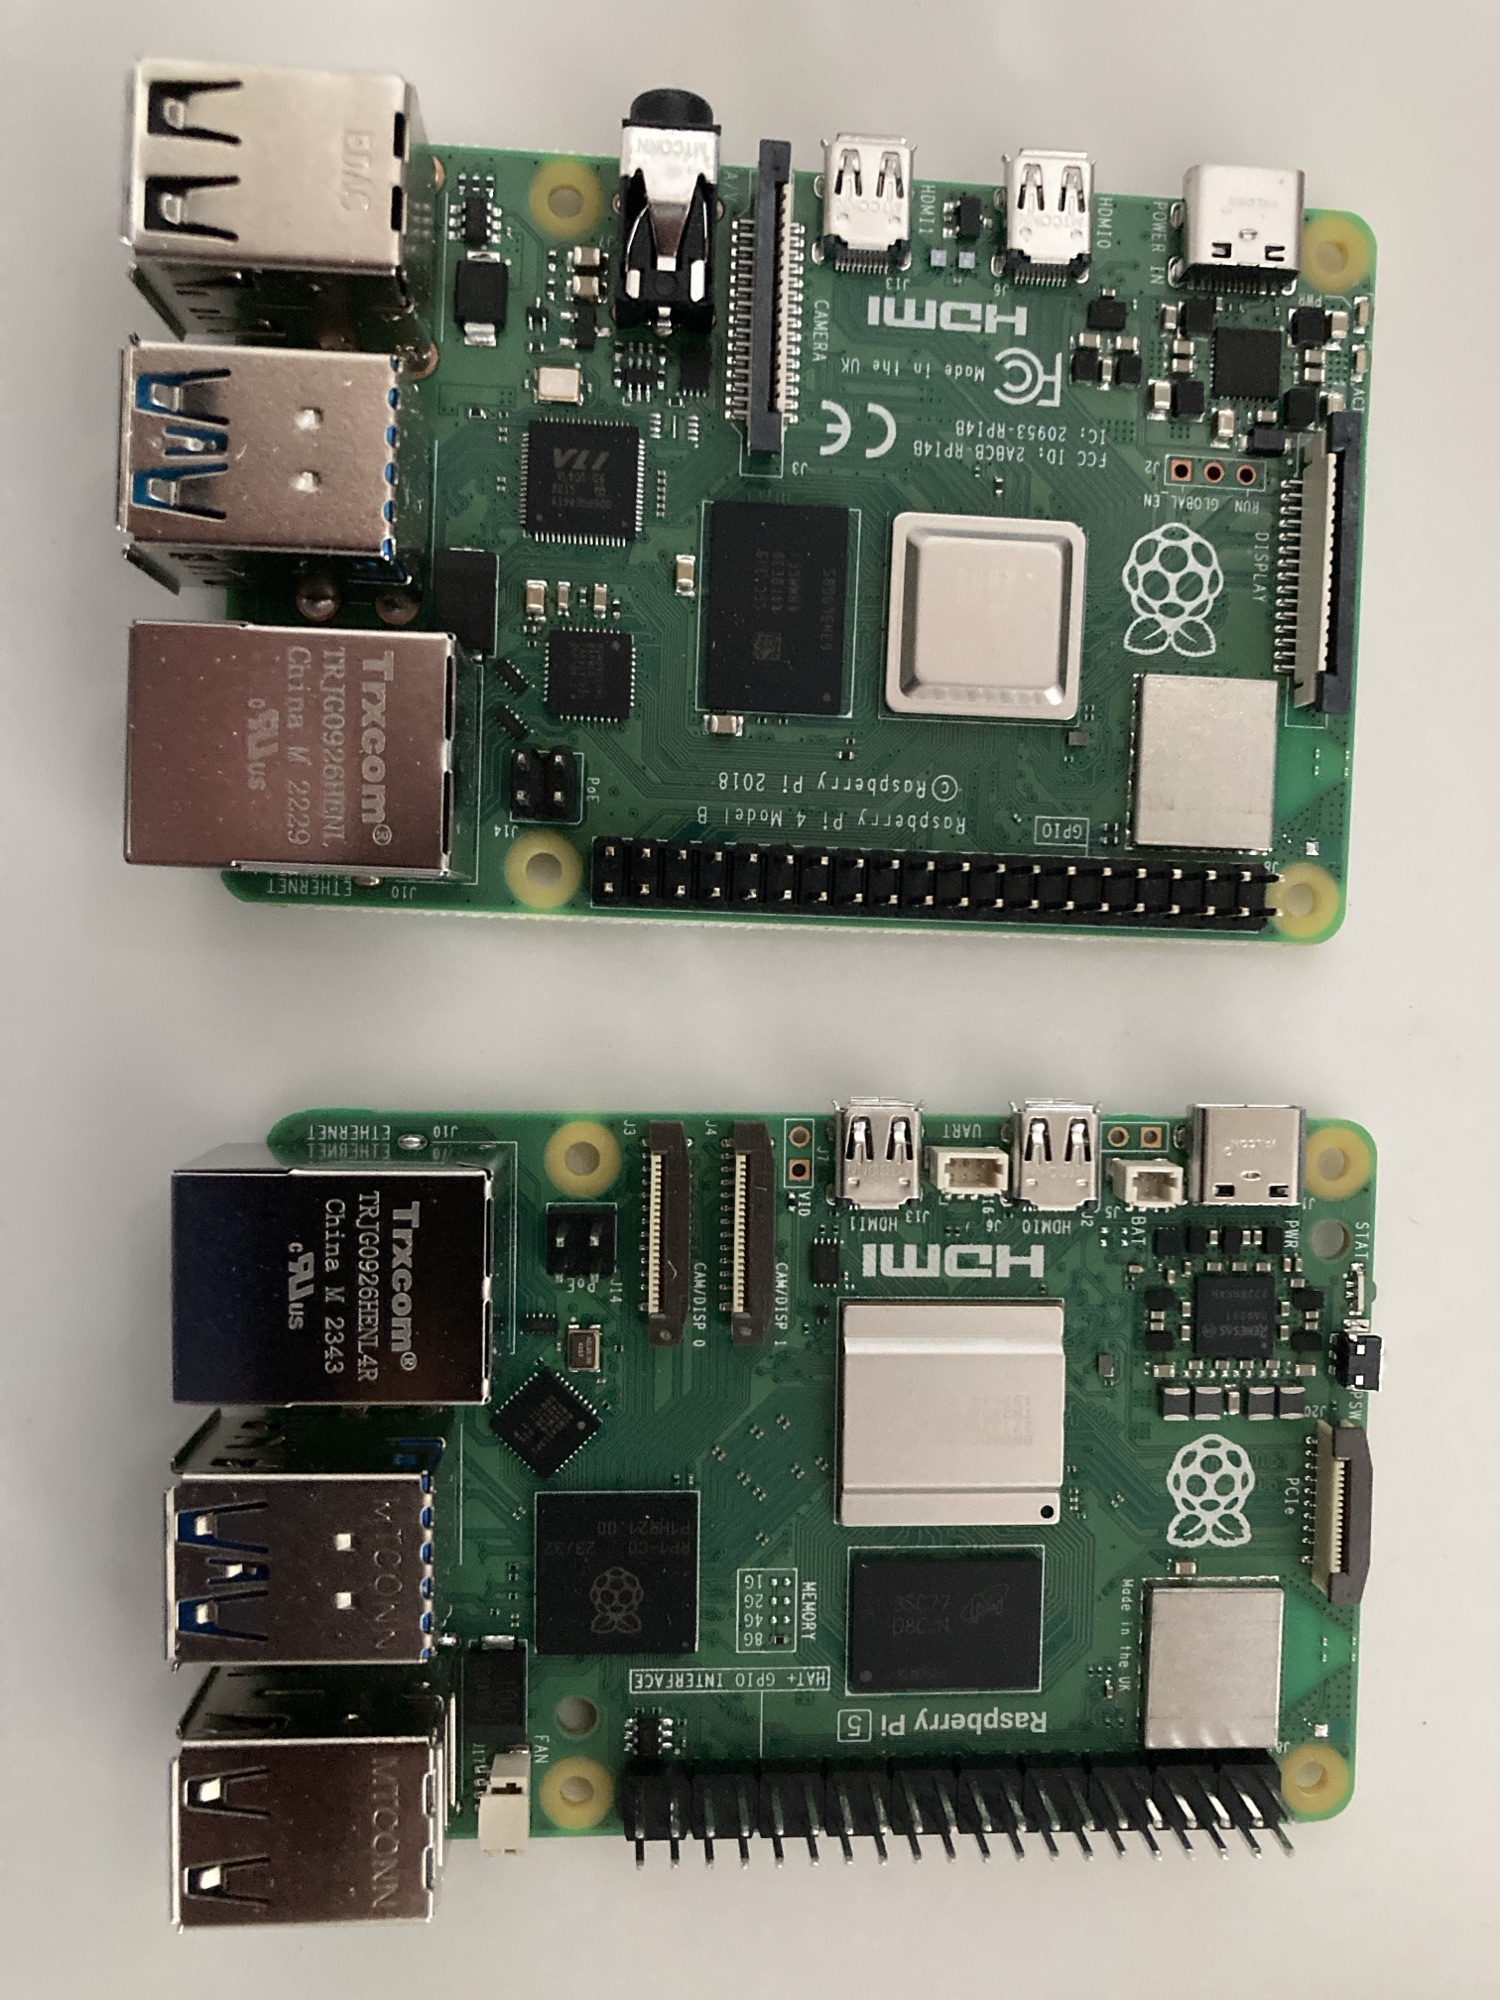
A Move from Self-Hosting on a Pi5 8gb to a Pi5 4gb
Reading Time: 2 minutesYesterday I started moving from a Pi5 8gb to a Pi5 4gb to self-host Audiobookshelf, Photoprism and Immich. I want to move from Ubuntu Desktop to ubuntu server to lower the head room required. When I checked I was using 3.9gb out of 8gb of ram. On the Pi5 4gb running the…
-
Playing With Computers
Reading Time: 3 minutesThere are two types of computer users in the world. Those that use them for what they need to use them for, and those that play with computers. In the 90s an English teacher was frustrated by the grammatically incorrect “playing with computers” because for him, and others people play computer games…
-
A Pi5, WordPress and ClasssicPress
Reading Time: 2 minutesLast night I started to install wordpress on the Pi5 and I got it to work. I then started to install ClassicPress via the ClassicPress switchtoclassicpress plugin and got blocked. I was blocked because in order for WordPress to update plugins, themes and wordpress it needs to have access to itself via…