Tag: workflow
-
Some Limitations of Gemini
Reading Time: 3 minutesFor several days now I have been playing with Gemini, Google Takeout files and Flick Export files, first to re.marry json data to relevant exif fields, and then to create a folder structure library by year, month and day. In the process I have had to itterate, and itterate, and think lateraly…
-
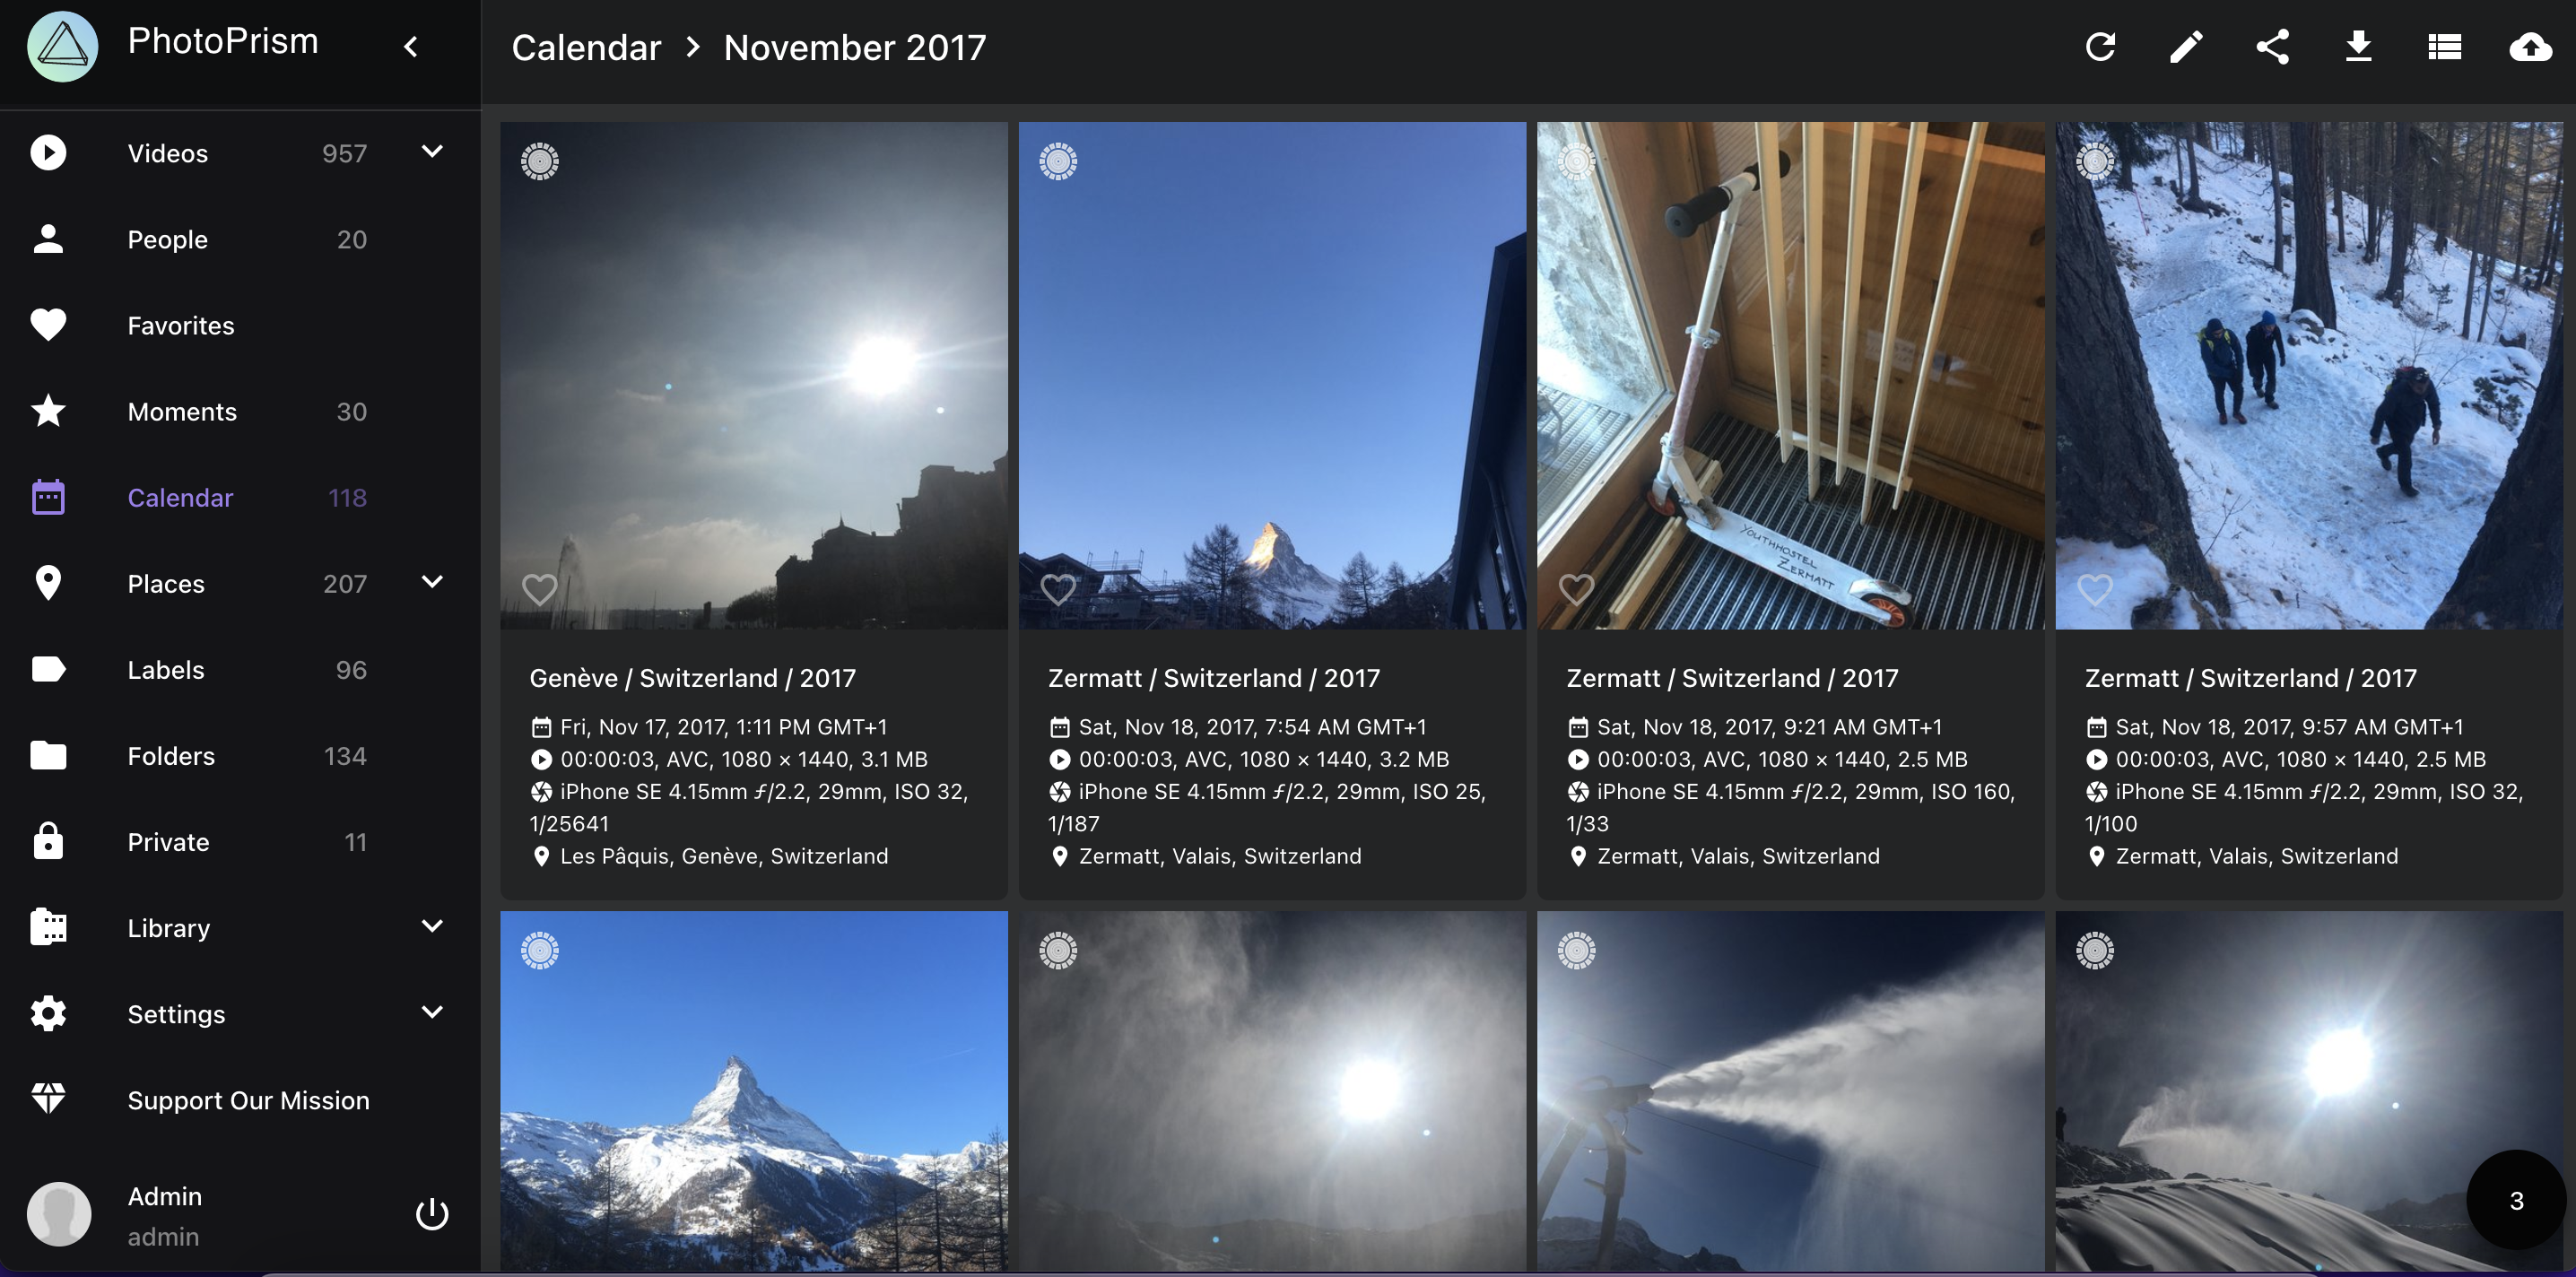
Migrating Media Assets from Google Photos to PhotoPrism
Reading Time: 5 minutesYesterday I started the proper migration of my Google Photo assets from Google Takeout to [PhotoPrism](https://www.photoprism.app/). The first step was to mount the drives to the linux system, the second was to transfer the photos from the external hard drive to the internal SD card, unzip them, and then start imposing assets.…
-
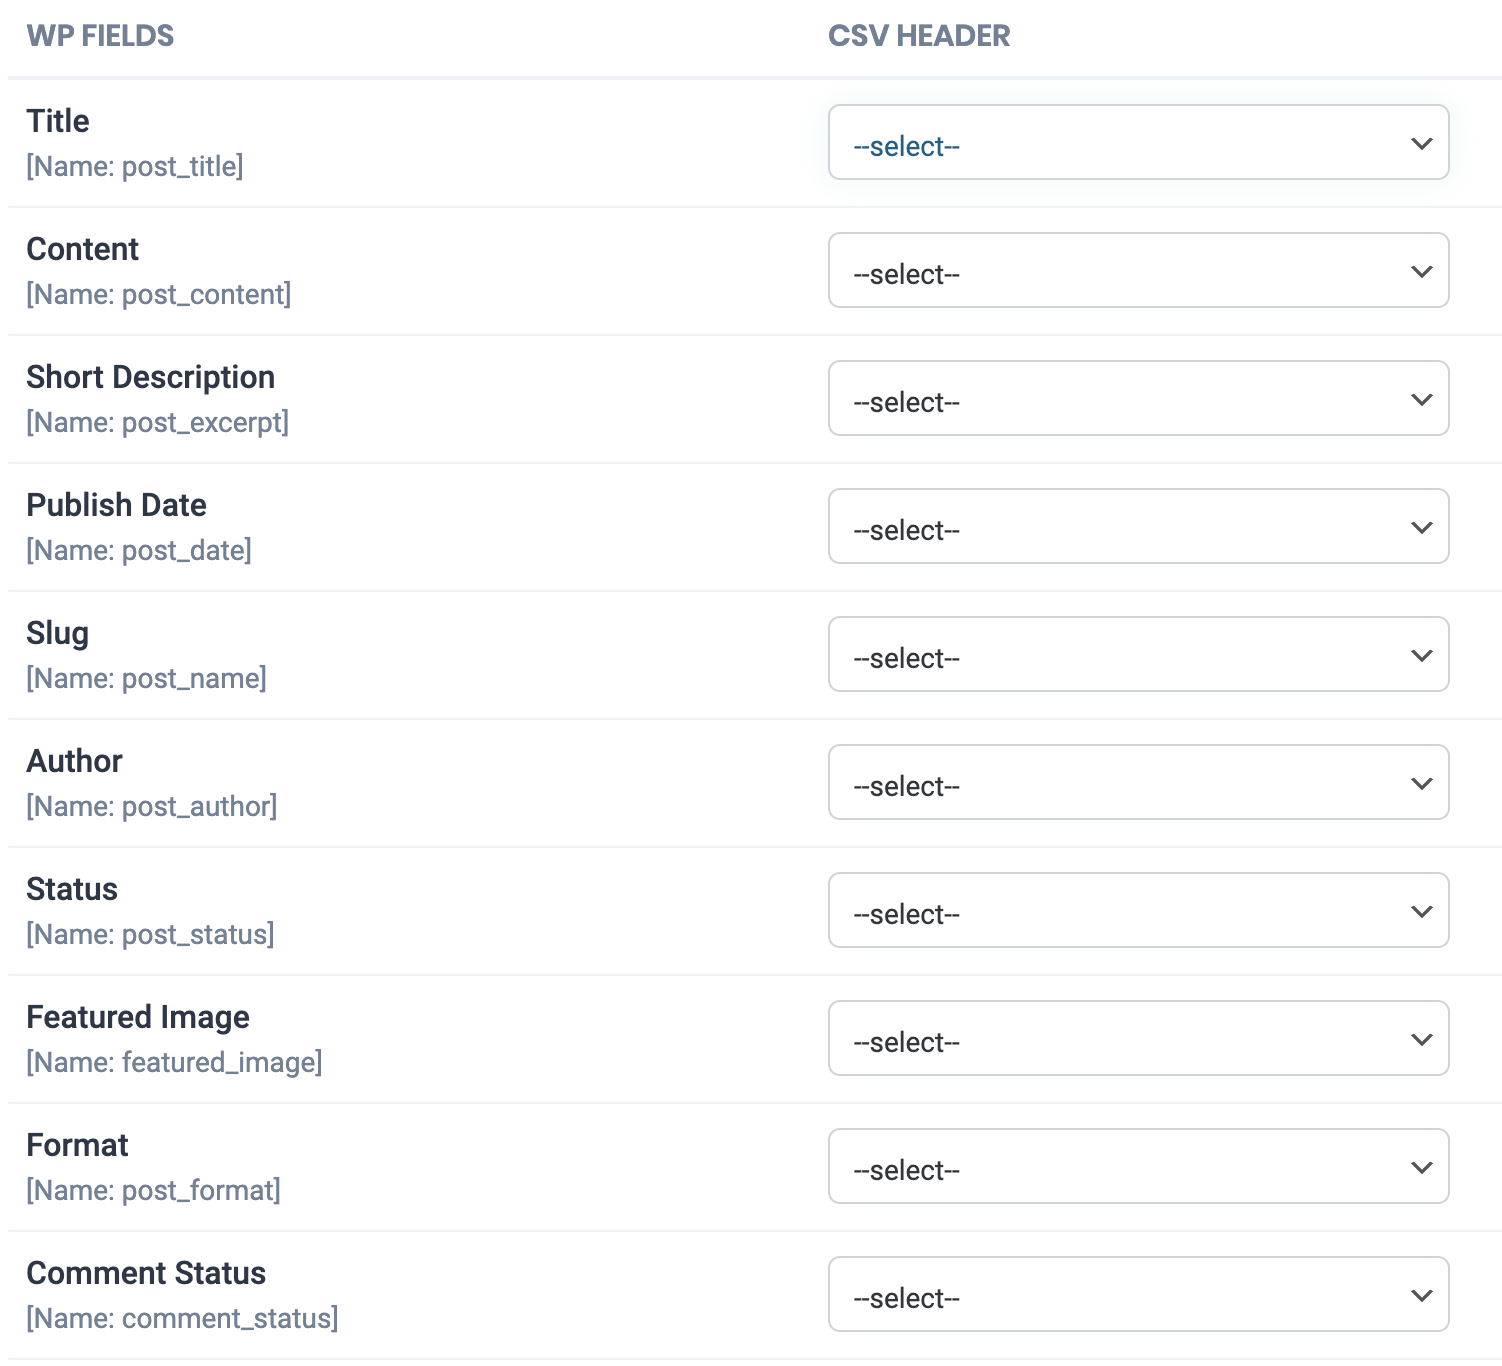
How to Migrate from Instagram To WordPress
Reading Time: 4 minutesRecently I migrated my photos from Instagram to a WordPress blog. The process took some trial and error. The first step is to understand how to read JSON files and format them in a way that WordPress can use. The next step is to import that data into WordPress. To request your…