Category: Swiss walks
-
The Value of Sporty Redundancy
Reading Time: 2 minutesFor years, and years, I loved to rock climb, explore via ferrata, hike and more but as soon as Autumn came and people went indoors the social calendar dried up until the next spring. With cycling, to a large degree you have the same issue. As soon as the nights shorten, or…
-
Runna Hill Training in Luins
Reading Time: 3 minutesThis morning Runna wanted me to do some hill training. As I live near Luins I decided that I would use some proper hills, rather than theoretical ones. In anticipation of this workout I chose RPE in the Runna app on the phone. I was sadly disappointed to find that RPE is…
-

The Cancelled Saturday Plan Rain
Reading Time: 2 minutesThis morning you might have noticed quite particular. Yesterday it was drizzling. This meant that we could go for a run, despite the rain, and end, still dry. This morning however a bike ride was cancelled, or maybe even several. The reason is that it was wetting rain, or “heavy rain” as…
-
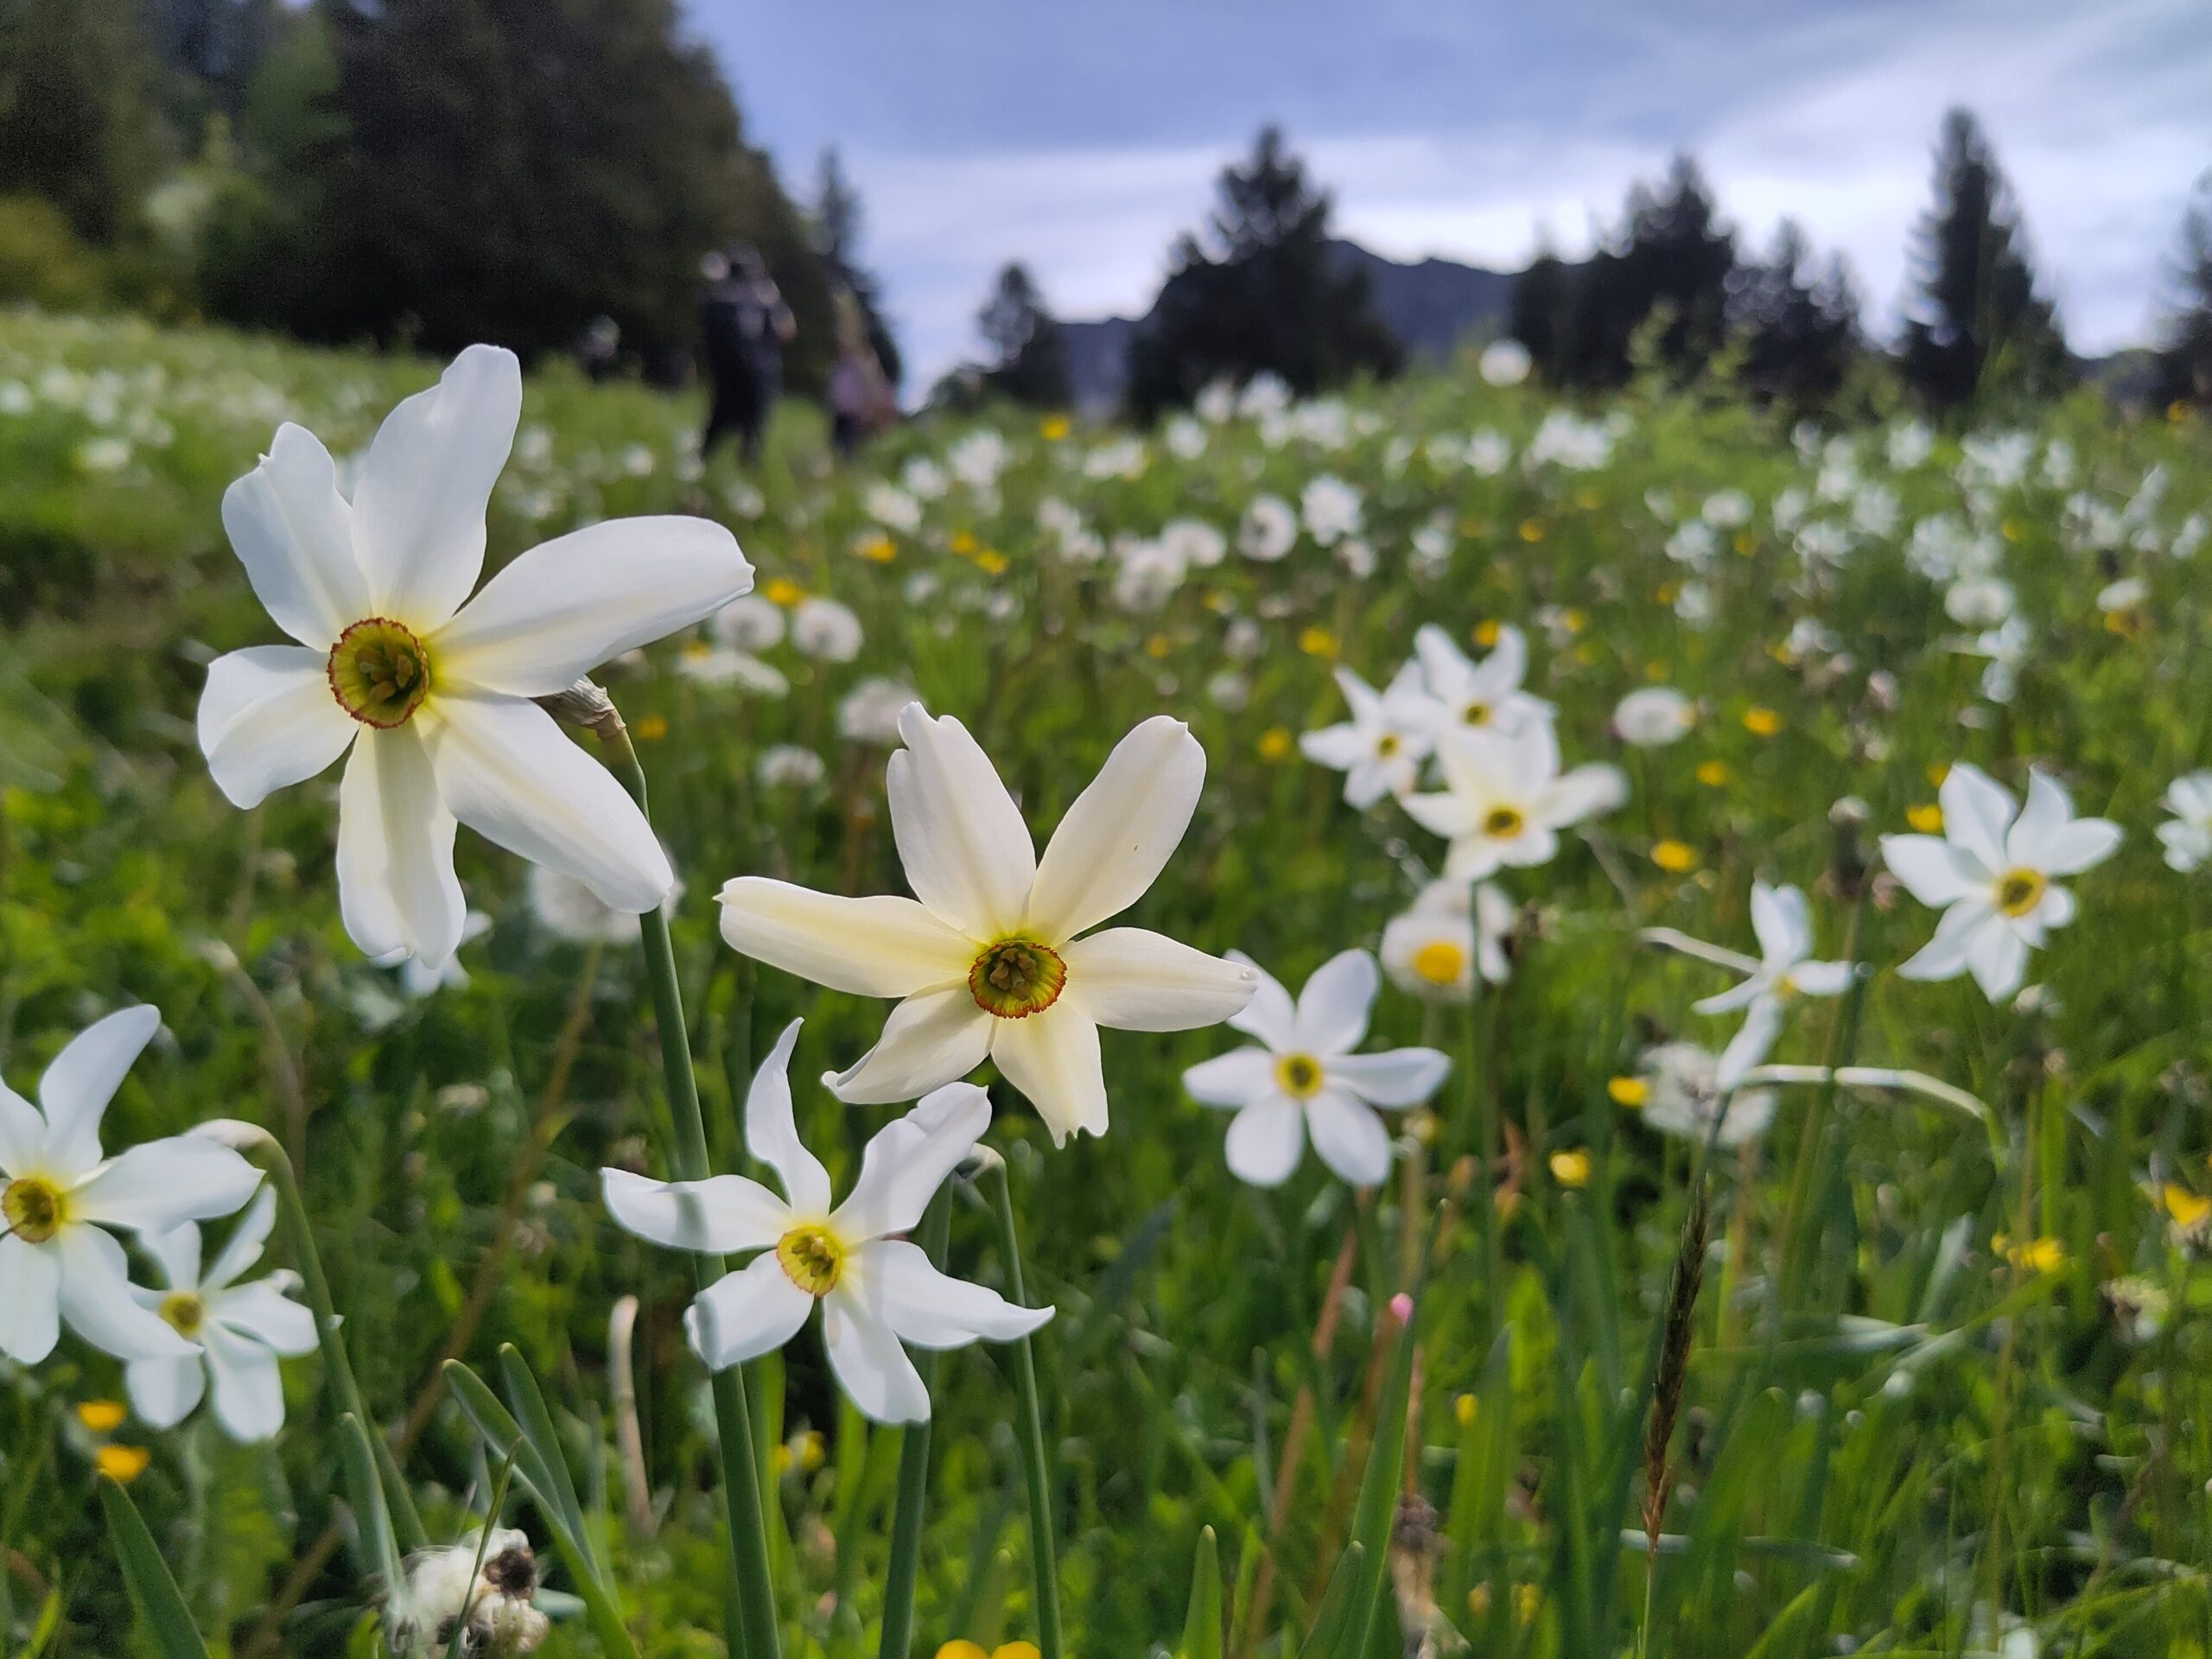
The Drift Into Overnight Trip Territory
Reading Time: 3 minutesThere was a plan yesterday, or the day before, to do a Narcissus hike. It would have been a 15km hike that started in Caux and then did a large loop before heading down into the Gorges De Chauderon and finally towards Montreux. The hike was cancelled due to two concerns. The…
-
The Calm Week
Reading Time: 2 minutesFor two or three weeks I was afraid of overdoing it, and then the bad weather came, and public holidays, and suddenly I’m resting more than I expected to. Yesterday would have been an exhausting ride if it had taken place, but due to fresh snow, wind and rain it was cancelled.…
-
A Twenty five Hour Investment for a Book Club
Reading Time: < 1 minuteYesterday I was struck by the irony of spending twenty five hours reading a book for a discussion in a book club, and then the conversation falling into a rat hole. A rat hole is a term to describe when a conversation gets sidetracked or distracted. Of course we discussed themes…
-
The Faster Baudichonne
Reading Time: 1 minuteOn Saturday I hesitated for hours on whether to go for a group run, or a challenging group run. The Baudichonne is a short, but hard climb. It’s at an average of 10 percent, but don’t let that fool you. It’s not just the gradient. It’s persistent for almost the entire climb.…
-
The Fediverse Stats Paradox
Reading Time: < 1 minuteThe more I use WordPress, and the more they change the UI, the more I want to dump it. These stats, instead of encouraging me to use wordpress, and the fediverse, encourage me to dump both. Blogging shouldn’t be about metrics, it should be about the development of thoughts and ideas,…
-
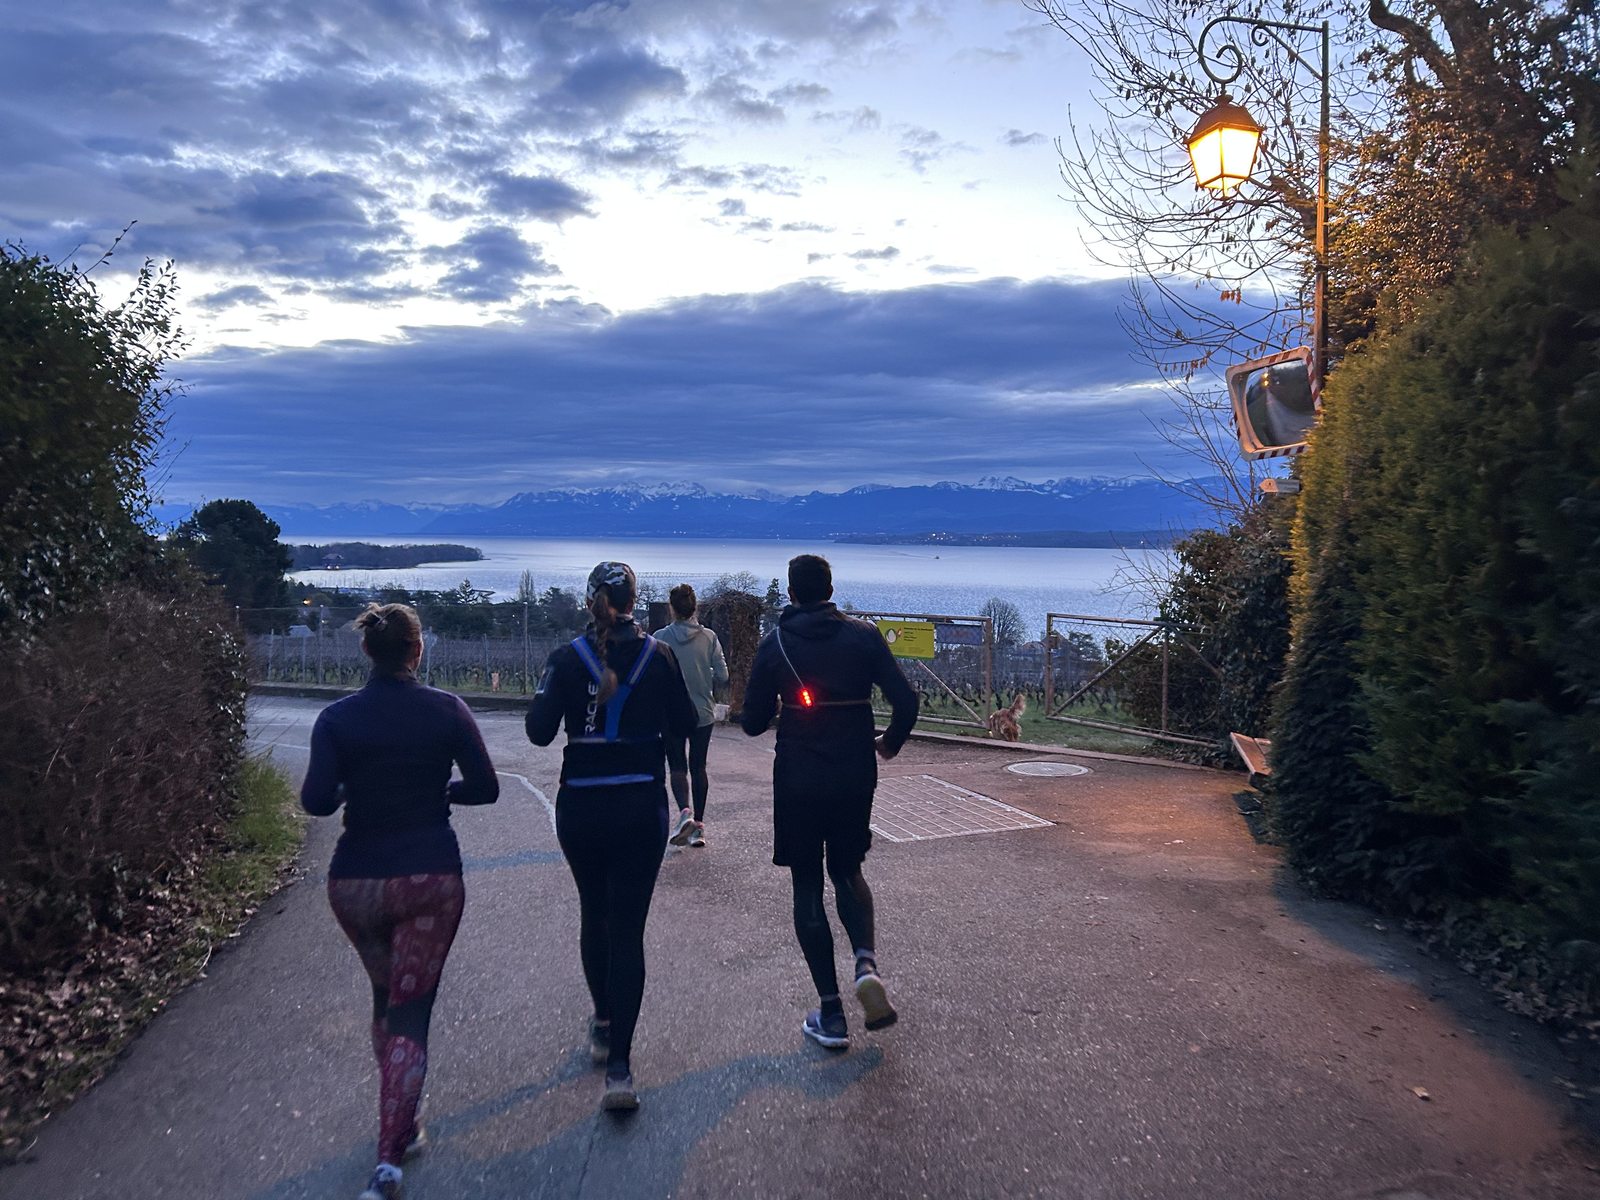
A 6AM Run in Morges
Reading Time: < 1 minuteThis morning i woke naturally at 03:30 and headed to Morges for the 6am run. Some might think that’s early but I was fine with it. The paradox is that walking early is easy. It’s staying awake that is hard. It’s also getting to sleep at a reasonable time despite noisy…
-
On Assessing a Whatsapp Community Correctly
Reading Time: 2 minutesI gave a Whatsapp Community of Communities community the benefit of the doubt for over a year, and eventually, when I saw that conversations for a town based chat were locked, except for admins overnight while I slept I quit, despite conversations being open again. I quit, first and foremost because there…