Category: Swiss walks
-
The Sunrise Run and Croissant Loop
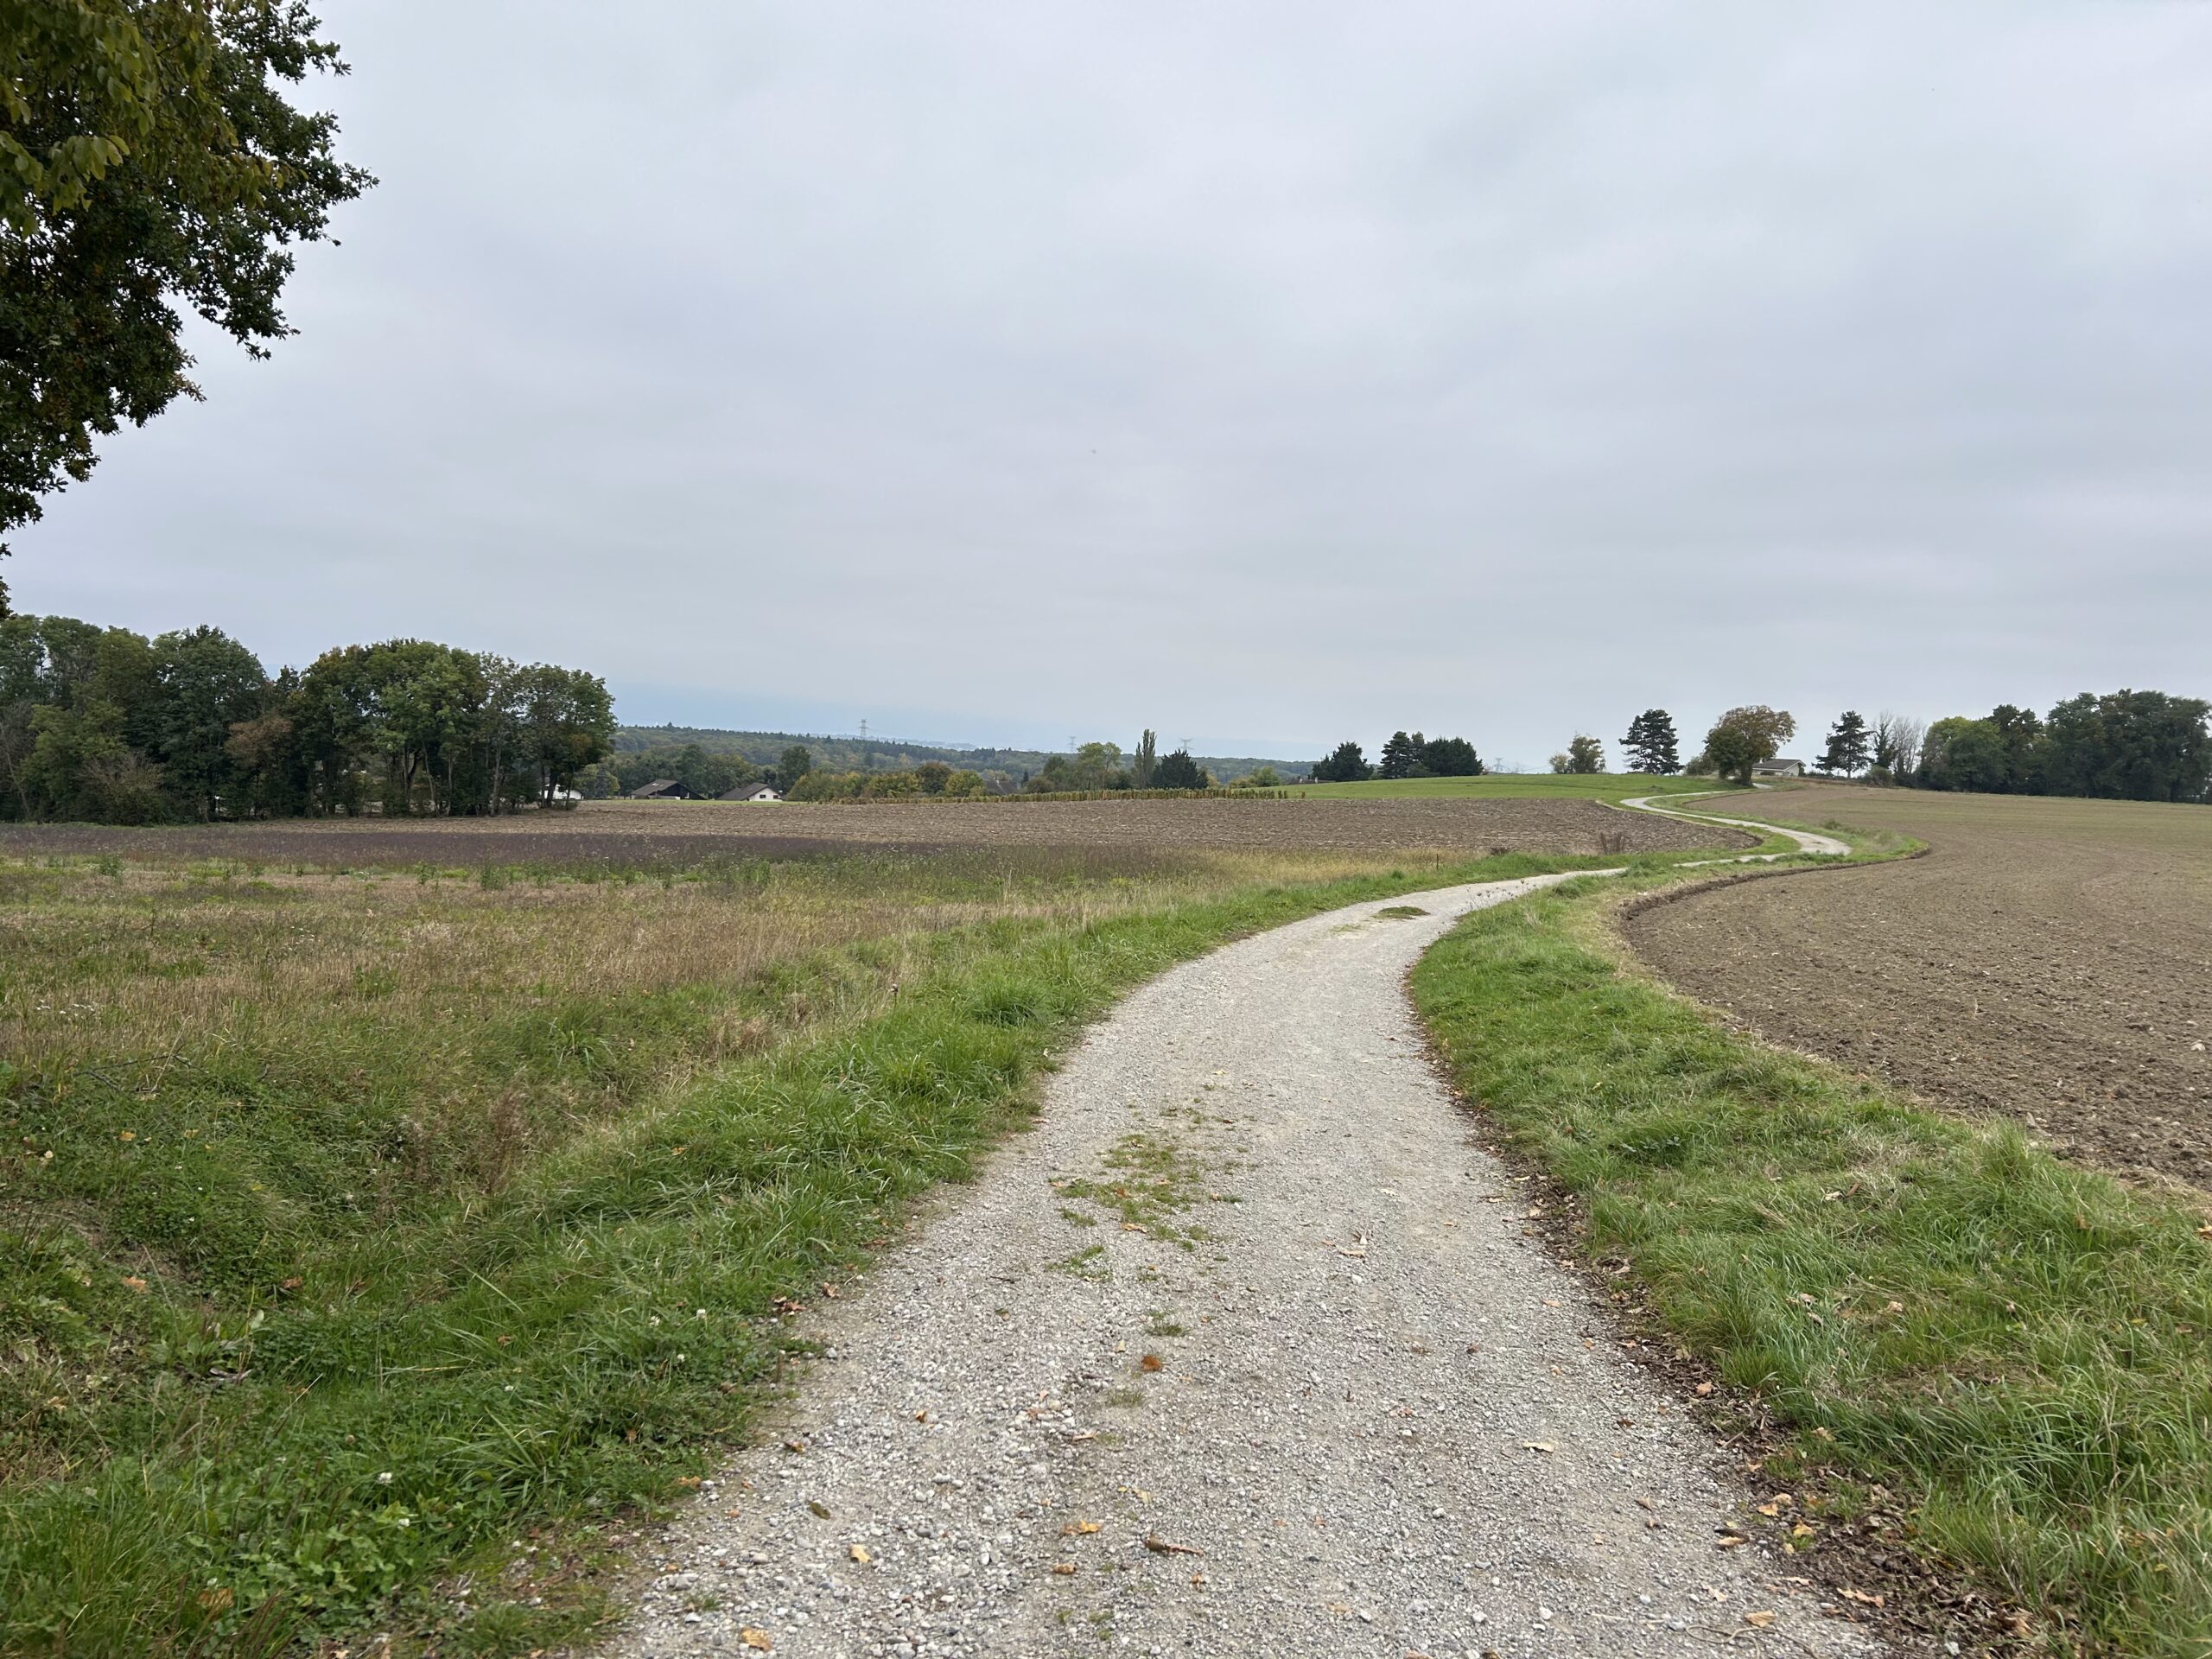
Reading Time: 2 minutesNaturally we think of doing group activities in the evenings, after work, or over the weekend, when we’re free for the entire day. Some people take the opposite approach. They wake up early to go for a morning sunrise run or a croissant loop bike ride. The concept is simple. Instead of…
-
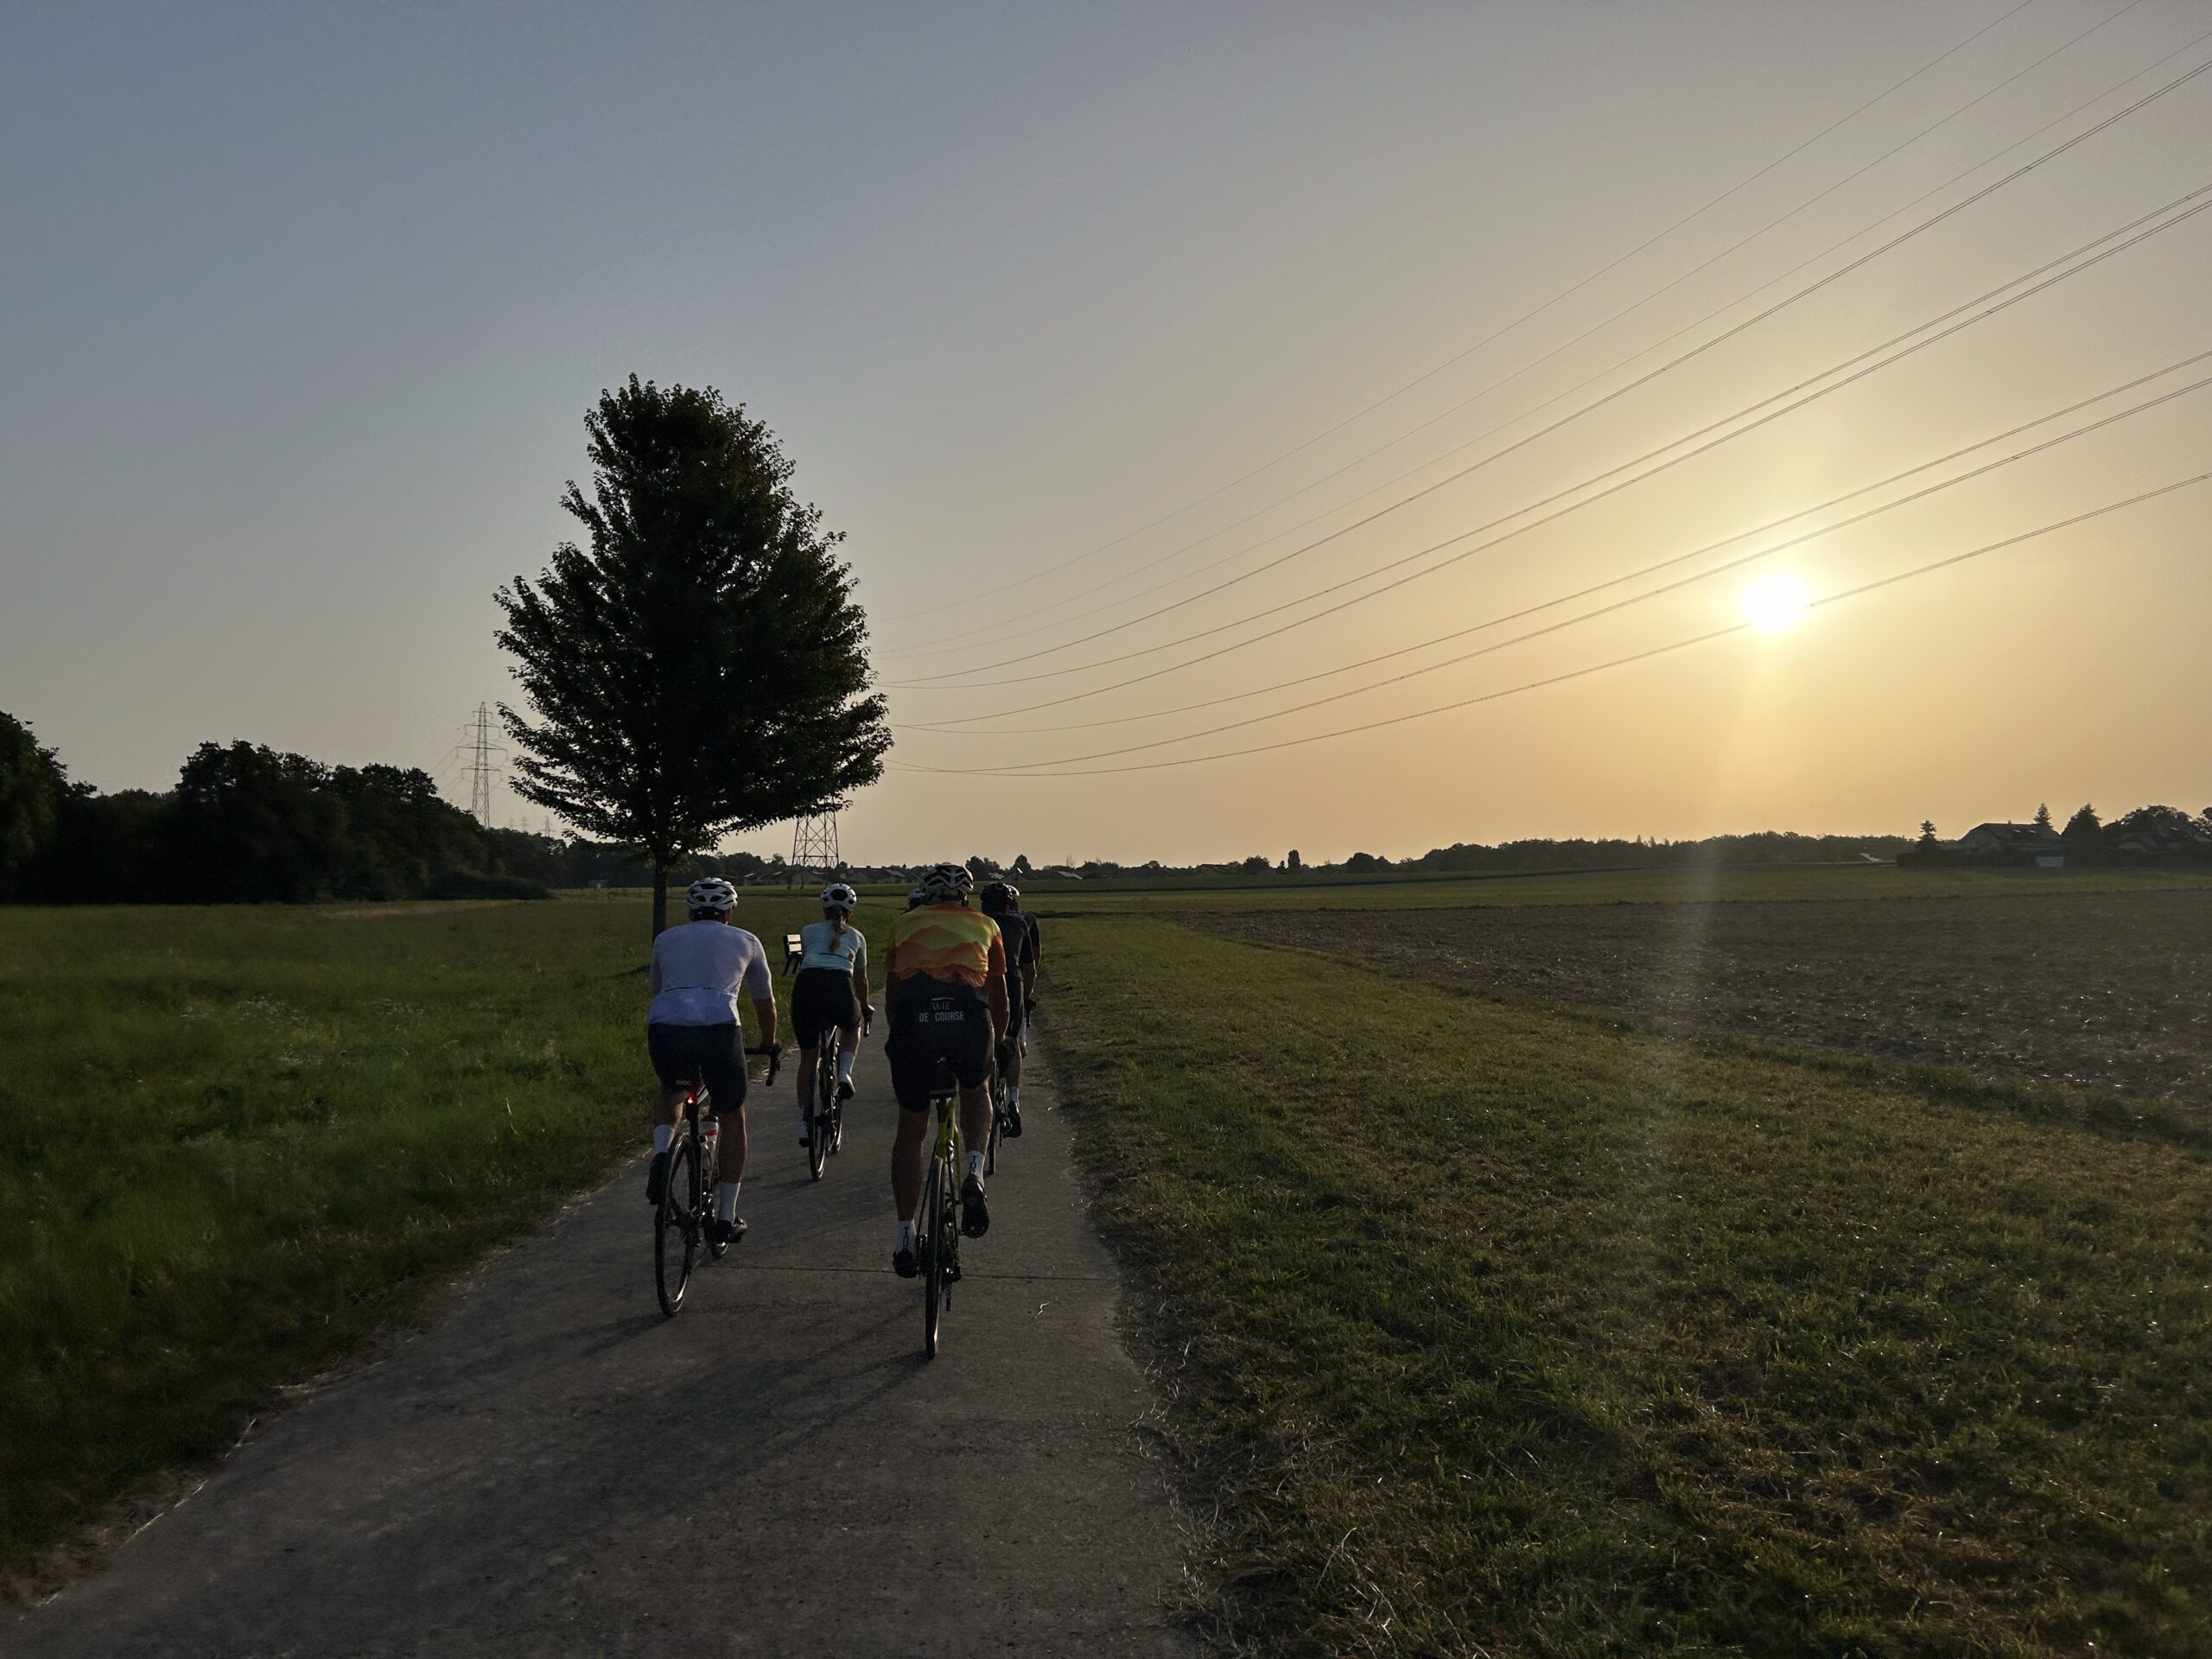
A Sunrise Ride Into the Wind
Reading Time: 4 minutesI set the alarm for 05:30 this morning and when it went off I was tempted to ignore it and sleep more. I had the self-discipline to get up anyway, shower, and then dress for a bike ride. When I was ready to go the watch told me “sunrise in 10 minutes”…
-
On group Activities that Challenge Me Physically
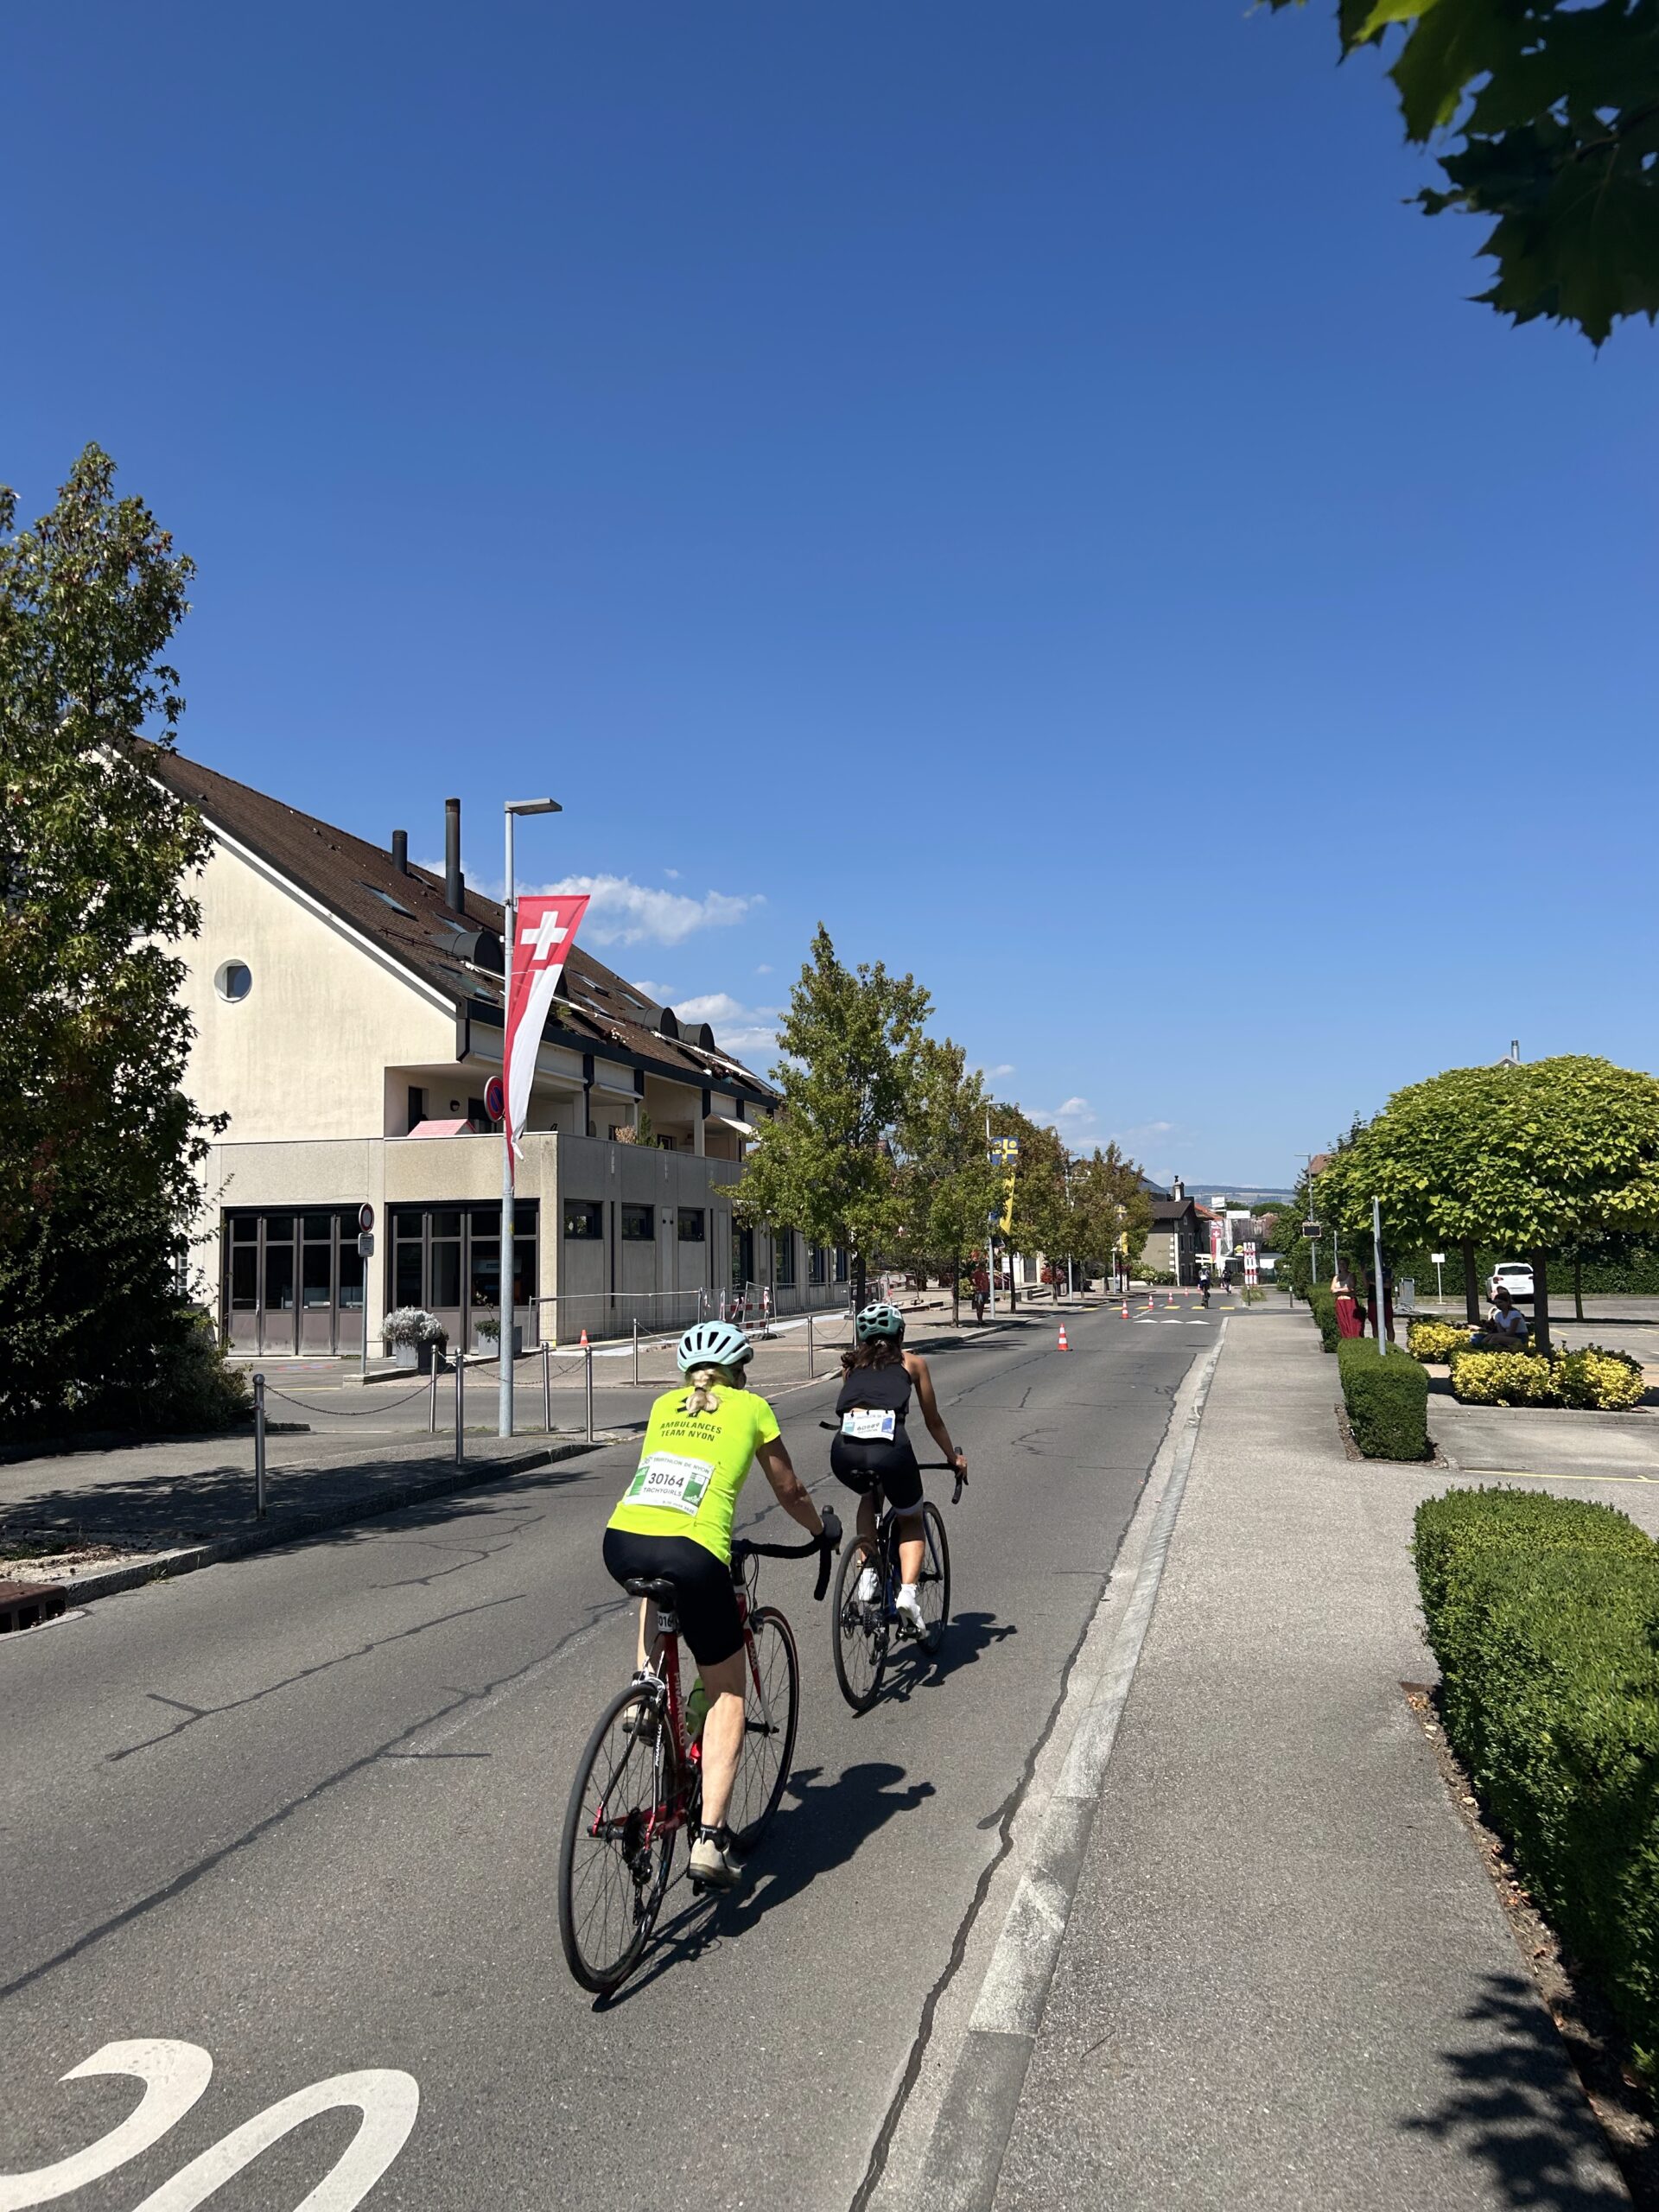
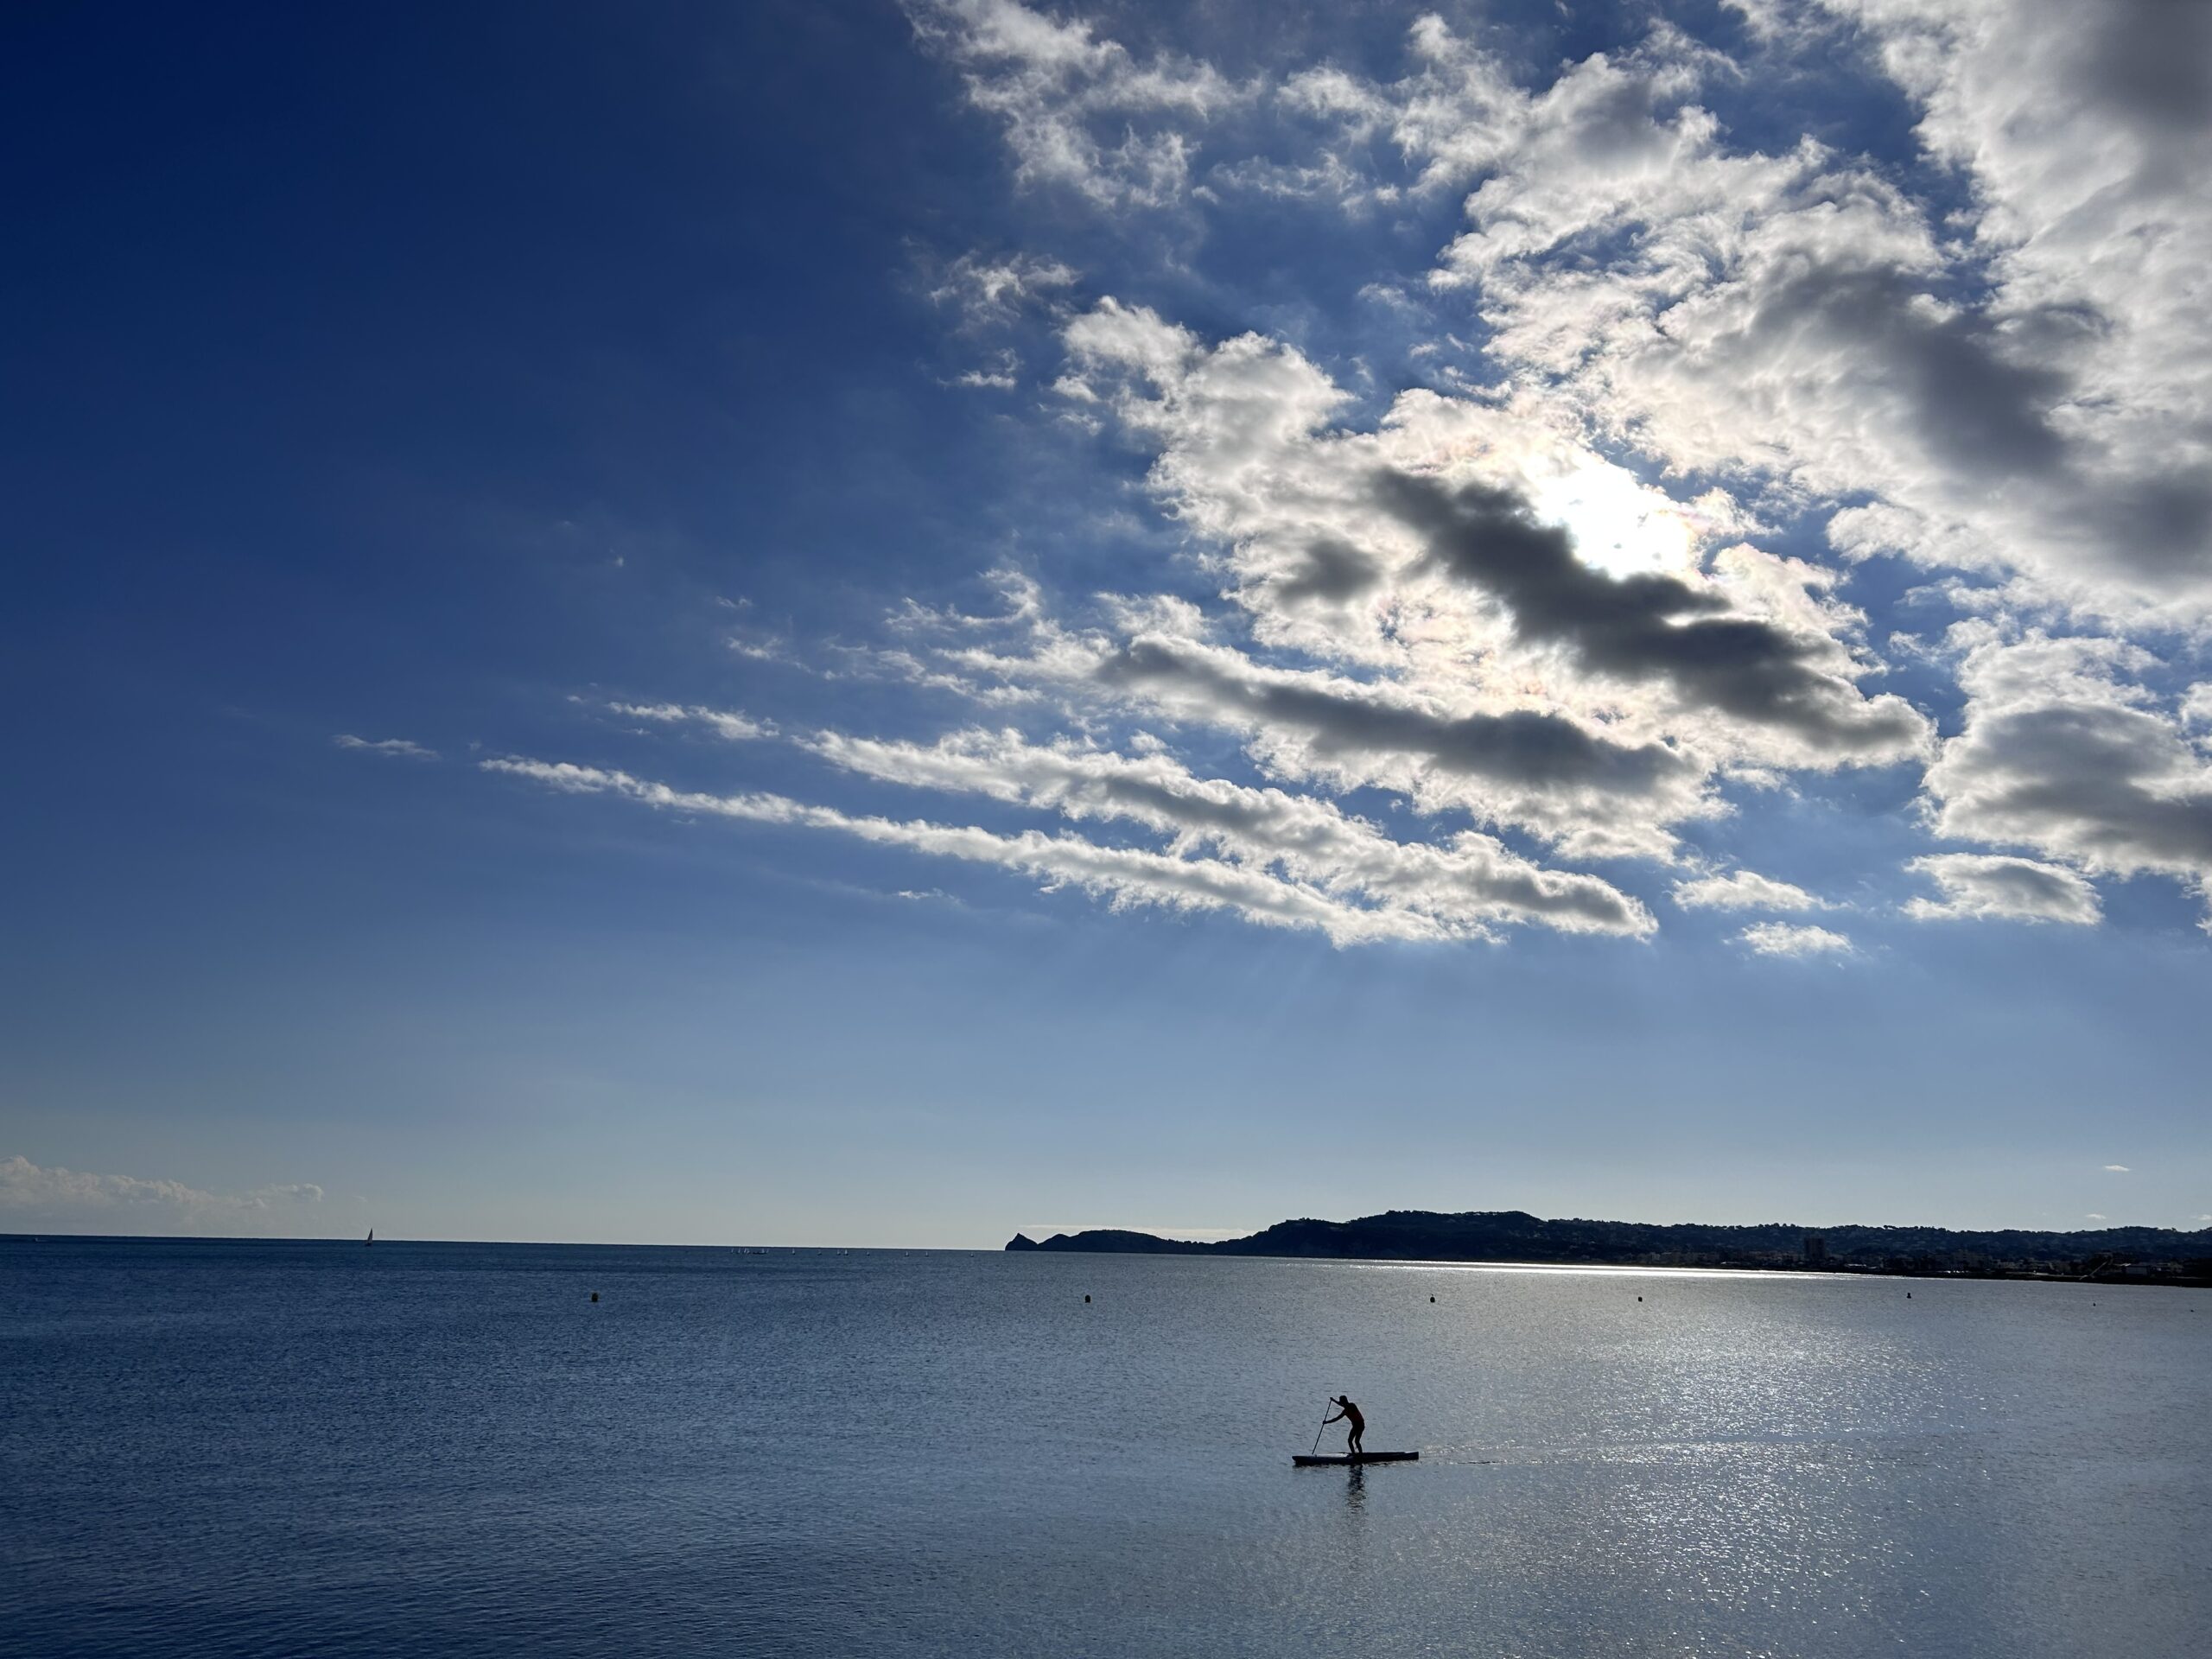
Reading Time: 3 minutesTwo days in a row I participated in activities that pushed me physically. On sunday it was a 60km ride with 900m of climbing and a 25km/h wind and the next day it was a 9.4km walk which is pushing my endurance further than usual. I found myself thinking that I should…
-
On Cycling into La Bise
Reading Time: 2 minutesYesterday before the ride I could hear the wind playing with the shutter slats. I could also hear it against the combes, or roof, if you prefer that word. I looked outside and I could see that the wind was moving branches around. I also looked at the temperature and thought “Do…
-
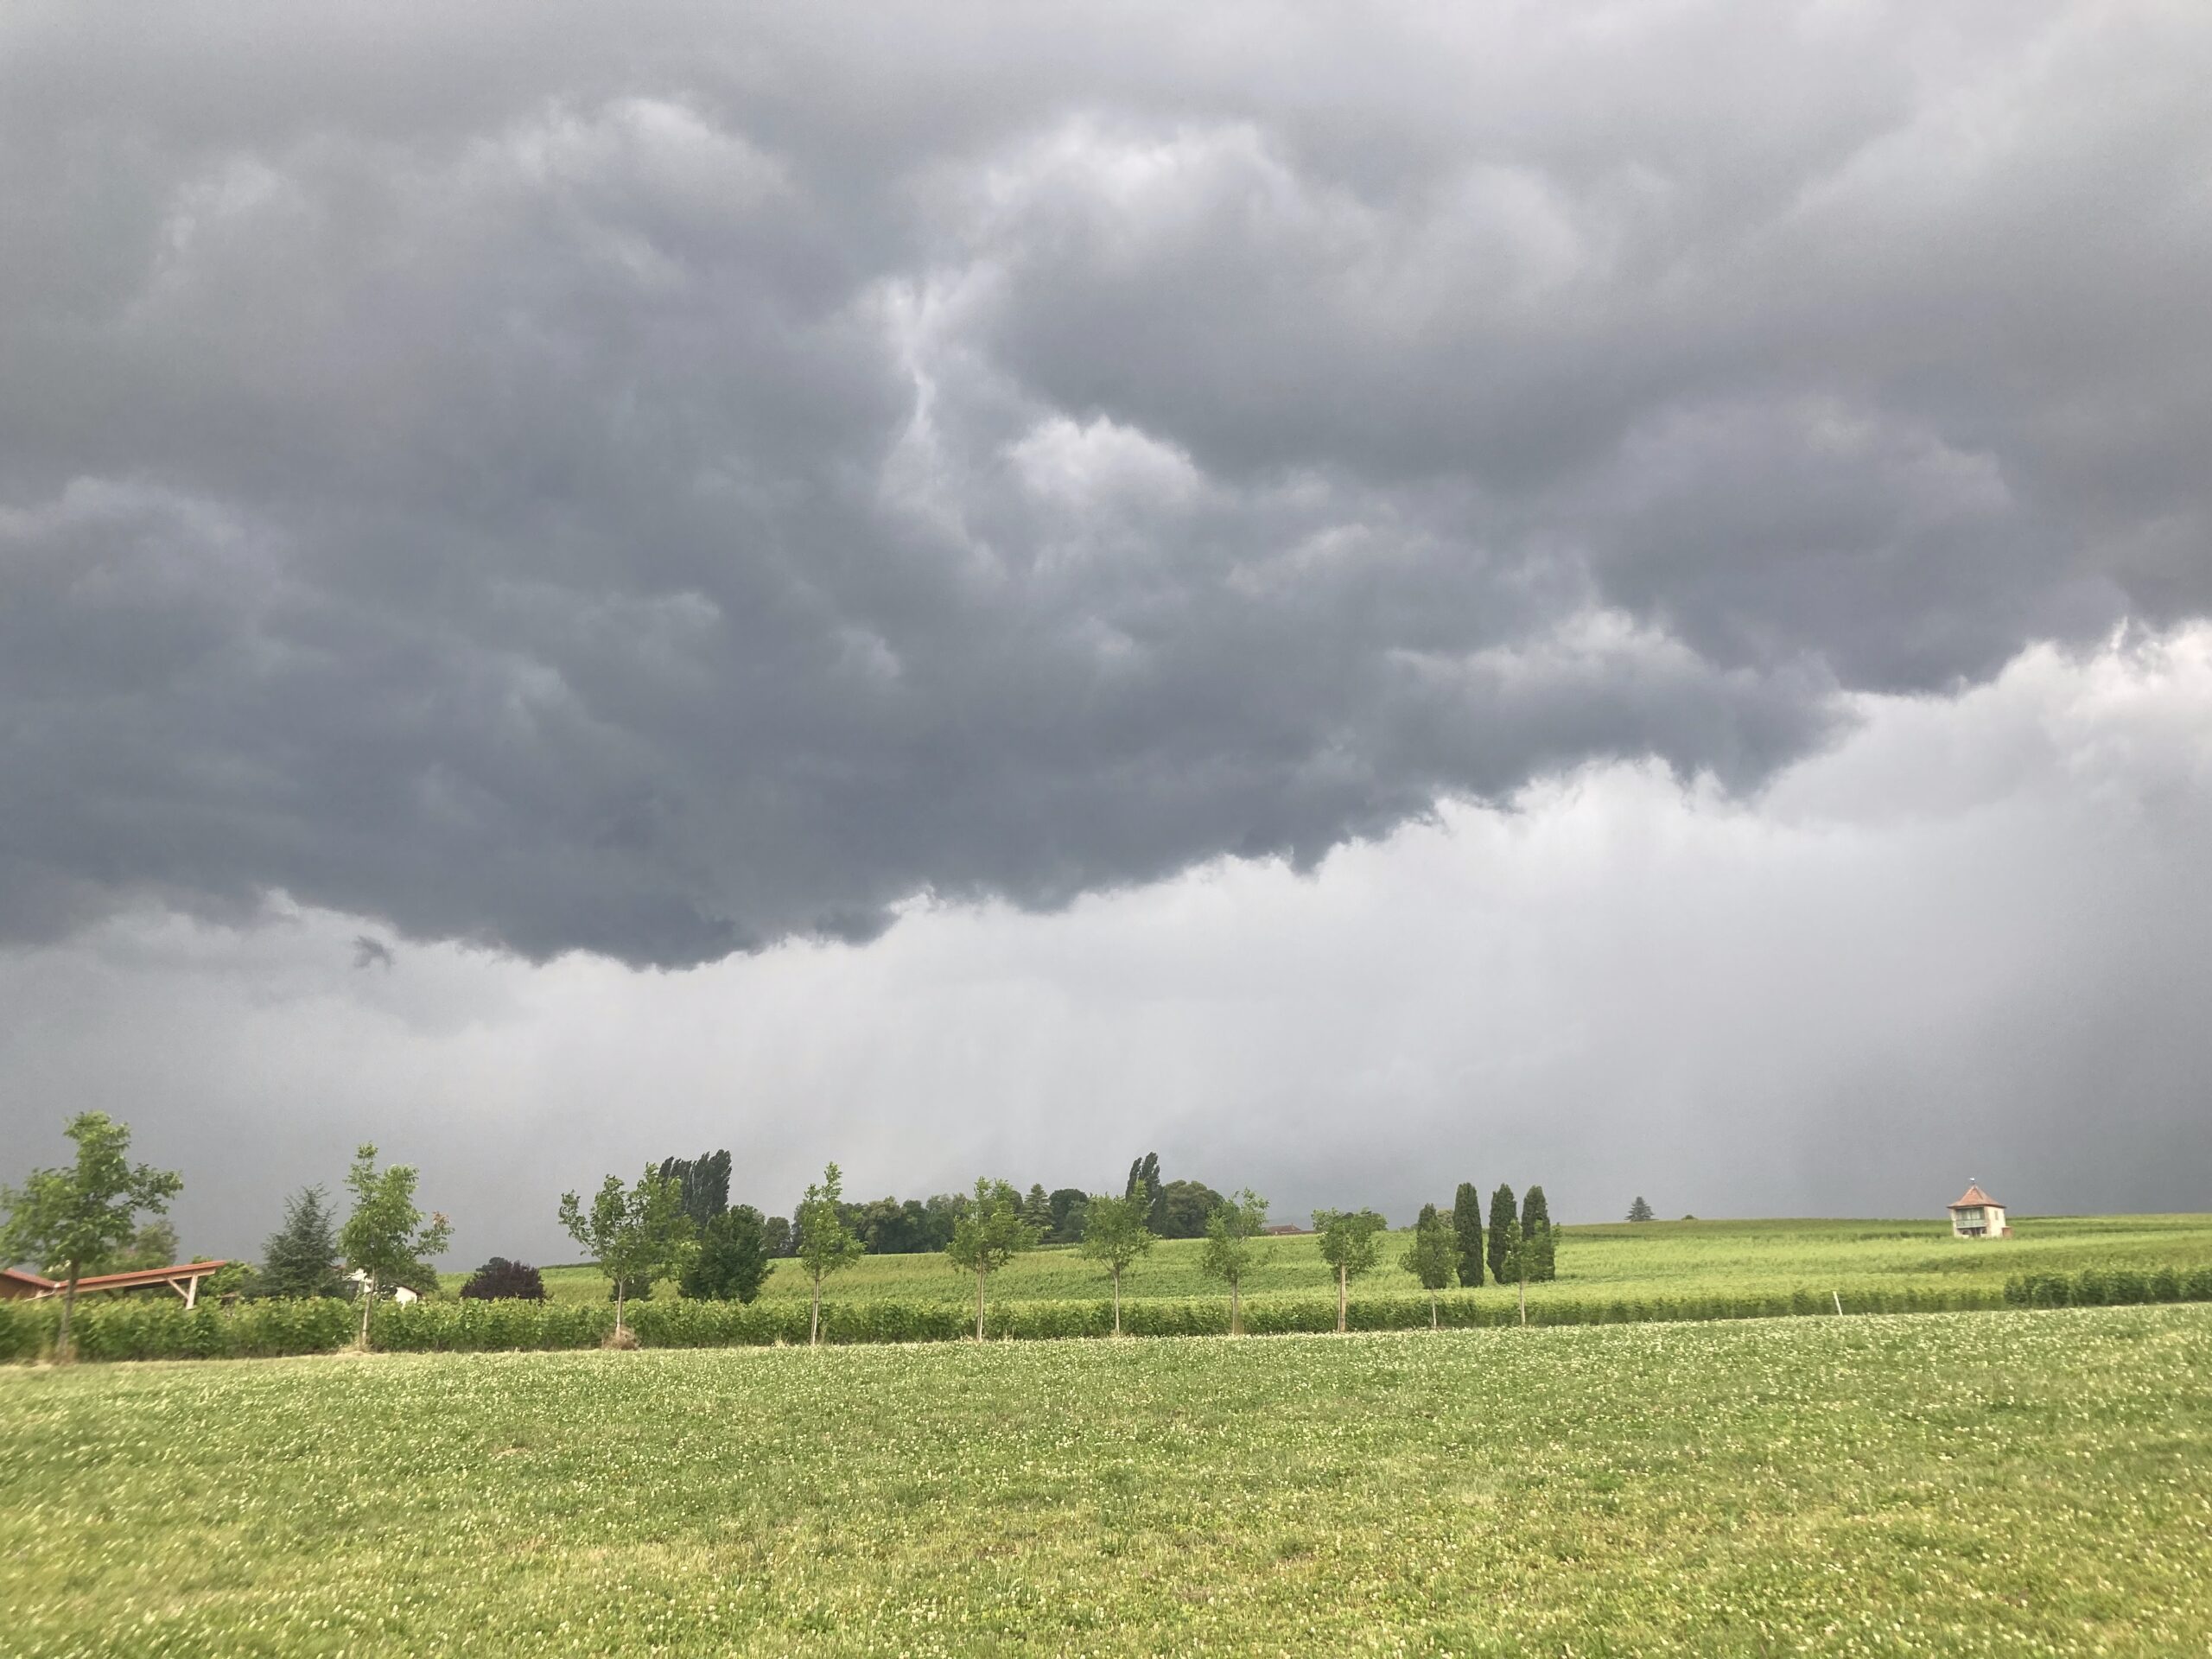
Weather To Be trusted
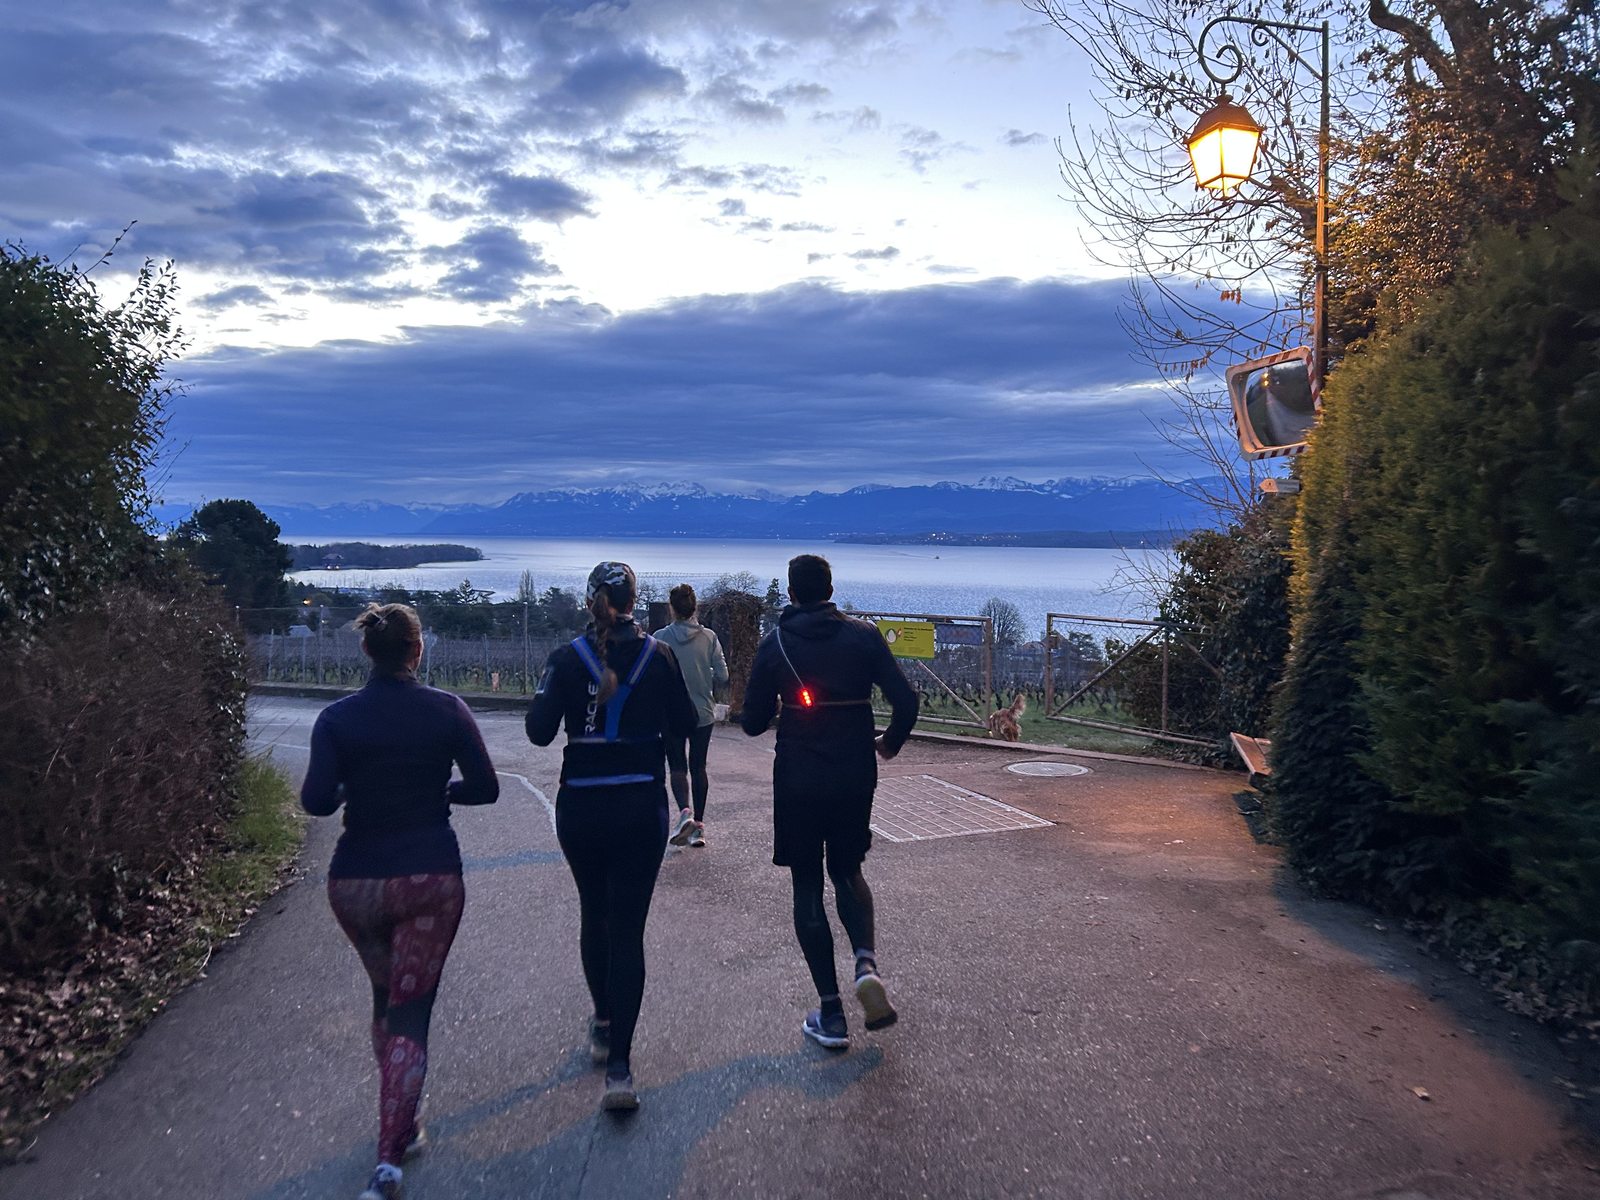
Reading Time: 2 minutesLast night at around 05:30 the alarm went off and either before or afterwards I heard lightning. I also heard very heavy rain. The question was whether the weather app was to be trusted. I could see that it would rain heavily while I walked from home to the meeting point but…
-
Migrating to kDrive from Flickr, Apple and Google Photo Clouds
Reading Time: 4 minutesAs I write this my consolidated photo album is being uploaded to kDrive, to serve as an offsite backup but the journey to this point took about two weeks, due in part to experimentation and learning to use various tools. Tools I used rsync Google Takeout Flickr Export jdupe Gemini Euria Le…
-
Five Ten Kilometre Runs Later
Reading Time: 3 minutesRecently I ran with the goal of getting above the fog and I succeeded. The result was a 16km run. Since then I have run ten kilometre runs four more times. In the process I have shifted from not seeing myself to seeing myself as more of a runner than before. Last…
-
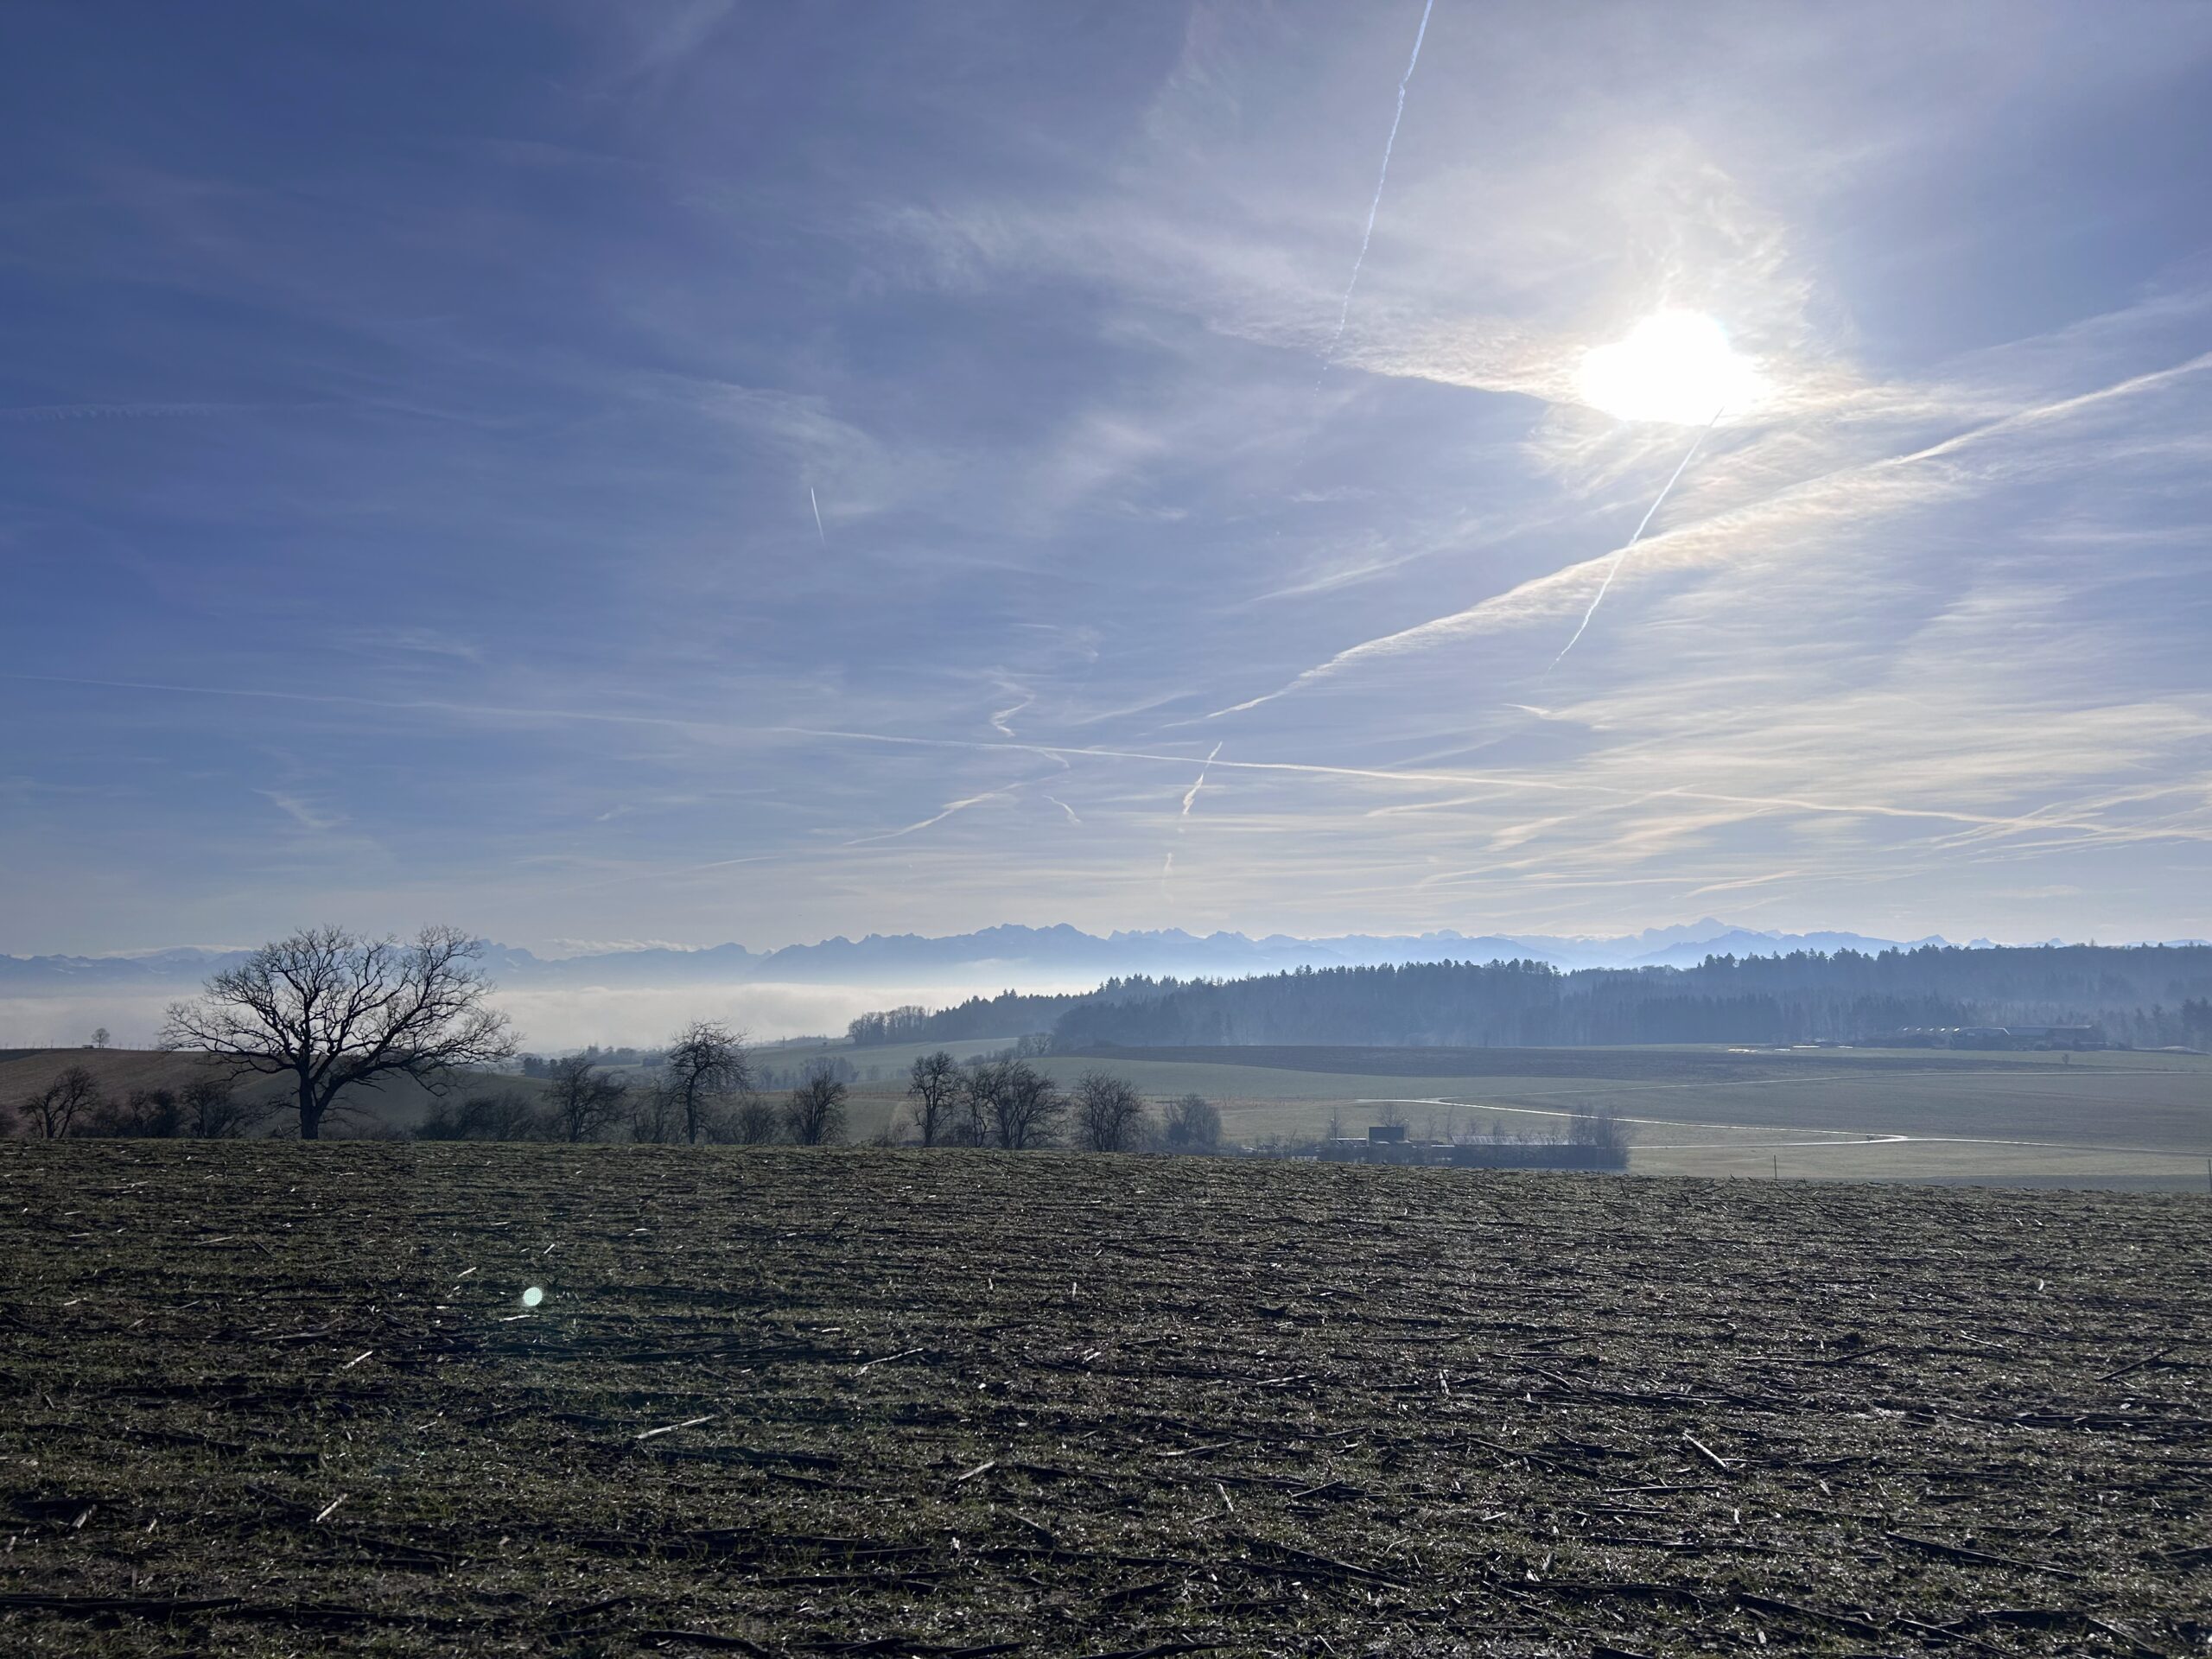
Driving to the Sun
Reading Time: 2 minutesIf you’re like me, you might read "driving to the sun" and think I’m speaking of driving to Spain or to Southern France. This wasn’t the case today. Today, as I saw we were in the fog, or in a layer of cloud I decided that I would drive up to an…
-
A Break from Blogging
Reading Time: 2 minutesI was in Spain for three weeks. I had planned to blog while I was there. I didn’t because my mac book pro was misbehaving when I tried to connect to three or for Wifi networks. Last night I tested it with another wifi network and I had similar issues. I think…
-
The Final Walk and Run of the Year
Reading Time: < 1 minuteThe final walk and run of the year took place today. ready for the next challenge.