Category: Switzerland
-
Yesterday I Called It
Reading Time: 3 minutesI have enjoyed rock climbing, scuba diving, via ferrata, hiking and other sports. When you do extreme sports you need to be ready to call it without letting your ego distract you. Yesterday when I got to the top of Marchairuz I found I had developed a mild headache. I went to…
-
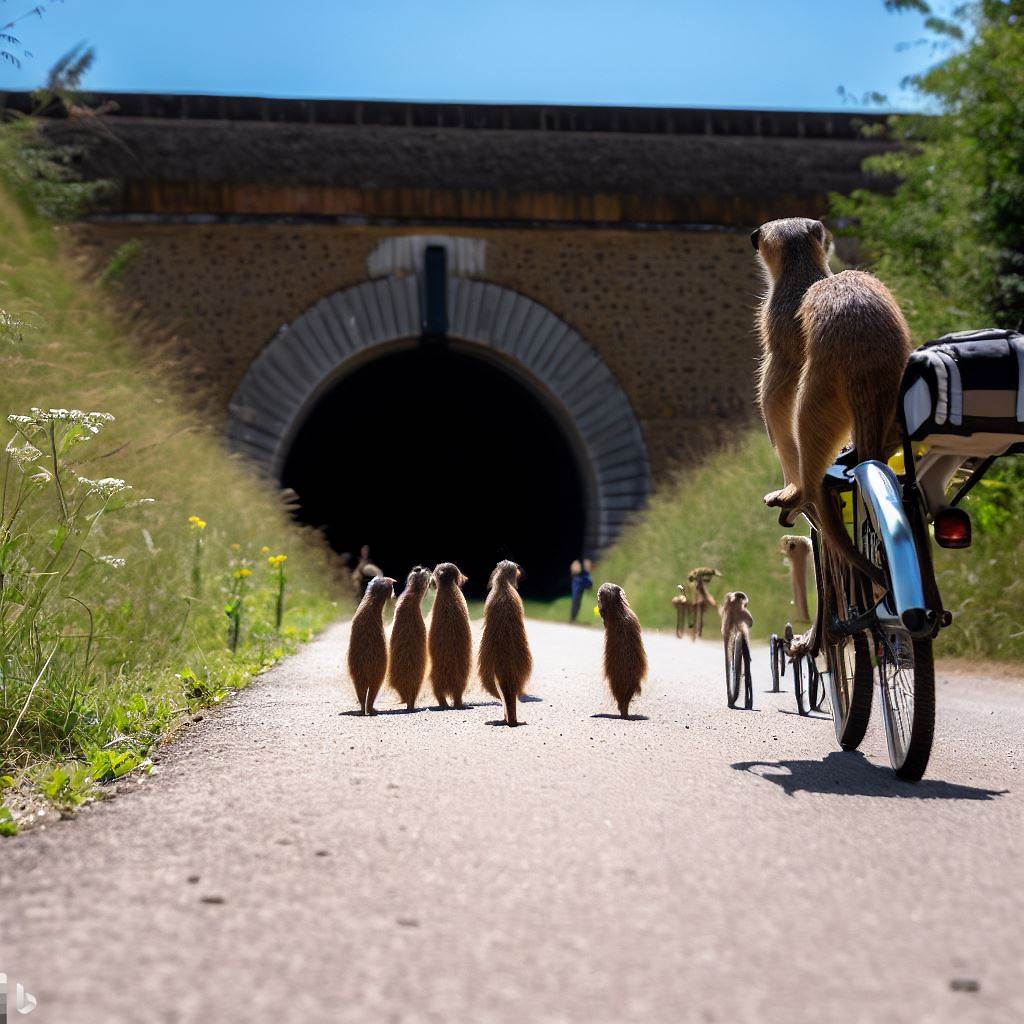
Gemini and other AI Trying to Shorten Chats
Reading Time: 2 minutesI was going to say that they’re trying to cut conversations short but they’re called chats, so Might as well use the term they chose. The paradox of AI is that it both wants to encourage you to see it as a personal assistant but at the same time it’s encouraging you…
-
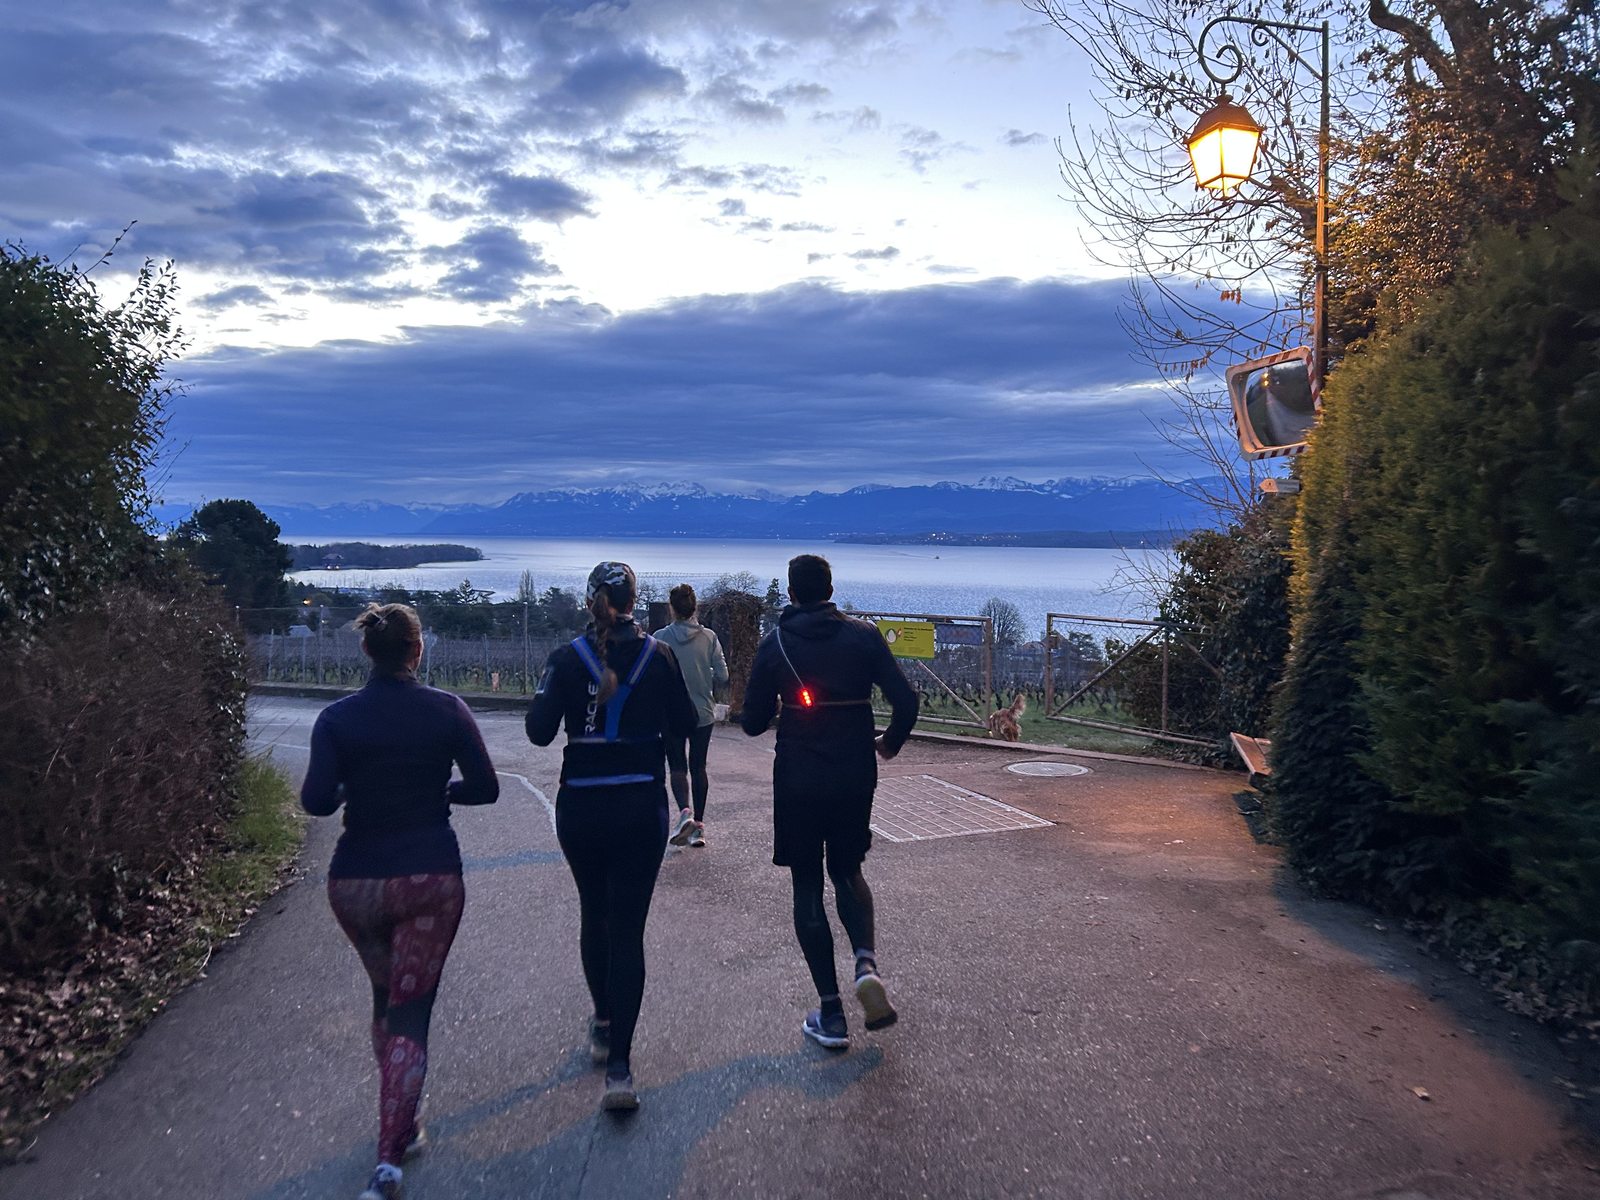
The Saturday 8AM Run in Nyon
Reading Time: 2 minutesThere are two runs on a Saturday morning in Nyon. One of these is at 8am and the other is at 9am. The 8am run is aimed as a relaxed, conversational run. The pace, according to my own track was about 06:20 per kilometre. The elegance of such a run, if you…
-
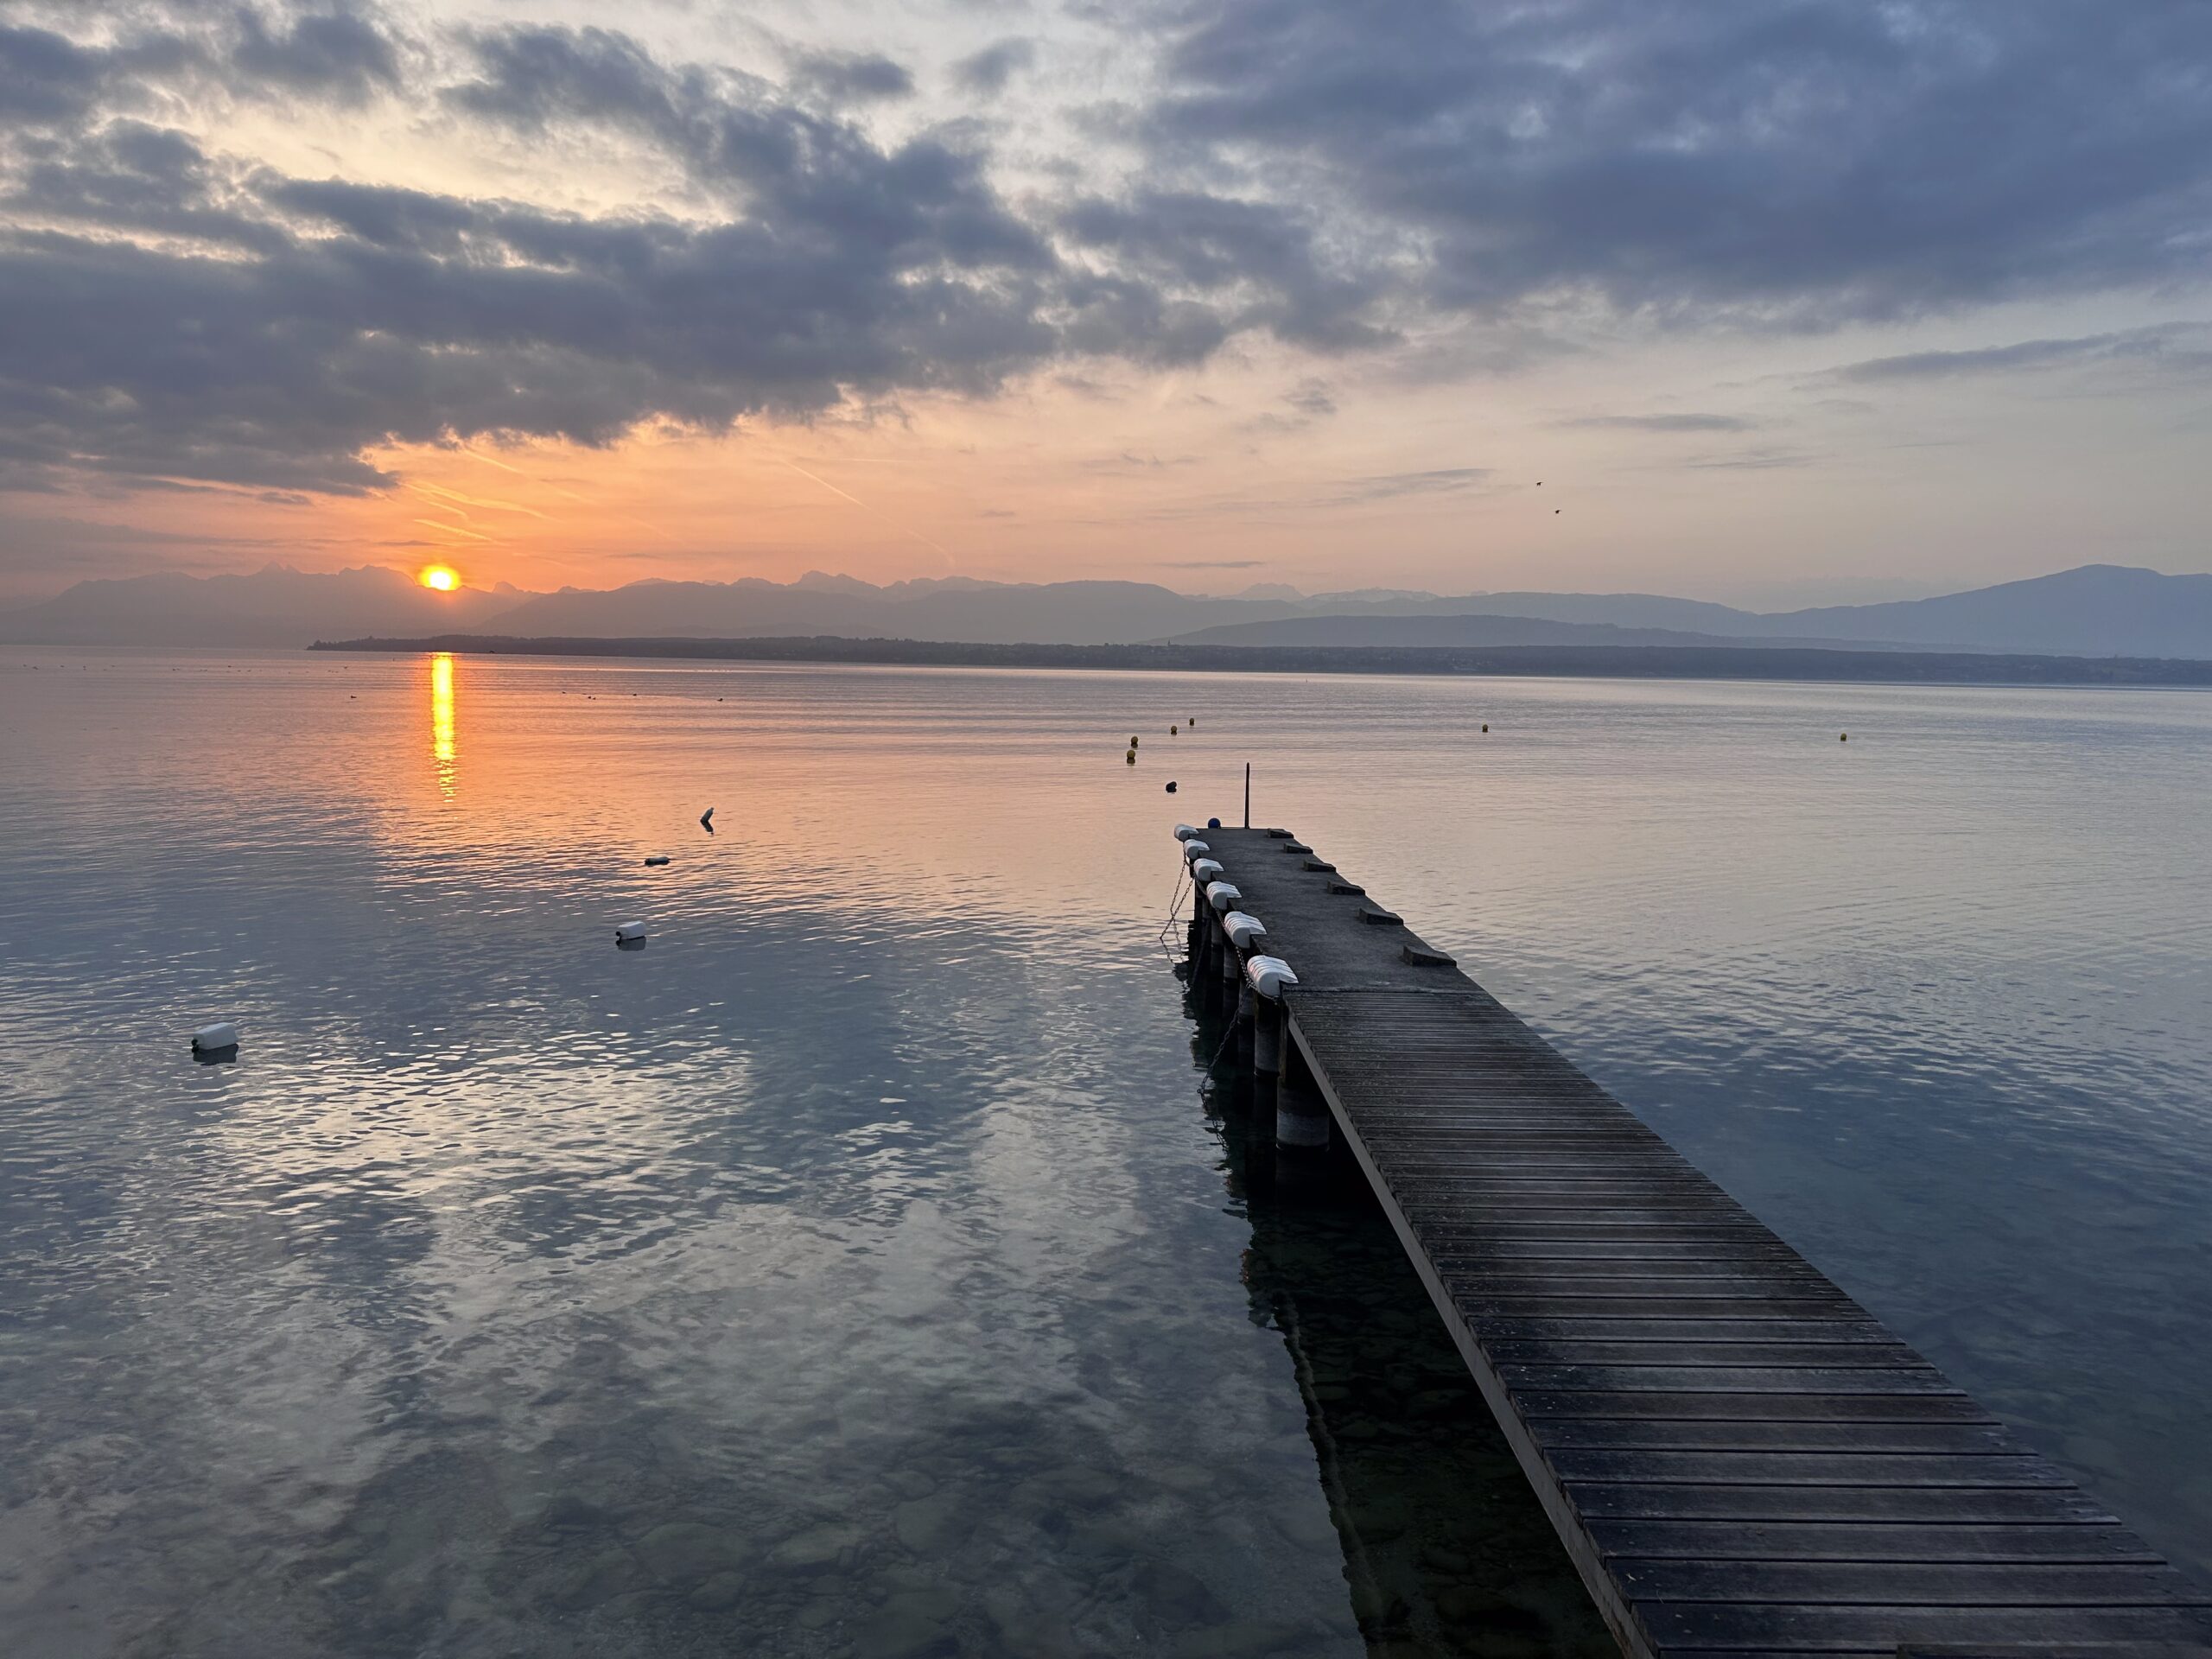
The Morges 6AM Run
Reading Time: 3 minutesHow many people would deliberately wake at 04:30 to run at 06:00 in a town 20 minutes away by car, when there is a run the next day at 8am with one group, and 9am the next day with another group? Who would skip an evening ride the night before, for this?…
-
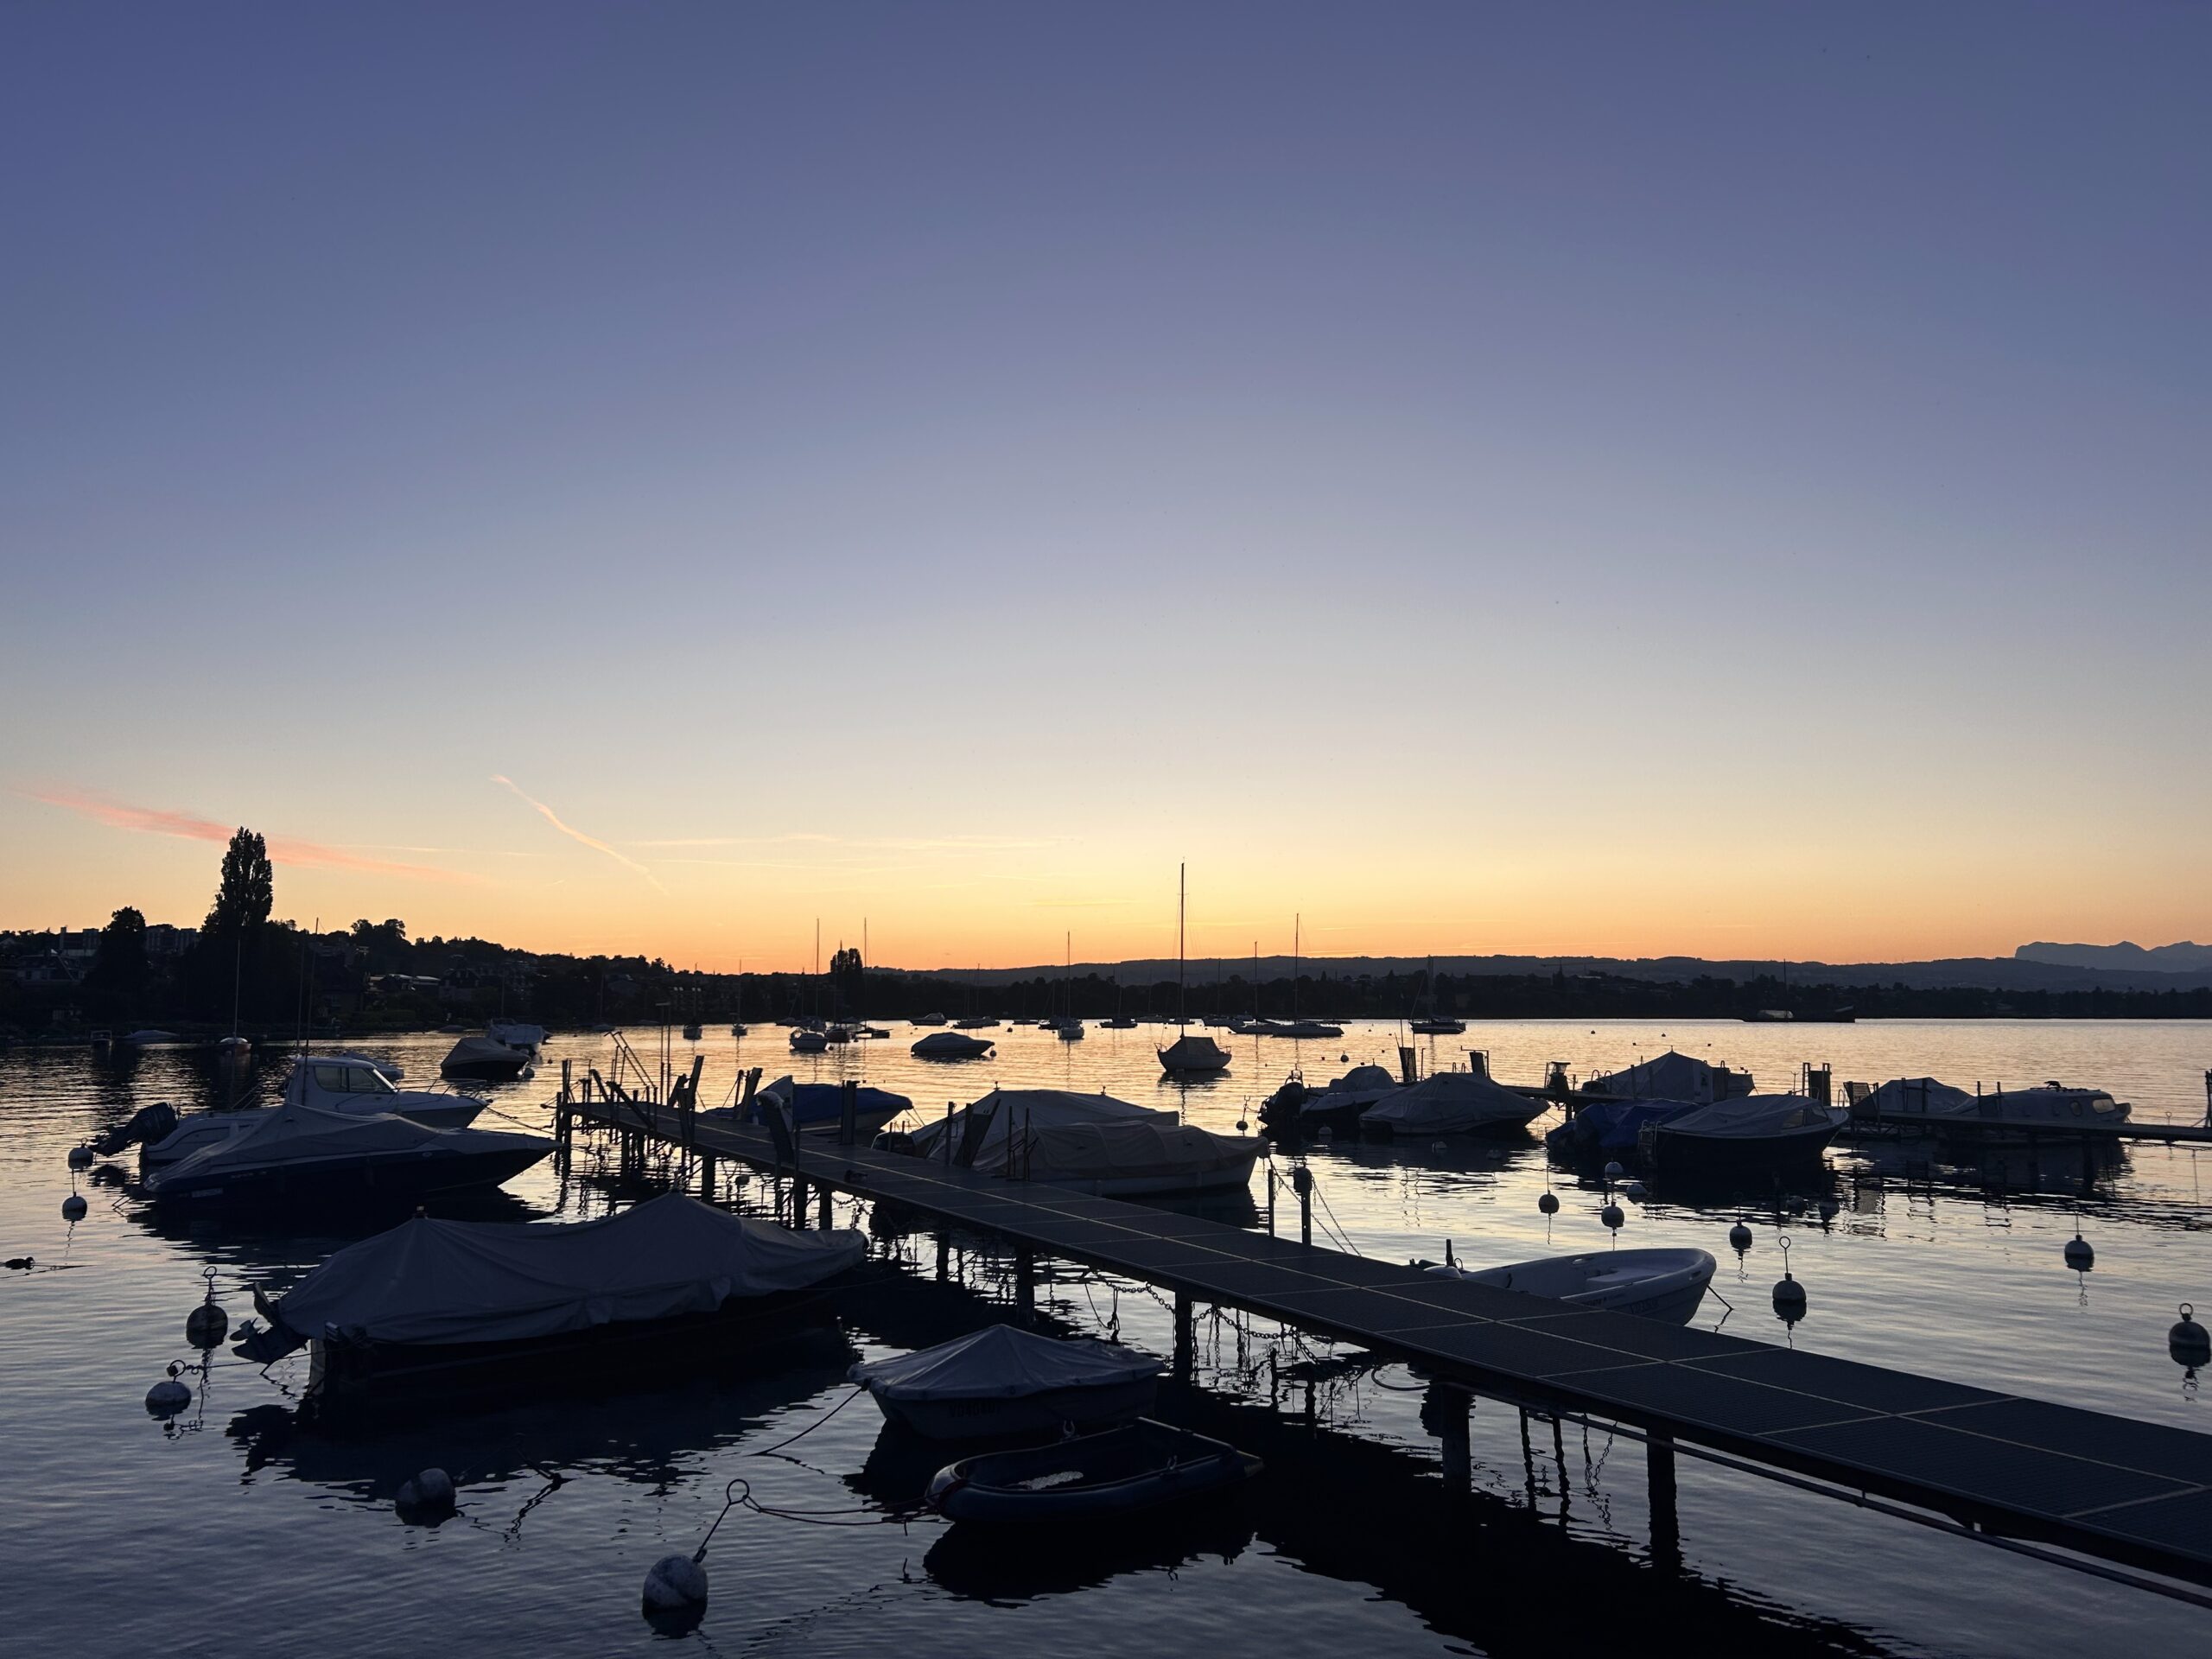
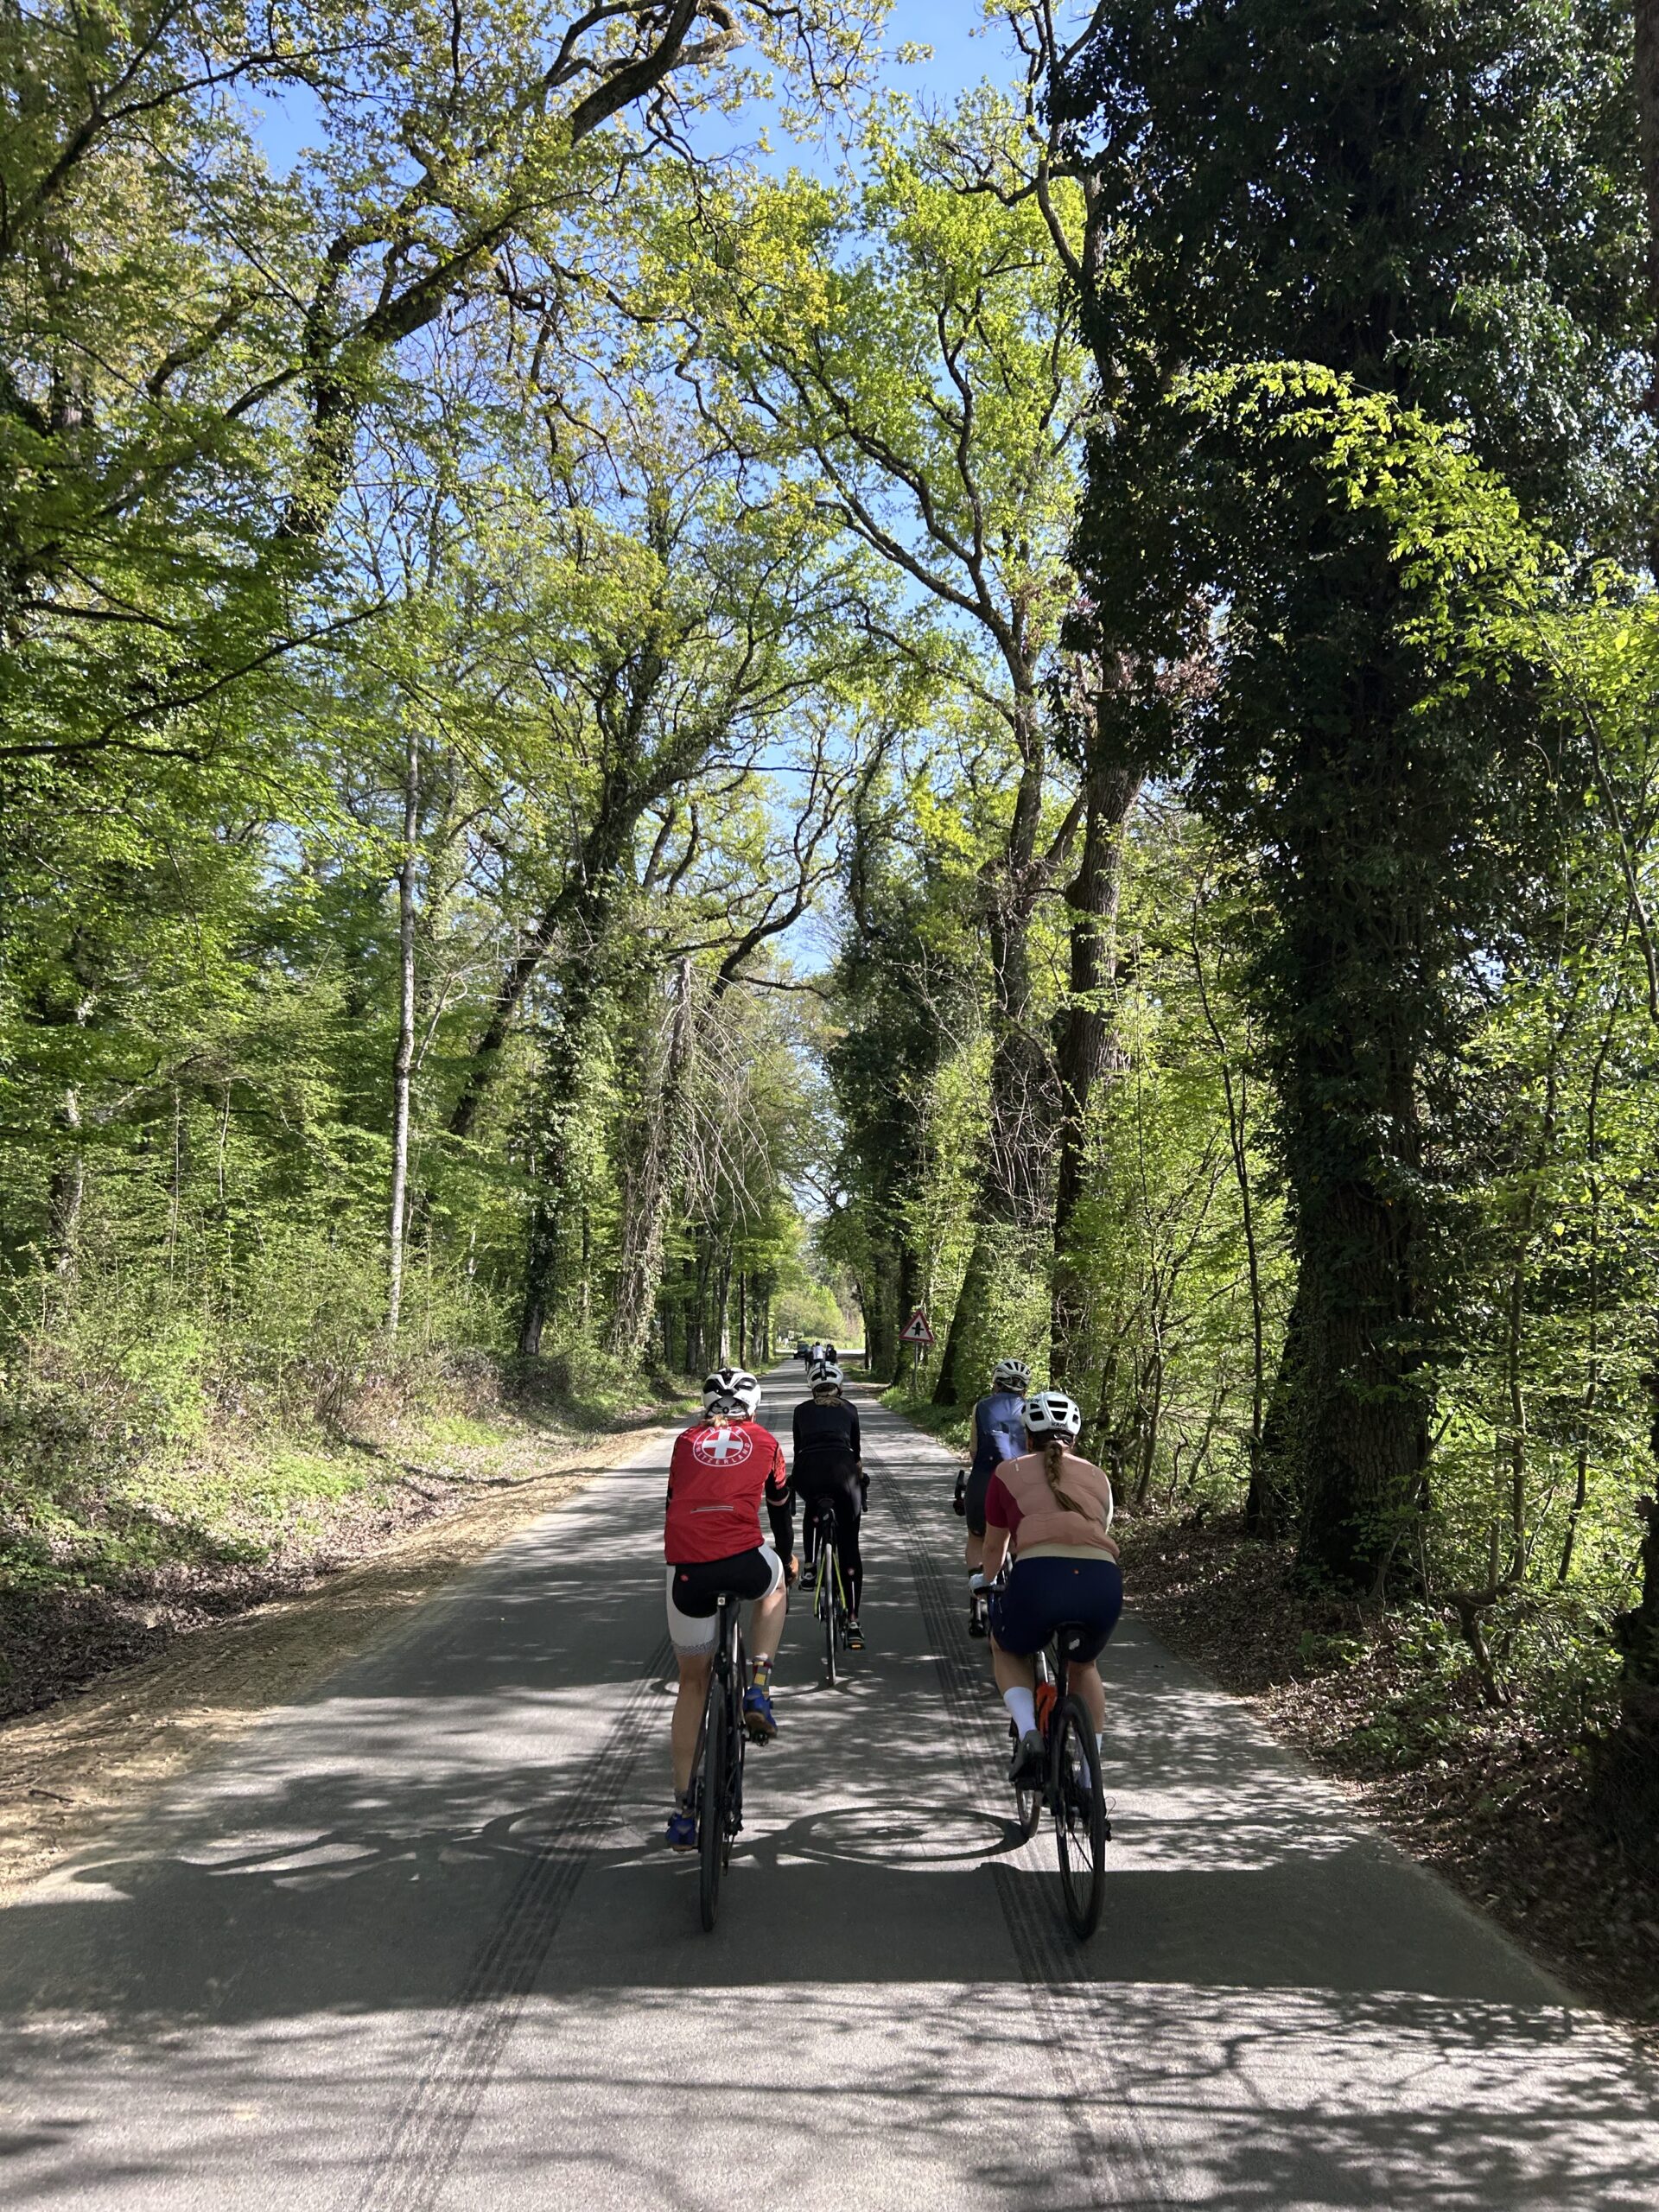
The Weekend Menu
Reading Time: 3 minutesFor this weekend, for Saturday’s course I have two relaxed, rides from Geneva, one or two moderate rides, and one peak and maybe one or two other rides to choose from. On the Nyon menu I have an 8am potential run, followed by a 10am group ride that throws in a healthy…
-
Declining Motivation
Reading Time: 2 minutesIn less than an hour I could set off for Geneva for a group ride, except that for this group ride I do half as a solo ride, then the second half with the group, and then I depart from the group and return home. I was motivated, but now I feel…
-
The Monday Fartlek Run With Ochsner Sport
Reading Time: 4 minutesThis monday I ran with a new group. It was the Runday Monday Signy (Nyon) – Ochsner Sport. This is a group that meets on Monday to do a variety of training exercises centred around running. Ochsner Sport is a Swiss sporting shop. Last week they went to train in the rain…
-
The Value of Sporty Redundancy
Reading Time: 2 minutesFor years, and years, I loved to rock climb, explore via ferrata, hike and more but as soon as Autumn came and people went indoors the social calendar dried up until the next spring. With cycling, to a large degree you have the same issue. As soon as the nights shorten, or…
-
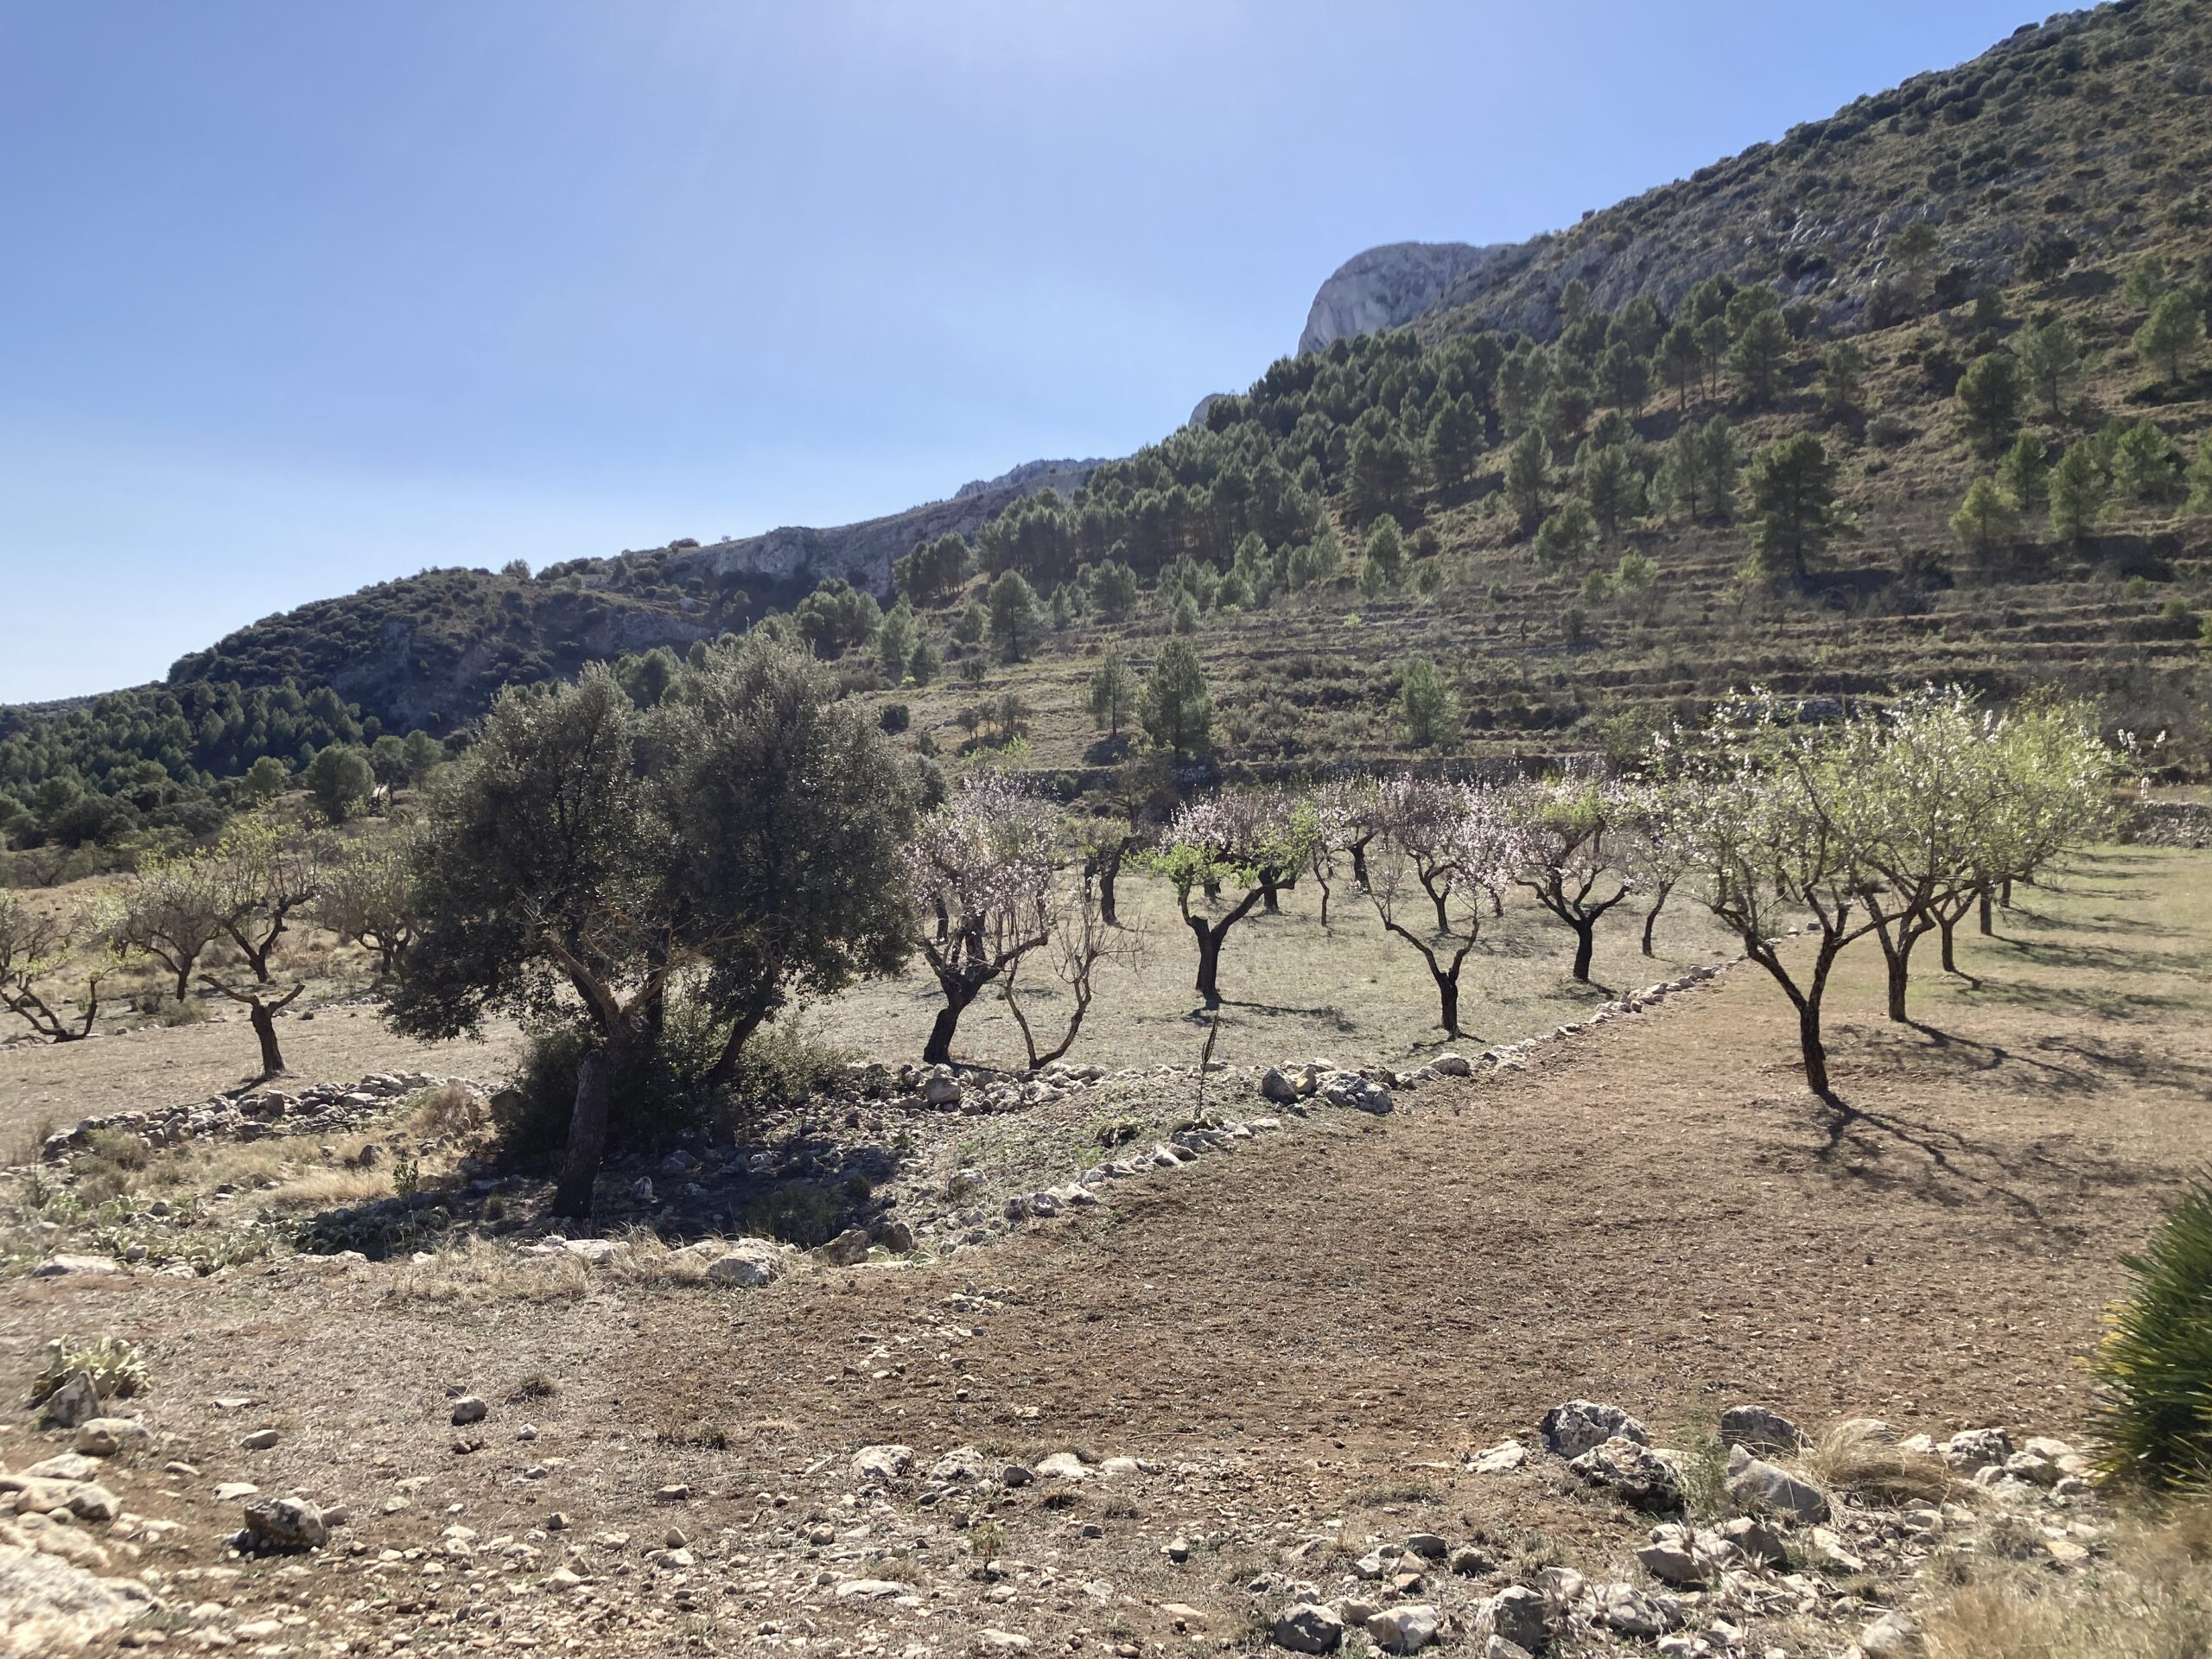
Runna Hill Training in Luins
Reading Time: 3 minutesThis morning Runna wanted me to do some hill training. As I live near Luins I decided that I would use some proper hills, rather than theoretical ones. In anticipation of this workout I chose RPE in the Runna app on the phone. I was sadly disappointed to find that RPE is…
-

The Cancelled Saturday Plan Rain
Reading Time: 2 minutesThis morning you might have noticed quite particular. Yesterday it was drizzling. This meant that we could go for a run, despite the rain, and end, still dry. This morning however a bike ride was cancelled, or maybe even several. The reason is that it was wetting rain, or “heavy rain” as…